everything you ever wanted to know about cloth diapering (and then some)
When I was pregnant with my son, I already knew I did not want to go the conventional disposable route for diapers. I wanted to do cloth, but my husband was sceptical and I, quite frankly, did not even know where to start. My husband’s main concerns were both time/effort and cost. Mine was our impact on the environment. To justify the cloth choice, this meant I really had to do some research to see how we could be both eco- and budget-conscious in our diaper choice. If you are considering these same things in your family, lucky for you, I have already done a lot of the leg work for you!
First, a brief and very unofficial history about diapering. Disposable diapers are a very new invention. Like, within the last 50 years new. Most of us gen x-ers even wore in cloth diapers as babies (and I swear, I’m not that old). Seriously, ask you mom. And it’s not because our parents were crunchy granola-eating hippies (although many of them were) but because the first disposable diapers were pretty expensive and did not always work all that well either. The impact of this trend is vast and beyond what I want to go into here, but some of the more prominent arguments against disposable diapers are the rapid increase in landfill waste (which diapers majorly factor in to), delayed potty training, and the fact that they still cost more than cloth diapers today.
The cost argument does come with some caveats though. And since I have tried pretty much every version of diapering out there, I am here to share with you how you can save money on cloth diapering and also when it might not be worth it (e.g., if you sanity is suffering). For my own family, I actually did break down the math to the penny to compare, but there are so many variables based on where you live and how ‘green’ you want to go, so I will not do that here. I would venture to say that most modern mamas who cloth still use somewhat of a hybrid approach. Meaning they use both cloth and disposable at times. We also used this approach in different stages of our kids’ diapering years. Here, I will break down the three basic options as I see them, but as you read, you will see how you can combine some of these choices to make it work for your own family. The point is, there is no one “right way” to cloth diaper and every little bit helps!
Option #1 – Cloth Diapering + Laundering at Home

Cost: By far the cheapest option in the long-run. There is an up-front investment of purchasing diaper covers and either inserts or liners. But after that, the only cost you have to figure in is your water use for washing and if you have shared laundry, the cost of using the machines.
What You Need To Start:
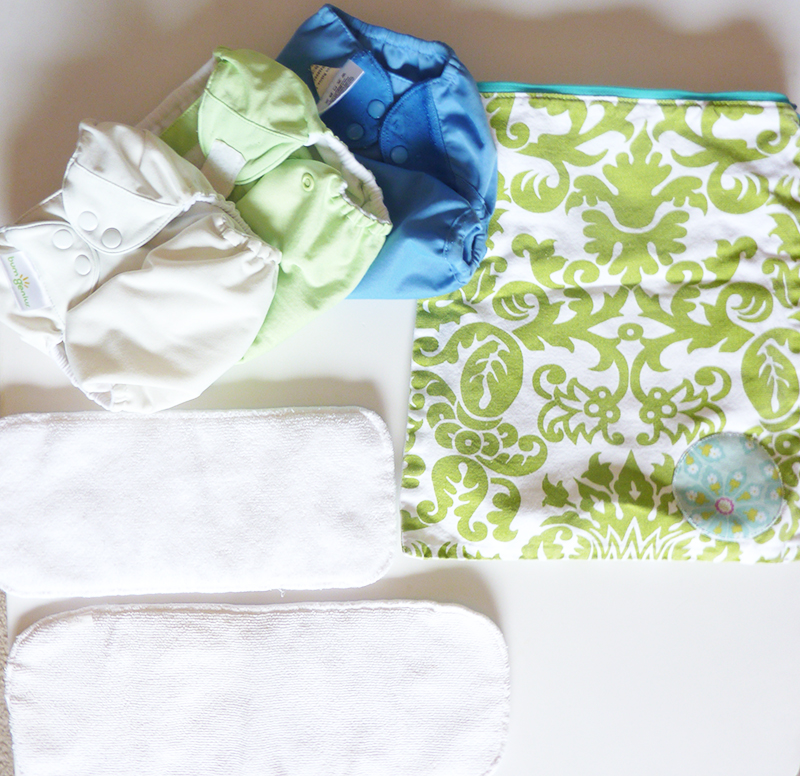
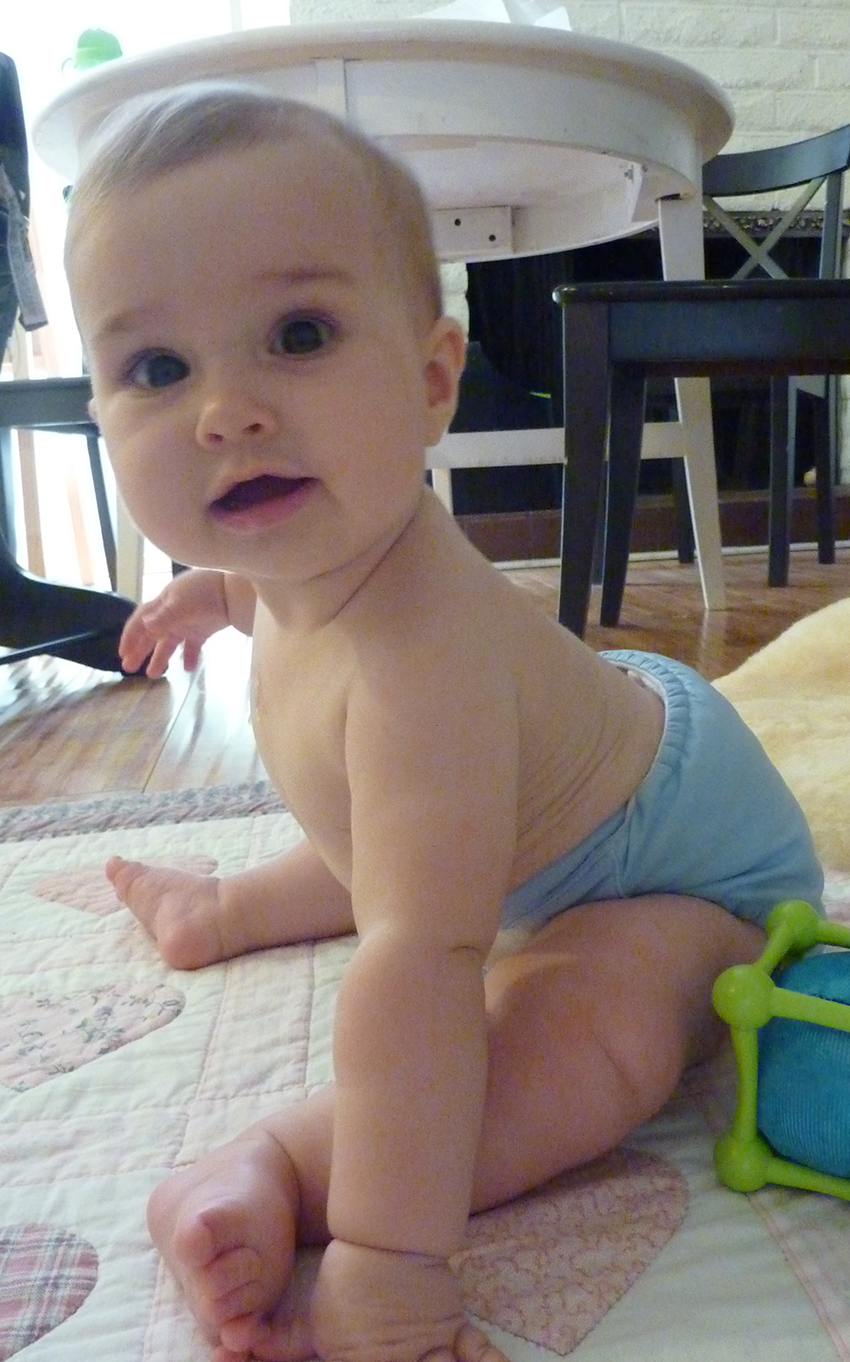
1./ Diaper Covers. The number of covers you need somewhat depends on if you are doing a pocket diaper or standard cloth diaper. After doing both, I would recommend doing more of the standard cloth diaper style because you can re-use the covers for several changes until they get too soaked or if some poopy leakage happens. However, the pocket diapers are good for overnight because of the more absorbent inserts and the fabric on pocket diapers helps wick moisture away from baby’s skin. We have 20+ diaper covers. When we used them as pocket diapers, we did the diaper laundry 2-3 times per week (because they have to be washed every time). When we used them as diaper covers only, we did the diaper laundry every week and a half. Either way, if you are really committed to using cloth diapers, I would say that is a good amount of covers to have on hand. But try a few out first to see which ones you like before you commit to buying that many.
2./ Diaper Inserts/Liners. The difference between inserts and liners is that inserts are designed for pocket diapers and liners are designed for a diaper cover without a pocket. However, a diaper liner can be used with a pocket diaper, you just don’t put it inside the pocket. (More on that below in Cloth Diapering + Using a Service.) Inserts are made out of a more absorbent fleece or similar fabric that will help pull moisture away from baby’s skin. Liners can also be in these types of fabrics but the old fashioned liners are cotton and look like what most of us today think of when we think of burp clothes. Again the number you need depends on if you are going with pocket diapers or standard diaper covers. You will need roughly 1.5x-2x the inserts to your covers for pocket diapers and 2x-4x the inserts for standard cotton diapers (but this also varies widely based on baby’s age and size). For example, if you are using inserts only and you have 20 diaper covers, purchase 30-40 inserts OR 40-80 liners OR some combination of both (assuming you will launder once per week). When we laundered at home, we used the inserts. I liked that they were absorbent and soft against my baby’s skin.
3./ Other. For laundering at home I would also highly recommend some sort of diaper sprayer. We got this one which attaches to the back of the toilet so we could easily rinse off diapers right into the toilet. We kept our dirty diaper bag in the bathroom so it was right there after we sprayed them down. My husband wants me to add here his best piece of cloth diapering advice which is to please be sure you keep your mouth closed at all times while spraying out soiled diapers :/ True story. And obviously you will need a waterproof diaper bag or bin to hold the dirty diapers in before you wash.
Labor: If you plan to launder at home, make sure you have a newer washing machine that can wash at a high temperature and has a second rinse feature and preferably is located inside the comfort of your own home. You want to be sure your diapers are getting clean but you do not want to use harsh detergents or bleaches to get there (hard on baby’s sensitive skin, hard on the earth). If you do not have all of that, you can still launder yourself, just be prepared to possibly have to rinse or wash twice, more pre-treating, and occasional sun-drying to naturally kill bacteria. The reason I say in your home washing machine is that we are in an apartment with a shared laundry unit outside in the back and when I had a new baby at home, I found it impossible to get out there to move my laundry in a timely manner so as not to get in my neighbors’ way.
Ease of Use: It is no more difficult to change a cloth diaper than it is to change a disposable diaper. Dads can learn it, caretakers can learn it. Even Grandmas and Grandpas. It goes without saying that moms can do it. It’s not rocket science so do not freak out. The hardest part about cloth diapering yourself is the laundry. If you are one of those people who does not mind doing the laundry and you are on a tight budget, this is a good option for you! It’s also the best option environmentally since there is no carbon polution going into the air from a delivery truck and there is nothing going into a landfill.
Option #2 – Cloth Diapering + Using a Service

Cost: The cost of using a service is generally about the same per month as disposable diapers and is sometimes even less, depending where you go. However, we decided to use an organic cloth diaper service because I just really wanted to be sure if I was having someone else do my laundry, that they were doing it the way I would be doing it. So it turned out with an organic service, the cost actually worked out to be slightly more. One cost I initially forgot to factor in when we chose to do the service was wipes. You can get cloth wipes and the service will launder them for you, for an extra charge. And although they did all the laundering of the diaper liners, it would have been an extra charge for them to launder our covers, so we ended up doing that ourselves.
What You Need To Start:
1./ Diaper covers. Still need about the same amount and most services do not include this in their cost breakdown, so this will be an additional up-front cost.
2./ Diaper Inserts/Liners. The good news here is that you do not have to worry about purchasing liners and also you will not have to buy several different sizes. You may still want to buy some pocket covers with inserts for overnight, BUT you will either have to wash them yourself or (likely) pay an additional fee to the diaper service for these diapers. (See how this can start to add up.) But more good news- do not worry about rinsing or pre-treating diapers. Simply put in the diaper pail as you would a disposable diaper and you are all done!
3./ Other. You will still need a diaper pail of some sort but our diaper service provided one in addition to the waterproof bags that we put the diapers in for pick up.
Labor: Virtually none. You have to take the soiled diapers out to the porch and bring the clean ones in once a week. Probably much less often than you take out the trash. Super easy.
Ease of Use: Again, pretty much just as easy as disposables since you are not doing any of the grunt work here. It does make outtings a bit more challenging because you have to remember to bring not only the slightly bulkier diapers, but also a wet bag to carry home any soiled diapers in. For traveling we would just use disposables. You can get why.
Option #3 – Disposable Diapers
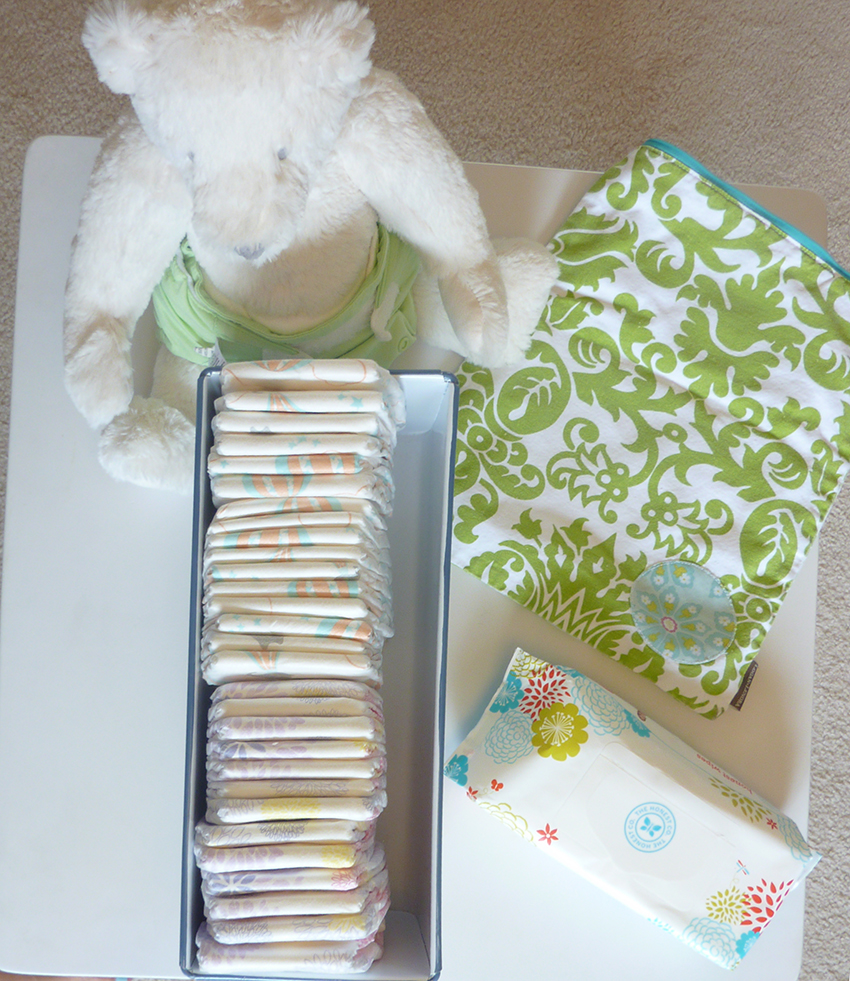
Cost: As mentioned above, more or less the same as a cloth diaper service.
What You Need to Start: Some diapers, wipes, and a diaper pail.
Labor: Again, virtually none. Just throw it away.
Ease of use: Definitely the easiest and more convenient.
Obviously I am not going to go too much into it with disposable diapers because well, it is pretty self explanatory. But if your heart still feels a pang of guilt for our dear mother earth, there are some eco-friendlier diapers out there. I tried every brand, but when my son was around a year old, The Honest Company came to be. It was perfect timing because after a full year of laundering diapers ourselves, we were pretty worn out about it. I really can not say enough good things about this company. Their diapers & wipes bundle is by far the easiest way to get diapers (it comes monthly and automatically). And the bundle is super cost efficient. And the company cares about its’ environmental impact. And the diapers are super cute! Seriously, I am not getting paid for this. But I do accept diapers as compensation if anyone is asking ;).
I want to tell you guys more about diaper sizing and cloth diapering products I love, but I think this post has gone on long enough for now! So for Cloth Diapering: Part Two, I will give you the scoop about all that with some links to my faves.
And if there’s any other cloth diapering questions you have or related subjects you want me to tackle, let me know by clicking through to the comments section on the link at the top of this post.

