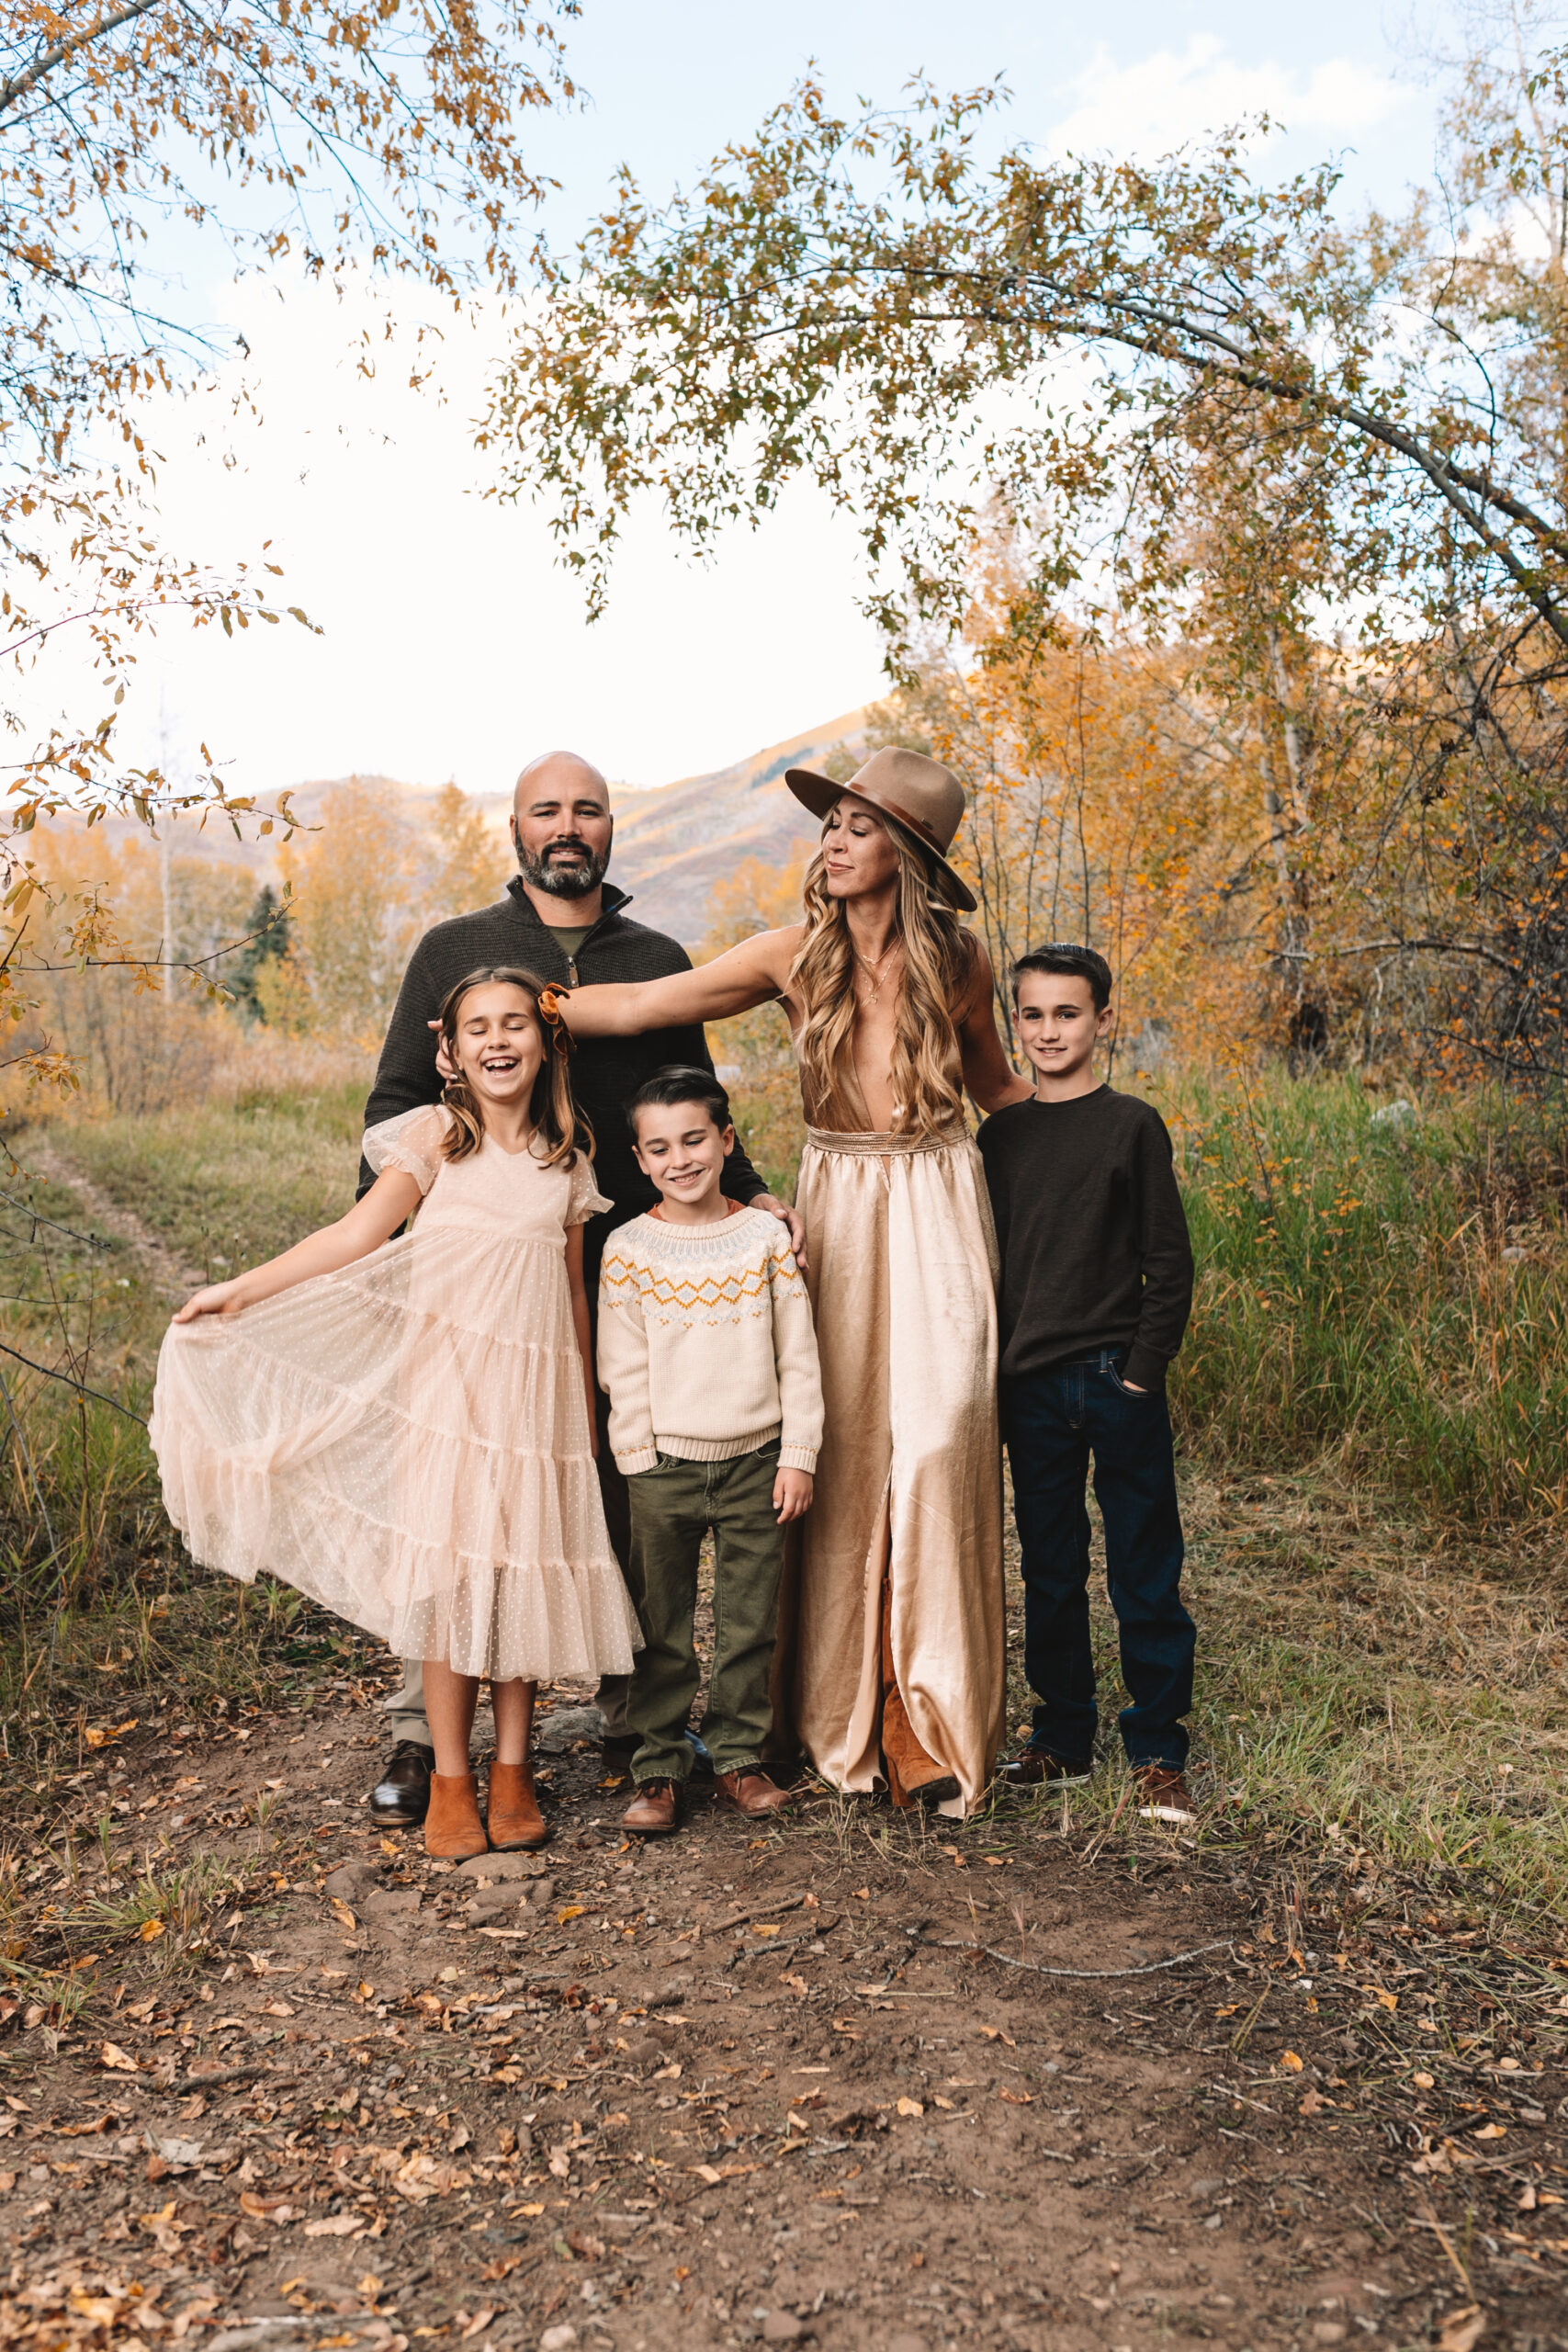
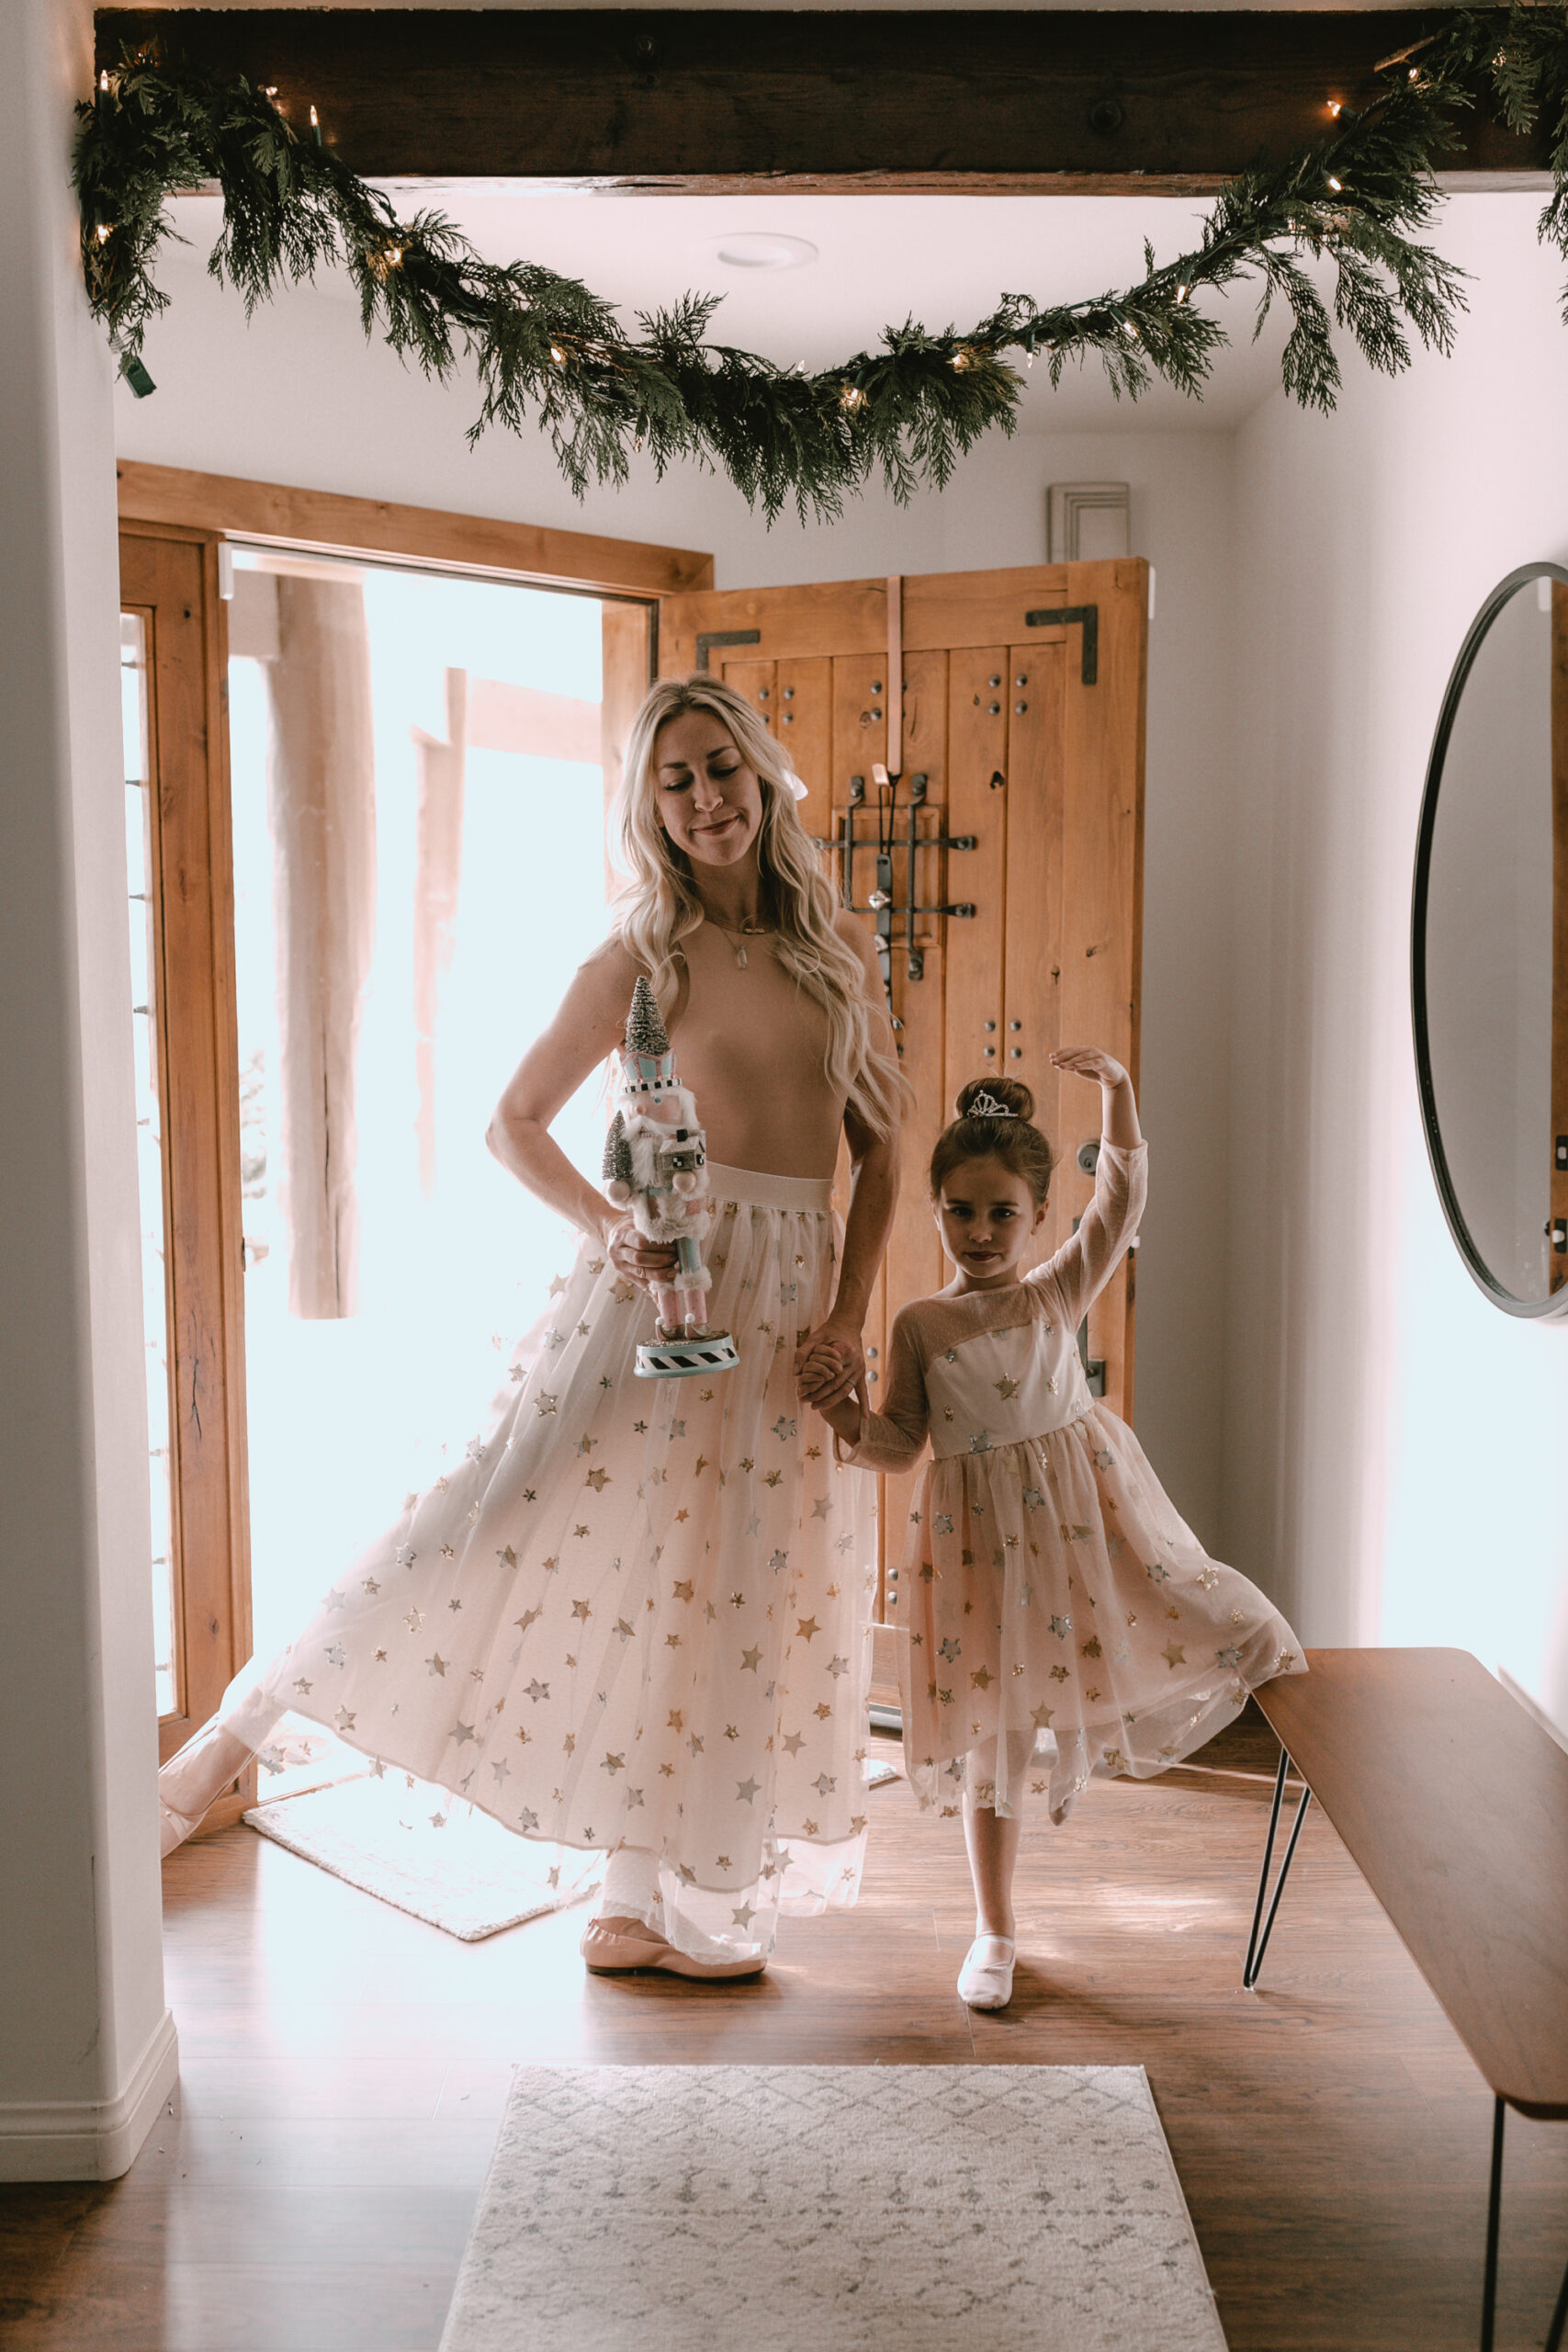
glam mama hair brought to you by hidden crown
 I haven’t cut my hair since before I got pregnant with my first baby, which was more than five years ago. After my husband and I go married [which was about four years before we started having babies], I chopped it off. It was fun and liberating, but I basically have been working to grow it out ever since. The pregnancies helped get it as long as it is today, but of course after each baby, I also had the dreaded fall out, that left me with those annoying baby hairs that stick straight up and a thinner mane. And even thought my hair is pretty long and not terribly thin, I wasn’t blessed with the lush thick locks my mom and sister have [jerks].
I have always toyed with the idea of getting hair extensions, but I was worried about the damage and the upkeep, not to mention the expense. And now that I’m a SAHM, it seems silly to spend too much effort on hair as it usually ends up in a topknot, or my personal favorite, a braid. But as I got more into braids over the summer, I realized I did want an ultra chunky braid like I was seeing around my Instagram feed
I played around with different kinds of braids and pulling through the hair to give a thicker appearance. But I finally realized that a lot of these beautiful, chunky braids I was seeing around were, as such, because the girls wearing them had in some sort of temporary hair extensions.
After doing some research on different types of temporary hair extensions [to avoid the damage and upkeep of the more permanent kind] such as clip-ins and tape-ins, I found Hidden Crown. Hidden Crown seemed like the most simple hair extension option out there, which is perfect for a busy mama like me who doesn’t really have time to mess with placing clip-ins and styling each piece to perfection. Hidden Crown has a unique halo shaped design that you simply place on the crown of your head, pull your own hair through on top and style. [You can see lots of videos on how to match, place, style, and remove your Hidden Crown on their YouTube channel] I just wanted my hair to be a little bit thicker and a little bit longer, both for when I wanted to spend time styling it to go out [haha we know that is rarely these days], and for when I just wanted to have a cool braid to run around all day with.
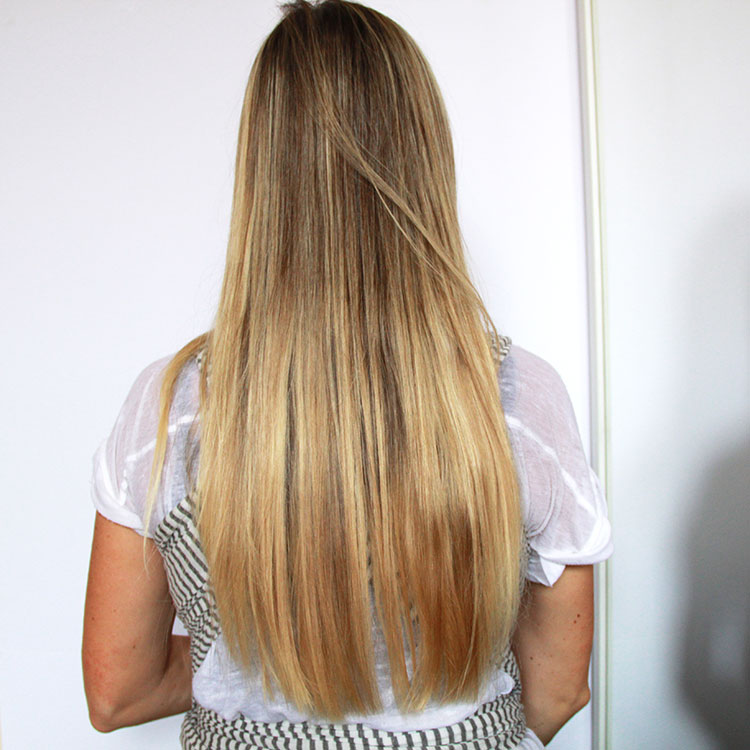
So now you know my mermaid hair secret! The above lead image is from our newborn mother + child co. photo session, one of the few times I have actually curled my hair lately. But I also wanted to show you how easy and awesome this hair is for everyday, so here is a front and back picture of me before placing my hair. And lately, I do wear my Hidden Crown almost every day. It makes me feel a little less frumptastic. [disclaimer: please disregard my eye bags, badly overgrown postpartum roots (let’s call it ombre), and the baby in the Solly Baby Wrap who true to form, refused to be put down while I took these pics. #keepinitreal]


And here is after. It might be hard to tell in the picture, but this little crown of hair almost doubles the thickness and adds about three inches in length from my natural hair. Hidden Crown put me in touch with their color expert when I ordered so I could match my hair color perfectly, and the website was super helpful when I was trying to decide what length I wanted to go with. [I am wearing color 60/8p in the 20″ length.]


The difference is more noticeable in the back because my natural hair is all one length and not layered at all. But usually when I wear my Hidden Crown, I curl my hair or put it in a braid and it blends perfectly [these pics are just air dried hair without any styling].
I also wanted to include this little step-by-step for you of my current go-to braid of the moment with my Hidden Crown Hair in: The Super Chunky Side French Braid. Super fast and easy to do and looks like I actually tried to pull myself together with minimal effort. I often get complements on this braid when I am out and about and again I love it because it is SO easy. [disclaimer #2: get ready for more awkward selfies.]

This is a pretty straight-forward braid so I’m not going to go into too much detail here.
- After placing your Hidden Crown, start with hair in a far side part. Grab a small section as close to the top of the part as possible.
- Add strands along the desired side of the hair, pulling around from the back as the braid gets lower and being sure to keep the thickness of each section even as you go.
- Pick up your Hidden Crown Hair along with your regular hair – it easily blends right in!

- To even out the thickness of your braid, start from the top and pull just on the outer base sections of the braid, switching from each side as you go, all the way down.
- I like to braid as close to the end of the hair as possible. Tie off with a clear elastic.
And voila! A beautiful thick braid that takes you through your busy mama day with your hair out of your face but still looking fab!
For more hair inspo, tips and tricks on Hidden Crown, be sure to like them on Facebook and follow on Instagram.

I did receive product in exchange for this review and post, however as always, all opinions expressed here are my own.


