super simple hair for busy mamas

I know I’m not the only busy mama out there who just wants a super simple way to do my hair, that makes me look and feel somewhat put together?! Like ya know, maybe not always a top knot. Amiright? Before kids, I used to either blow out or curl my hair every. single. day. for work. Nowadays, I’m lucky if I get a shower in. Dry shampoo for days people. Not to mention the toll that birthing three babies did to the thickness of my hair. Not that it was super thick to begin with, but I lost a lot postpartum with each pregnancy. Although I will credit those little love bugs with the length I’ve achieved. (I haven’t cut my hair more than a trim in 10 years!)
So after I had Diego 2 1/2 years ago, I was looking for a way to make my long hair feel as thick and luxurious as I felt like it should after having grown it out for so long. I explored the idea of glue-in extensions, but the more I read about them, the more I got nervous about the damage it would do to my already thin and brittle postpartum hair. Not to mention the expense and the upkeep. Oy. I had also heard a lot about clip in extensions. But that seemed like a lot of work to get them placed and styled just right each time. I don’t have time for that!
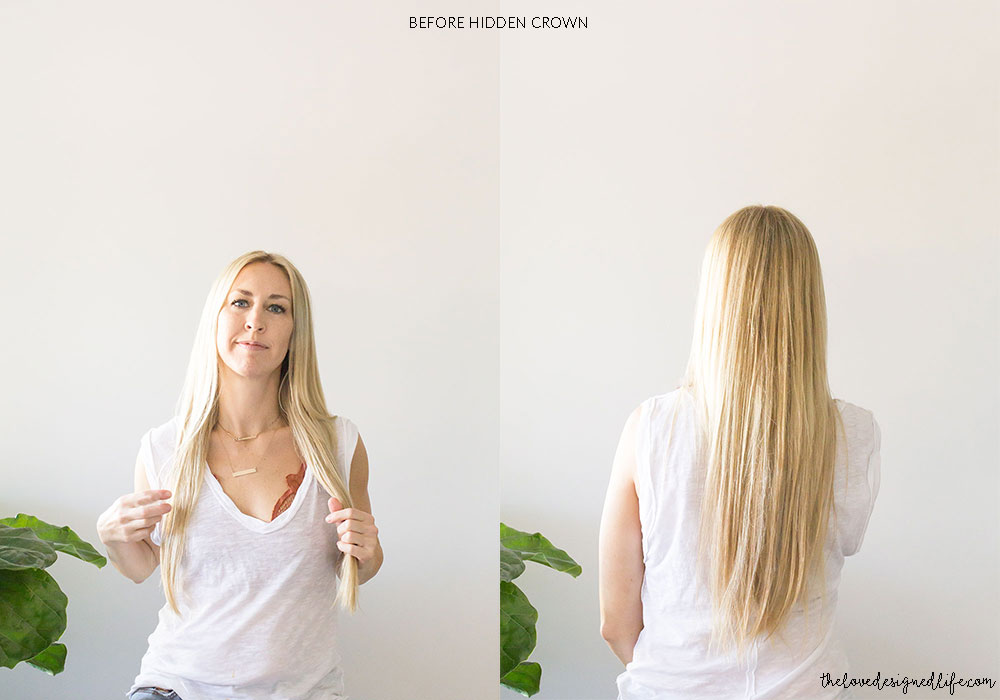
Then I came across Hidden Crown Hair. It’s just one piece that goes on around your head, kind of like a headband or a crown [hence the name]. Then you pull you own hair over the top over the top so it blends in and looks completely natural. It takes just minutes to put in and like, a second to take out! Because my hair is so long, I actually use a clip to pull up the crown of my own hair first, then place the Hidden Crown on, then let the rest down. Here’s a little step-by-step of me putting it in, so you can see how easy it is!


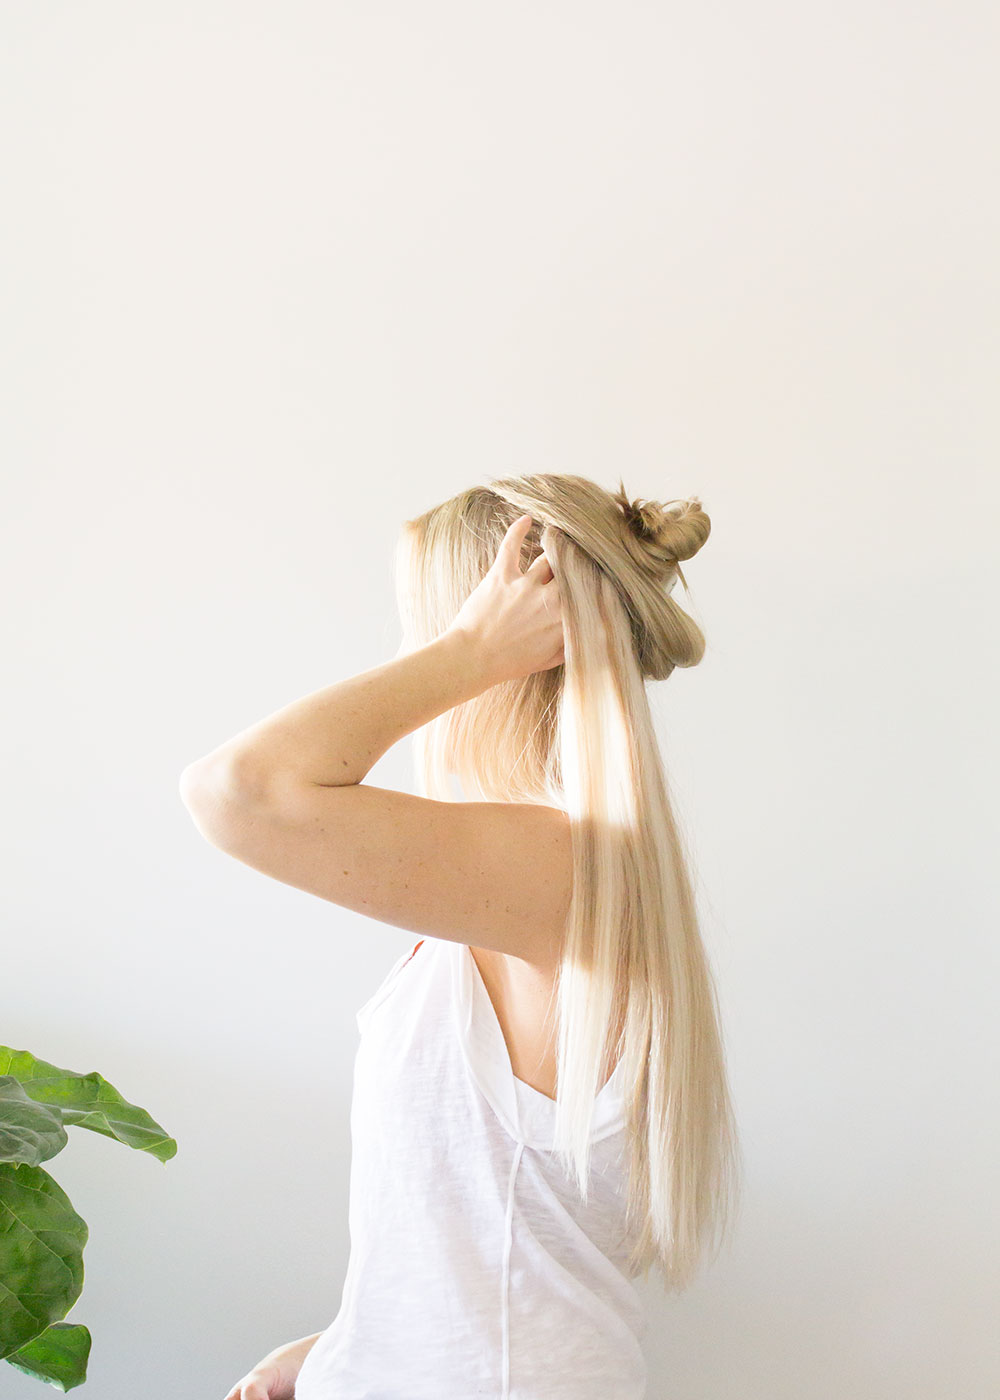
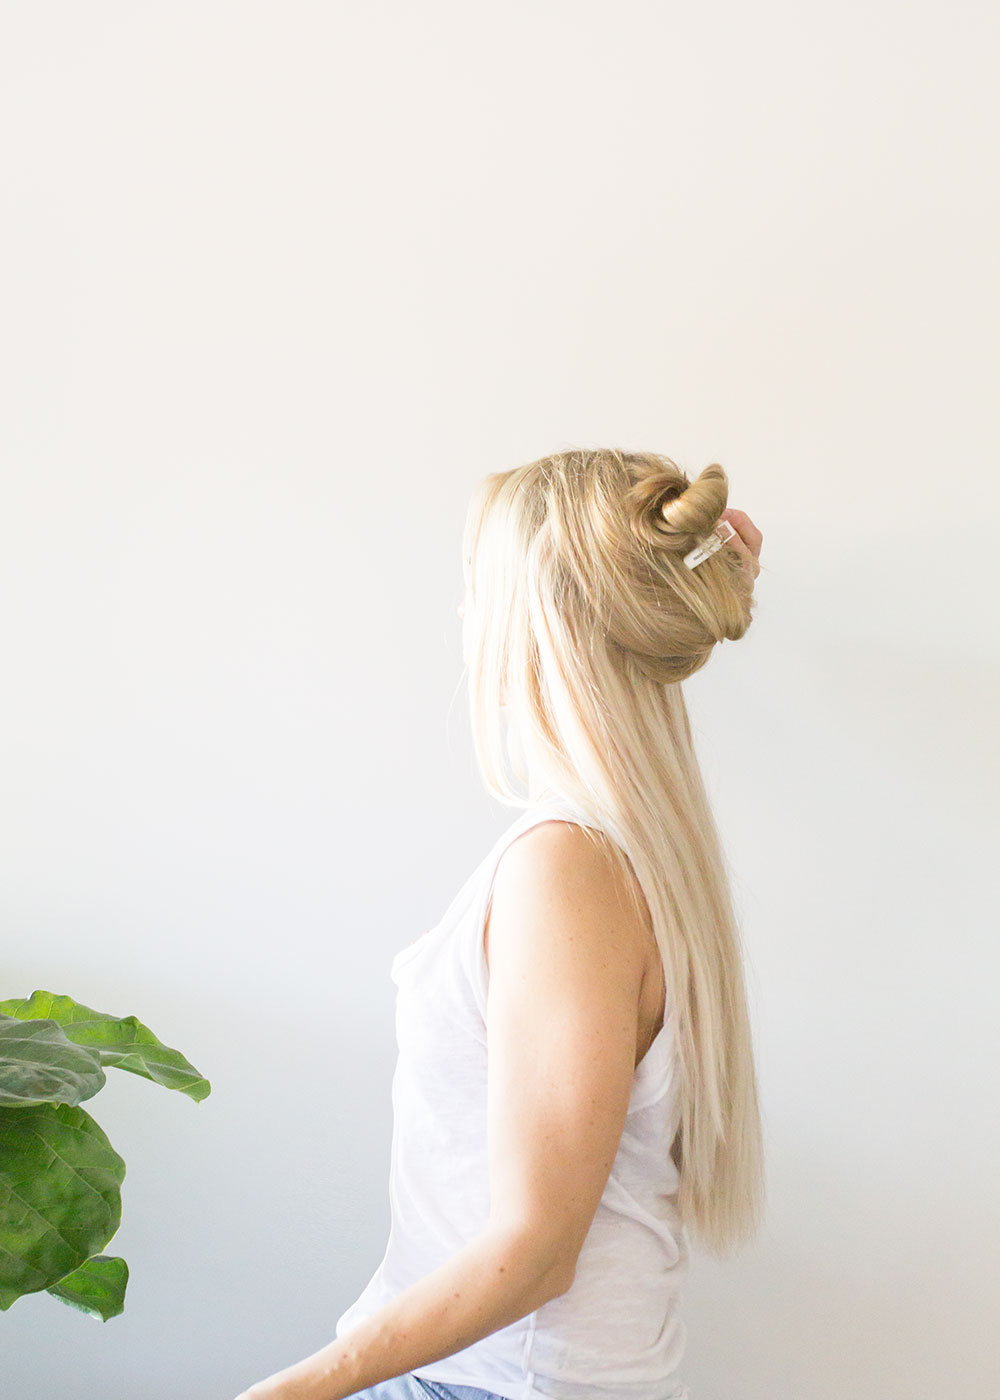


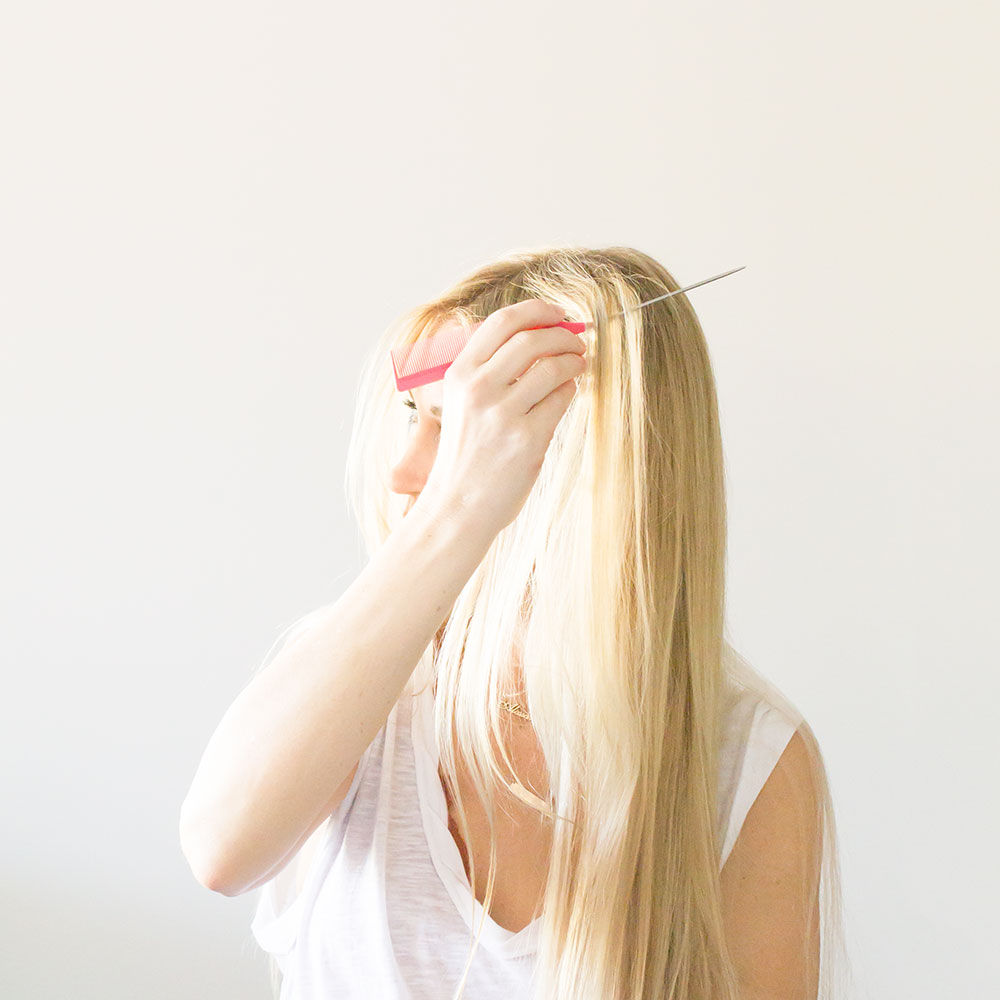


wearing the Hidden Crown 20″ in Ash Light Blonde with Lowlights 60/8P]
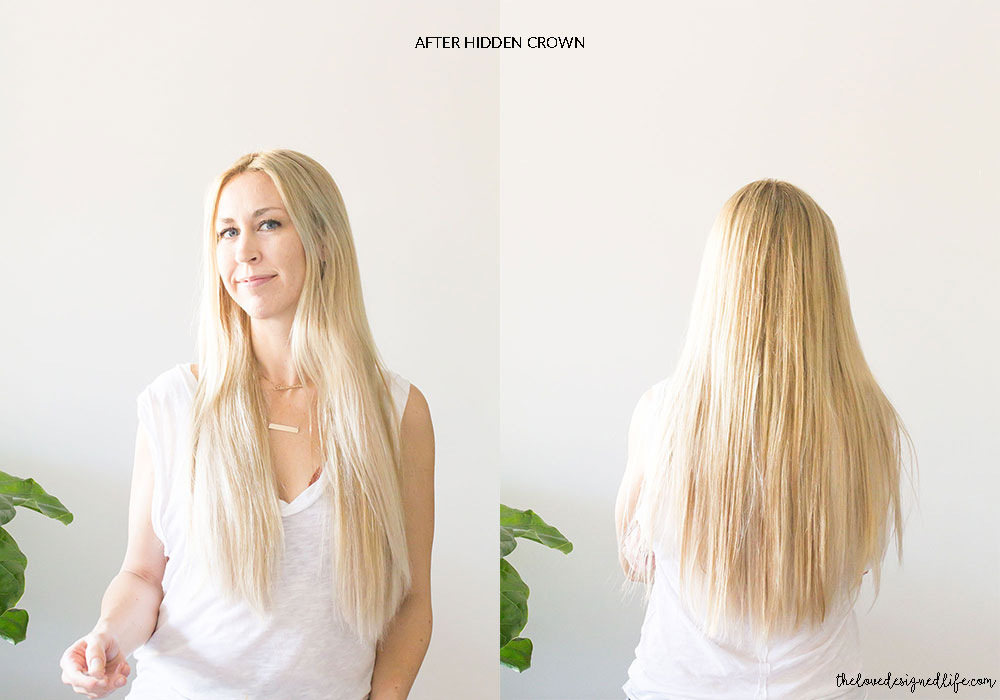
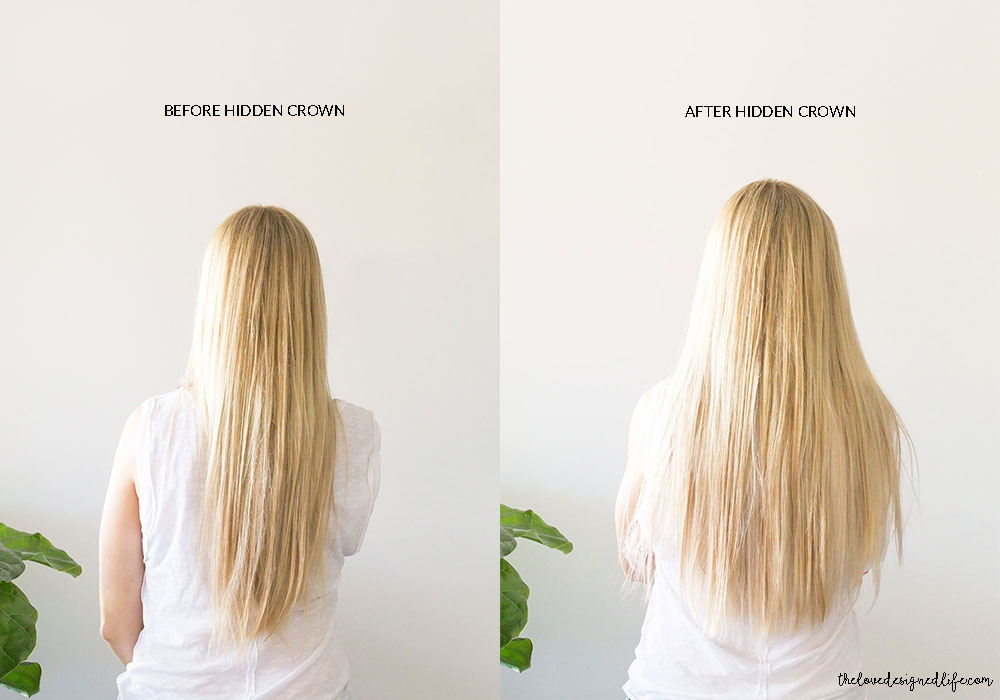
And just to show you how much thickness it adds, here’s one last side-by-side of before and after:
2 1/2 years later and I still wear my hidden crown for pretty much all of the photos you see me in here on the blog or on my Instagram. Also if I have an event to go to, a hot date with my husband, and basically anytime I just want a little extra fullness [and have actually bothered to do my hair lol]. So when Hidden Crown offered to send me over a new one, I of course jumped at the opportunity! I actually ended up going with the exact same color and length I had before. [I am wearing the Hidden Crown 20″ in Ash Light Blonde with Lowlights 60/8P]
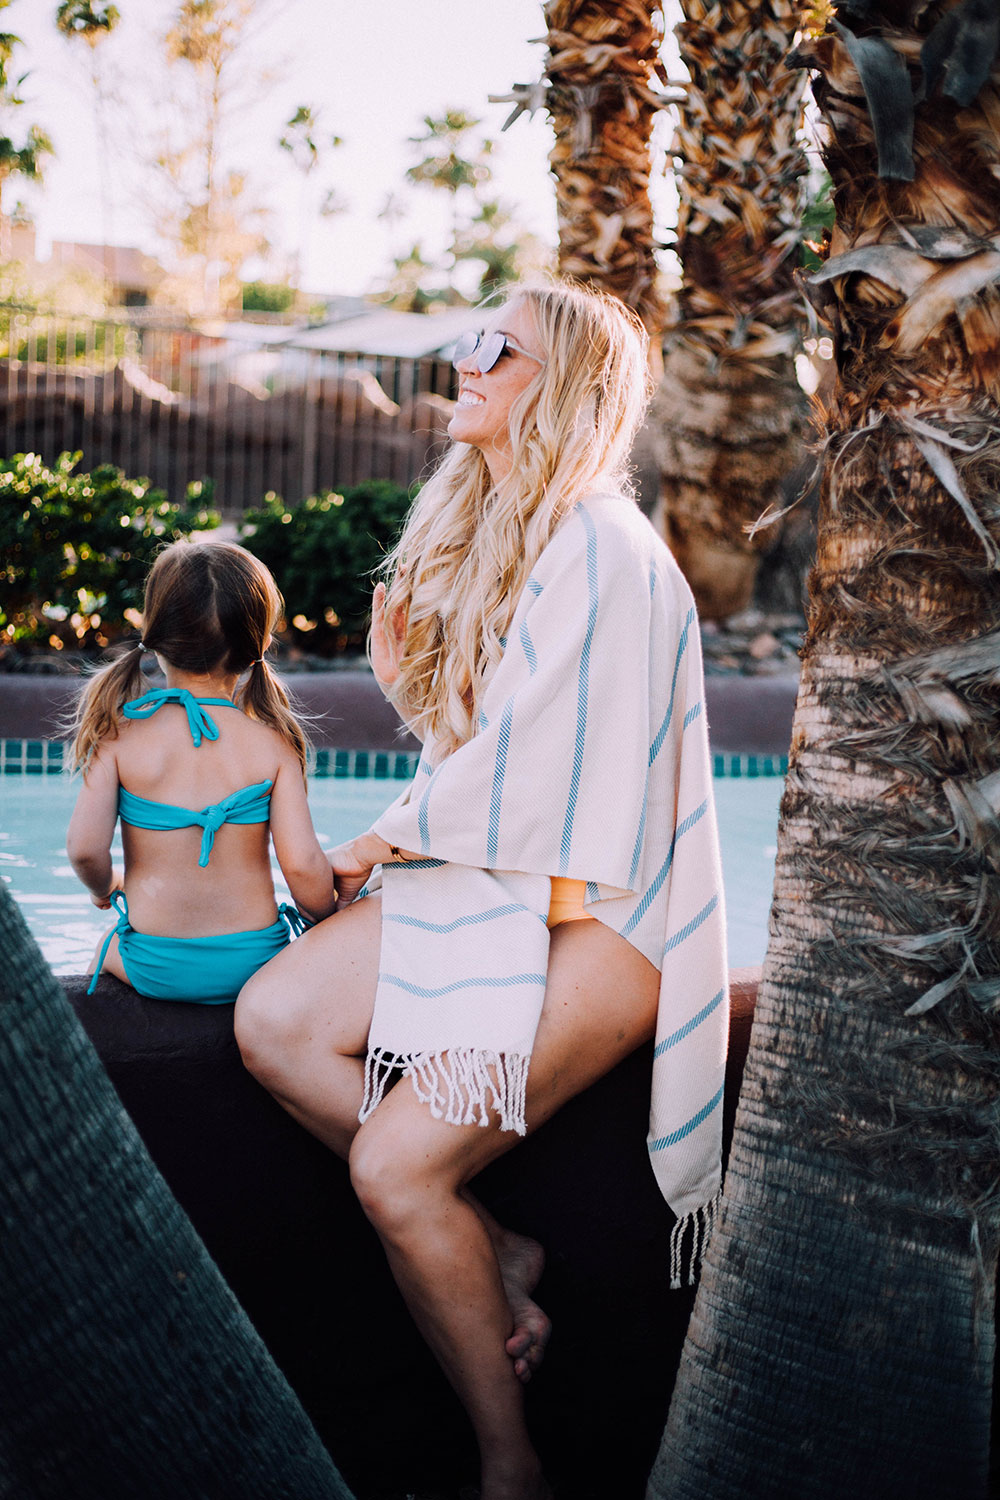
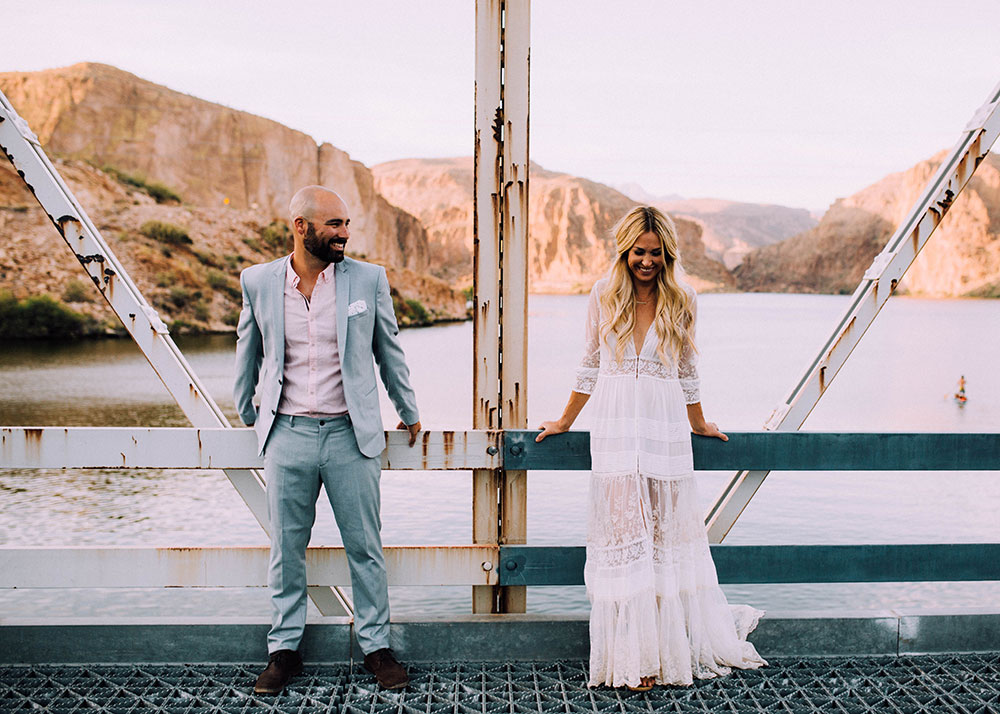
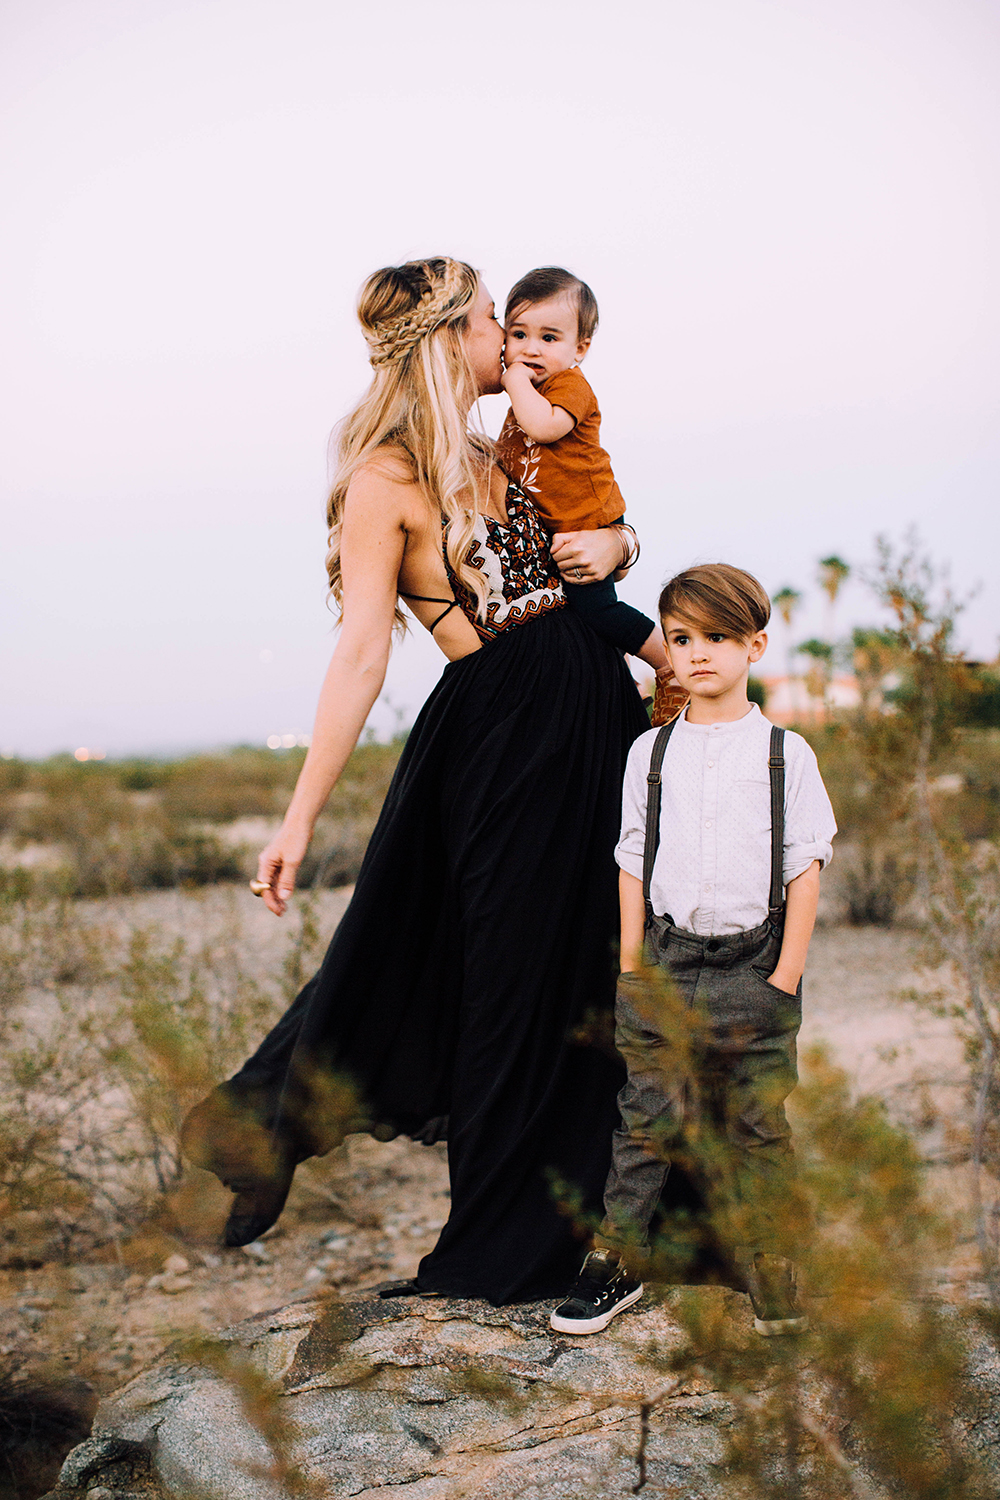
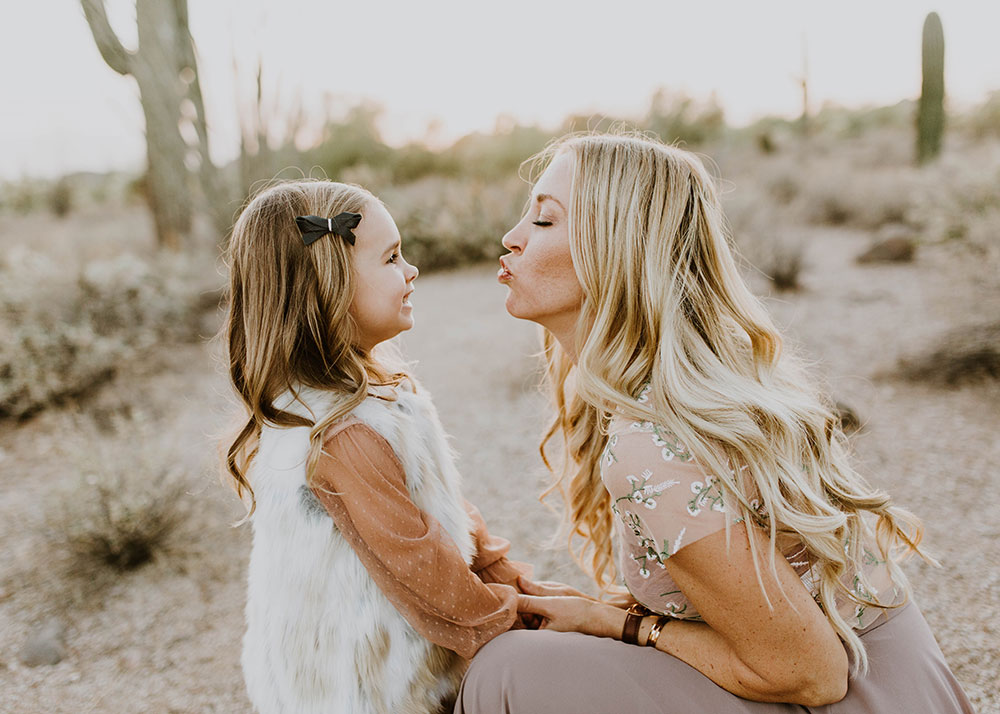
My old Hidden Crown is actually still in pretty good shape, since I’ve taken good care of it. But over time it has lost some of it’s shine and smoothness. So I will be donating my old one to my friend who runs a wonderful nonprofit that provides halo wigs to children experiencing hair loss due to chemotherapy treatment, at no cost to the family. It’s called Crowns of Courage. Be sure to check out all the great work they are doing!
Ok so now to that easy hairstyle. Whenever I wear my hair like this, I always get lots of complements as well as a few questions about how I do it. Or comments like, “I could never do that with my hair!” I am here to tell you my friends, you can! As I mentioned, my hair is long anyway, but to get the braids extra thick like this, I always wear my Hidden Crown! To achieve this look, no matter what length your natural hair is, I would recommend a Hidden Crown of at least 16″ or longer [mine is 20″ and I’m tall!].
First, divide your hair in two sections.
 Then, braid each side, all the way down to the bottom as far as you can. Secure with clear elastics.
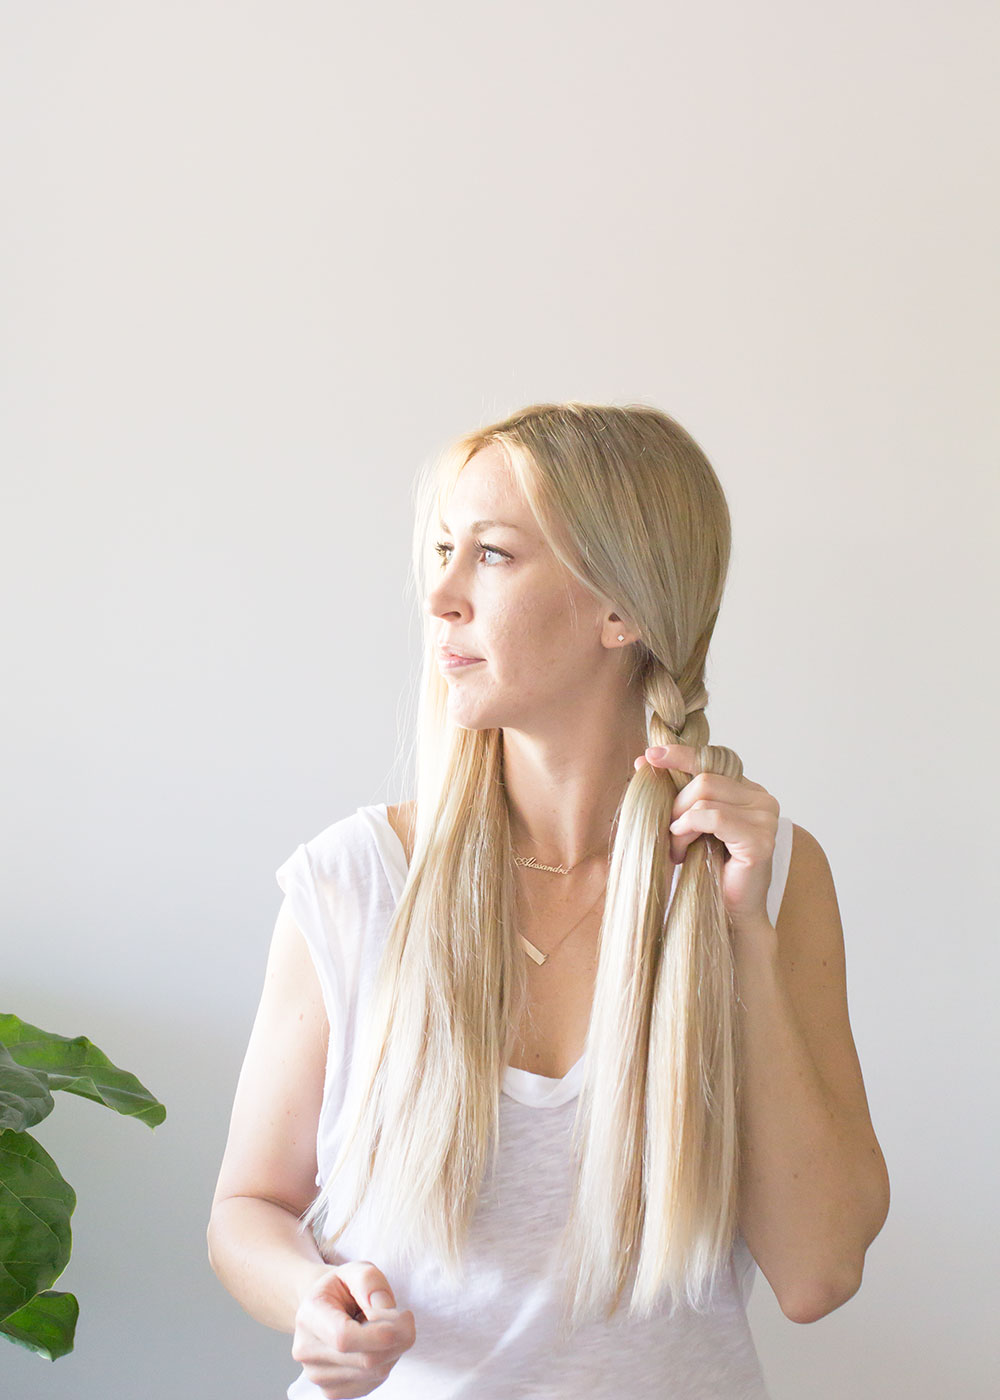

I like to pull through the outside edges of my braids for even more fullness.


Next, simple take your two braids and criss-cross them over the top of your head.

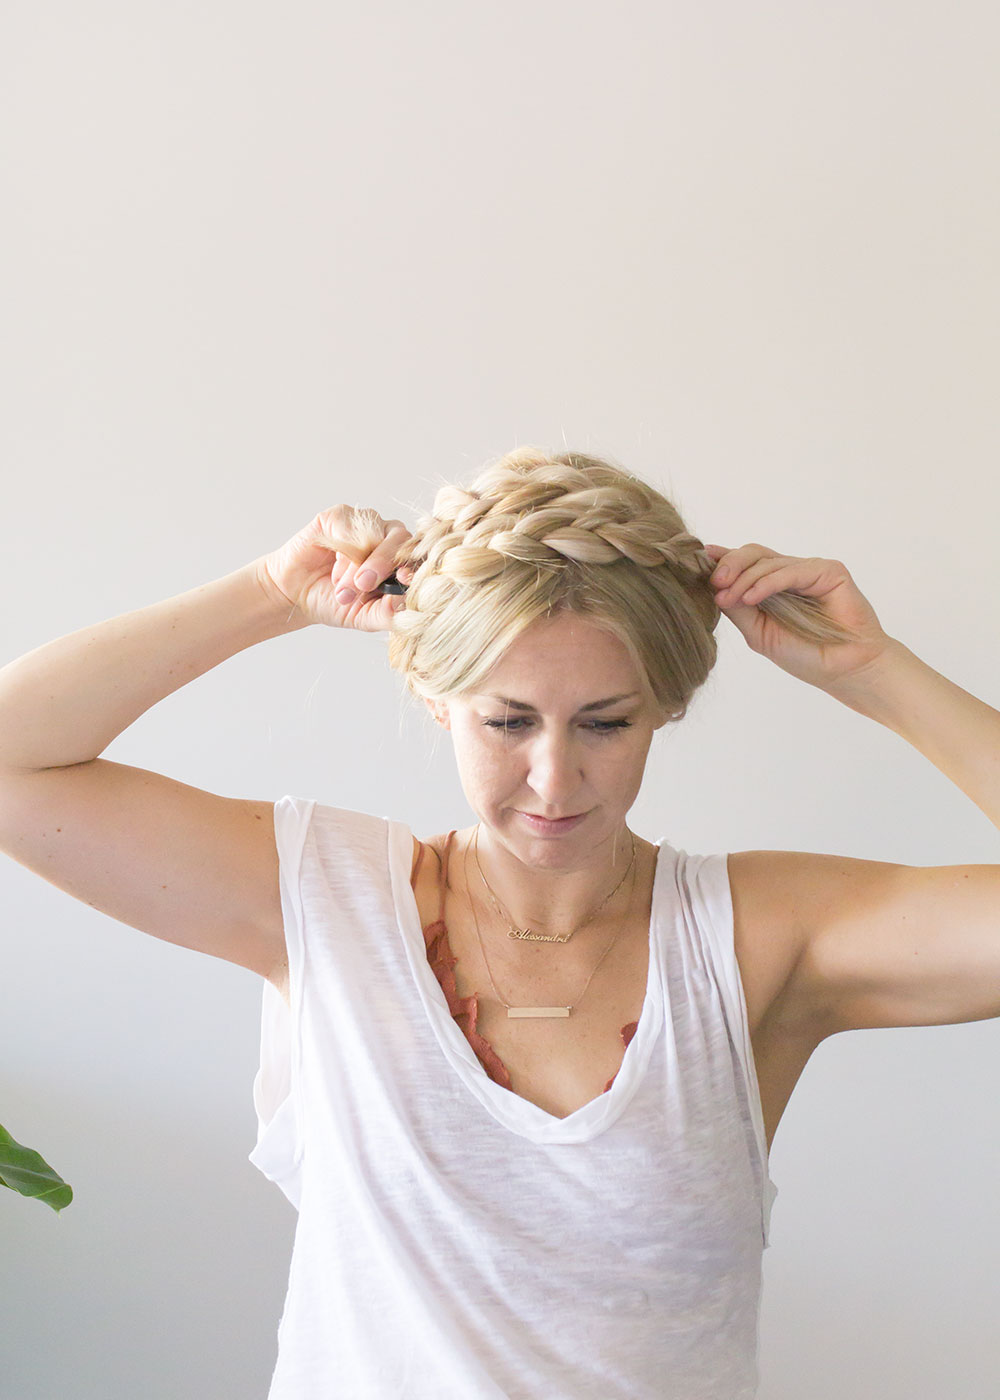
Bobby pin each side near the tail of your braid. Add extra bobby pins around the braid to make sure it’s secure all throughout.


And that’s it! A super chic hairstyle that takes just minutes to put in, even if you’re a busy mom!


