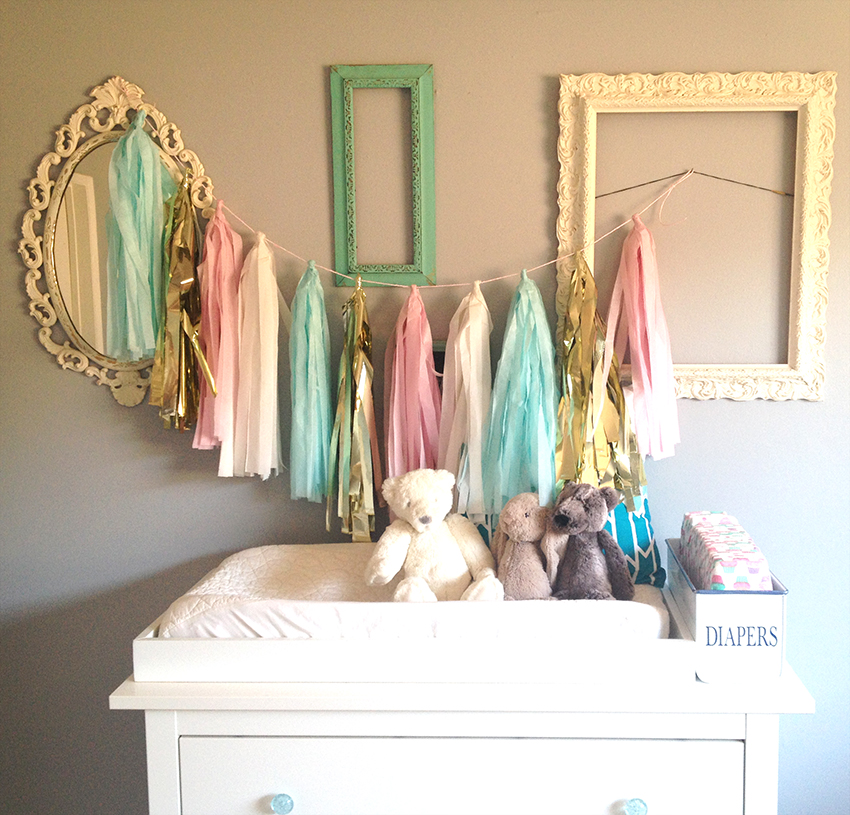
diy tissue tassel garland
This project was one of those that seemed relatively easy at first – but ended up taking a lot longer than I expected! But don’t worry, it really is pretty simple. I wanted to make my garland a little differently than some of the other DIY blog posts I have seen out there, so it took a bit of trial and error. Which of course, you do not have to do, since I am writing this post for you all!
what you will need:
♥ As many different colors of tissue paper as you want. 20″x 20″ is pretty standard and is what I used to make these longer tassels. Each tassel takes two pieces of tissue paper so read the package because different companies package different amounts. If you can, find tissue that isn’t folded in half over itself (only folded in the length). It’s not essential, but it helps to minimize the kink in the center when you open the tissue.
♥ Decorative rope or string, at least 60″ long.
♥ Double stick tape.
♥ Scissors.
tips before you start:
♥ The best place to find lots of tissue paper options is a party store. I went to Michael’s and Target before I finally made it to Party City, where I found they had everything I needed to begin with. Of course you can always order from somewhere online if you are looking for certain colors or patterned tissue.
♥ The metallic tissue (aka mylar paper) adds a super fun shiney aspect, but is also very difficult to work with. Unlike regular tissue paper, it slips and slides around and also will tear pretty easily once you have cut into it. For best results, only fringe cut one or two layers of this tissue at a time. Regular tissue you can cut several layers together with no problem.
♥ These instructions are for a longer tassel. I used standard tissue paper, but only fringed from one side. Other tutorials I have seen fringe from both sides, leaving the center so you can twist and fold there. This is great for a shorter tassel/mini length garland and will also give you a cleaner finish on the top.
1./ Spread out your tissue. For regular tissue paper, cut no more than 10 sheets together at a time. As each tassel only needs 2 layers, I cut 6 sheets of each color at a time to make 3 tassels in each color (x4 colors = total of 12 tassel strand). Place something heavy on the side where you are not cutting through to help hold the tissue in place. Hold the other end with your hand while cutting up. Width can be whatever you chose. Mine here are about 3/4″. In general, wider is easier and narrow is more challenging.
2./ Carefully pull up and seperate your first 2 sheets and set aside the rest. Place on a flat, clean surface and start rolling from one side.
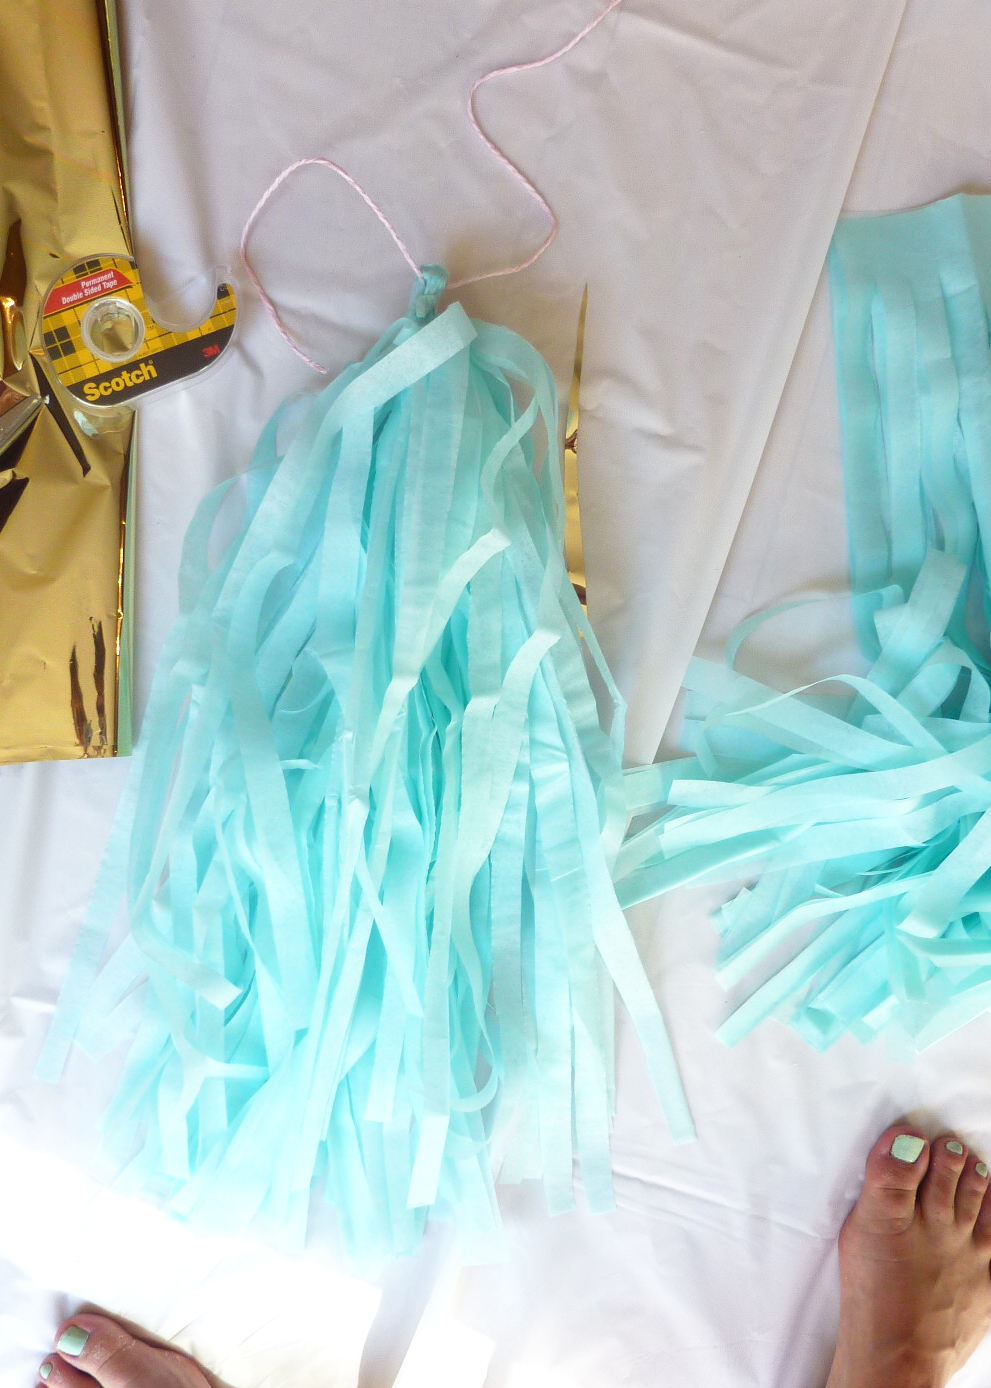
3./ As you are rolling, periodically pick up the tassel and very carefully untangle the fringe with your fingers.
4./ Once it’s all rolled up, twist at the top and bend over. Loop the bend over the rope. I used double stick tape to go under the inside and then wrapped it around the outside. (Not shown) wrap an extra piece of tissue around the double stick tape for a clean finish.
Repeat and continue with remaining tissue and other colors.
 Arrange and space evenly on your string. Choose your color order/repeat before you tape them all on because they are hard to move around once they are on the string.
I can’t wait to display these at baby A’s first birthday party! Let me know if this post was helpful in the comments section by clicking trough at the top of this post. I’d love to hear from you!


September 19, 2014 @ 4:01 PM
So cute! I am going to have to make this garland!