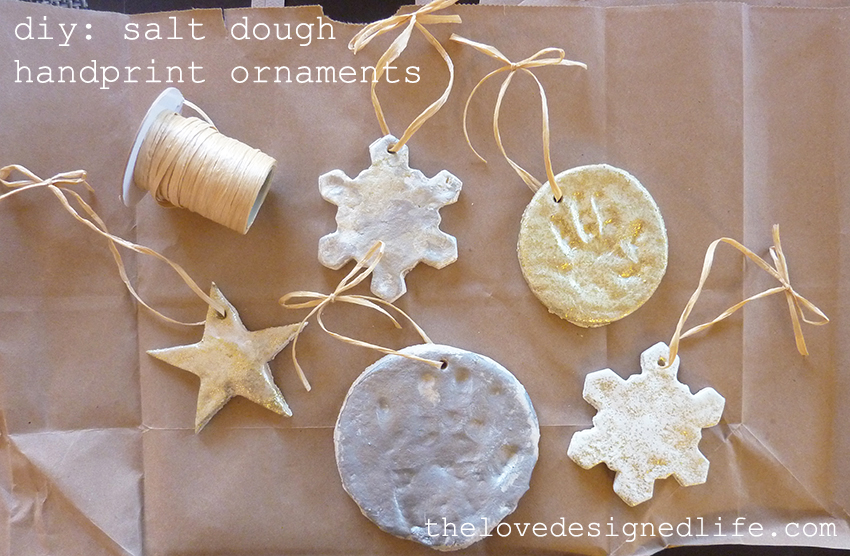
diy: salt dough handprint ornaments
Ok, I know, it’s way after the holidays already. December was kind of a crazy month around here! We moved in and slowly unpacked. Everything I want on the walls is still not hung, but it’s mostly put together now. Family came. We went on a quick little Vegas family vacay. My big A got the whole month off preschool because I did not want to rush to start him somewhere only to have him go on winter break. Anyway, more on all that later in a separate sappy post, but these were my one successful attempt at crafting with my kids this holiday season, so I had to share. Better late than never!
I was inspired to do this project by an ornament my husband made for me a few years back for Christmas. It was a kit that he used to make a handprint of our son’s hand at his second Christmas. We have a tradition of trading ornaments with family on my husband’s side every year, so I thought it would be fun if we made something this year. I did a quick search online and found this simple recipe for salt dough ornaments. Even better we already had all the ingredients and we used some paint from my craft bin, so it was free! I adjusted the recipe a little as below:
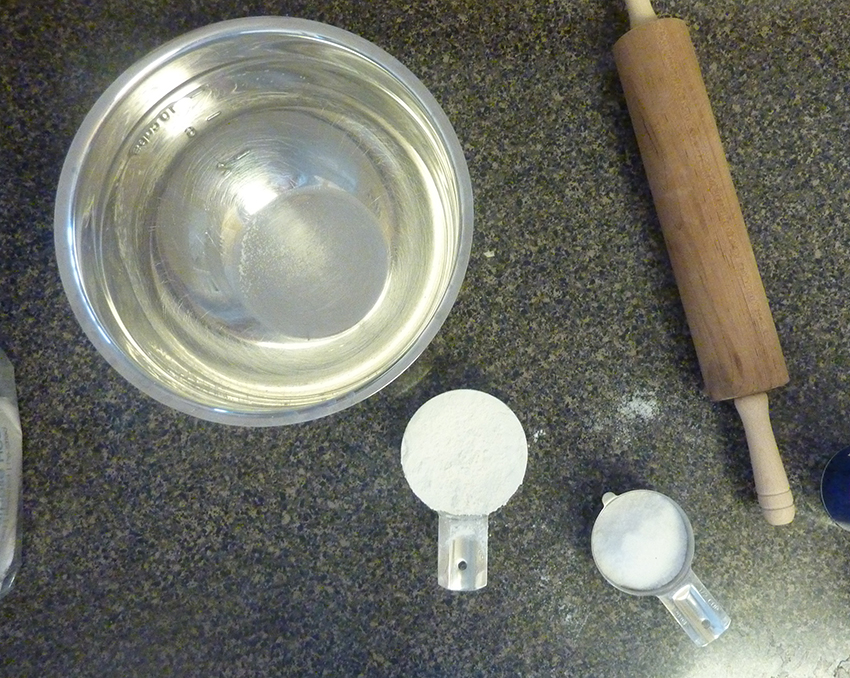
ingredients:
1 cup all purpose flour (+more for kneading and rolling)
1/2 cup salt
1 cup water (+more as needed)
[tip]: This amount made us 2 handprints + a few extra shapes. If you have a lot of ornaments to gift – double the recipe!
directions:
1./ Preheat oven to 250 degrees.
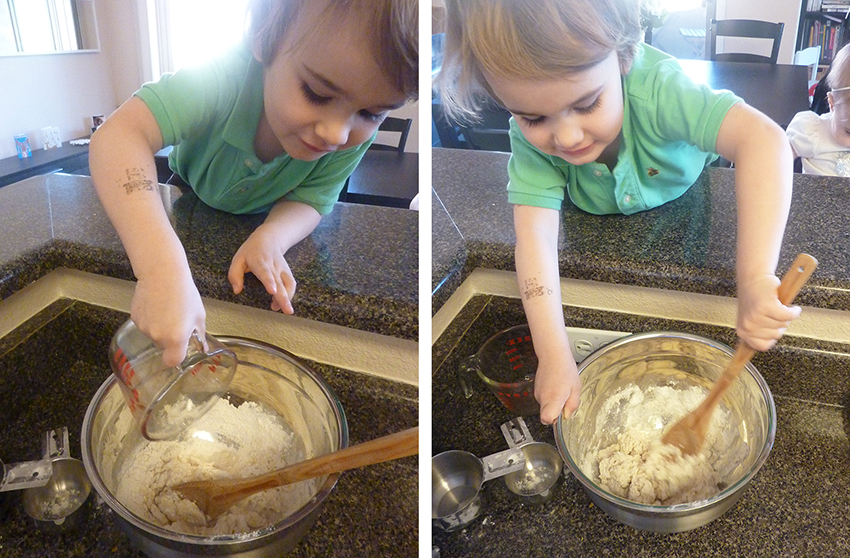
2./ Mix all above ingredients together.
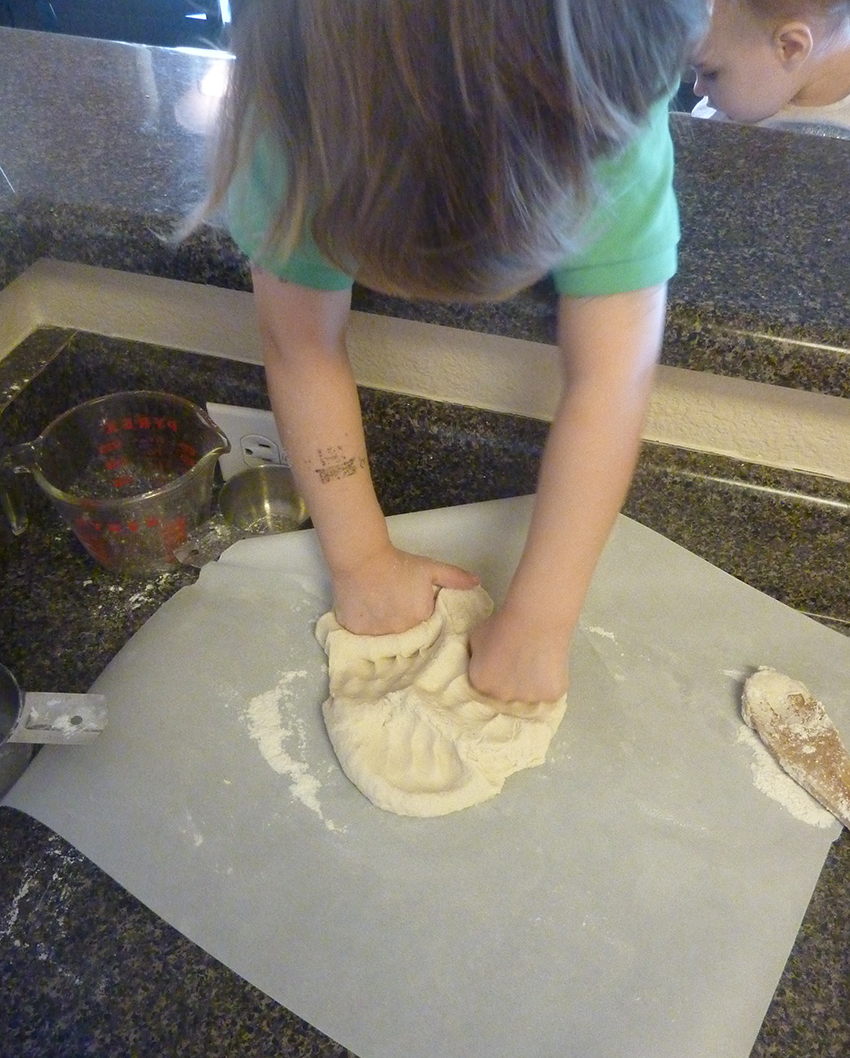
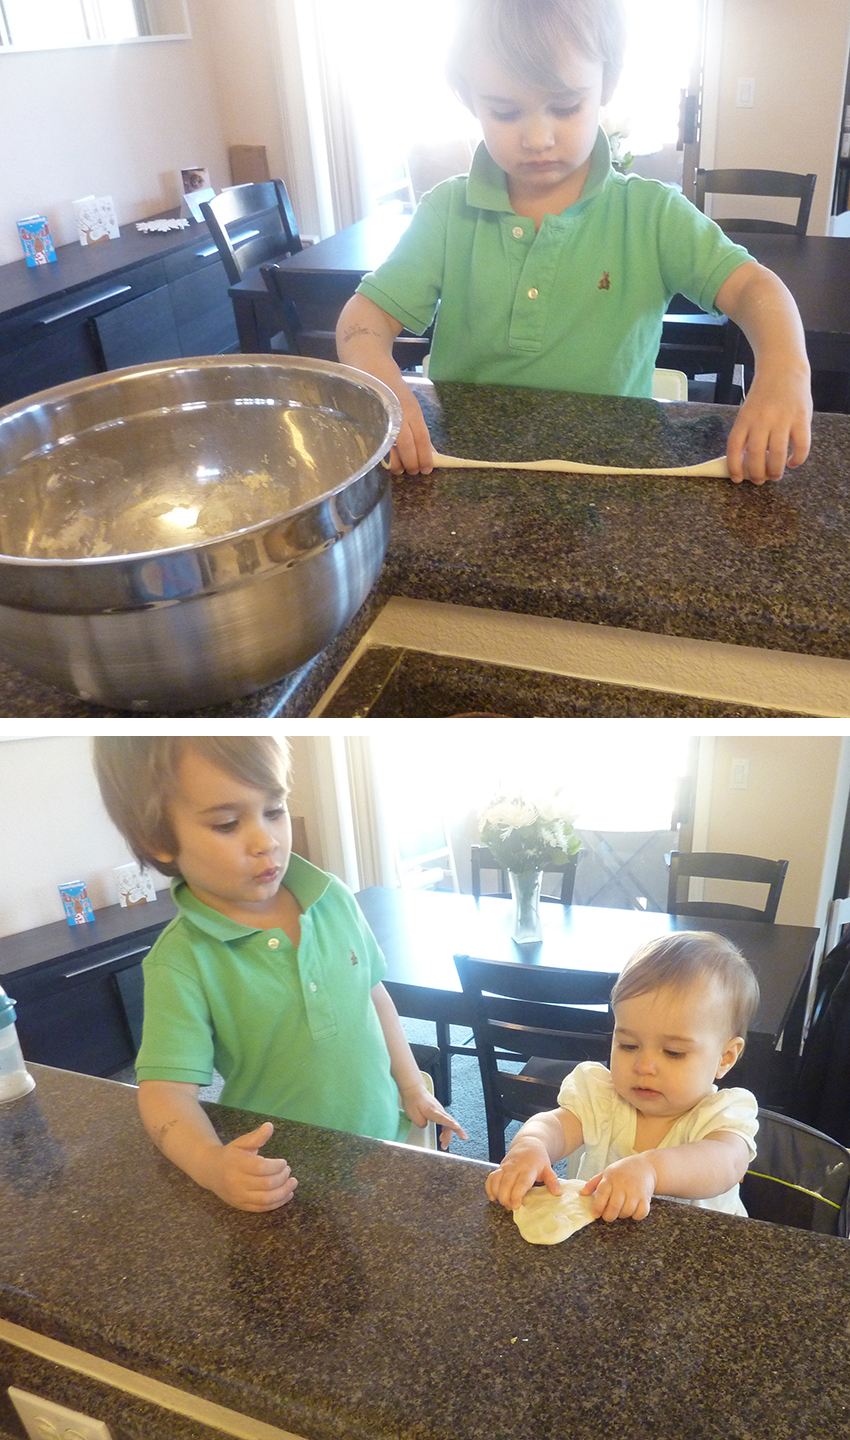
3./ Prepare work surface with flour (parchment paper or directly on a clean, smooth counter) and knead dough until it is soft and pliable. Add more flour if it is too sticky or more water if it is too dry.
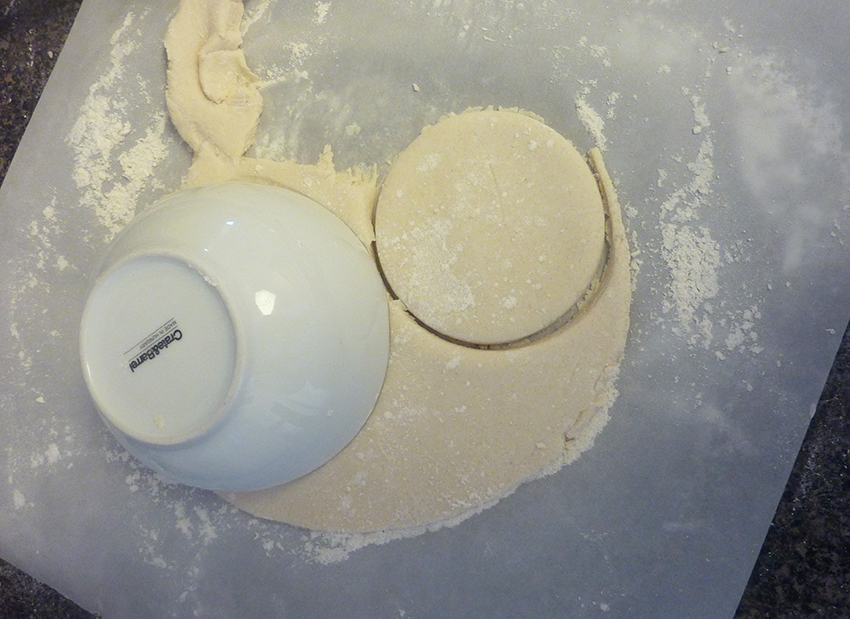
4./ Lightly flour your rolling pin and roll out the dough. If you are doing a handprint like we did, you want it to be pretty thick- about 1/2″ so you have depth for that print without poking through. If you are just making shapes, you can go a little thinner- more like 1/4″.
5./ For handprints – you can use any circular shaped object to make your platform. For my son’s hand, we used a cereal bowl and for my daughter’s, a large cup. Use other fun and festive cookie cutters for the remaining dough. We got our snowflake this year from the Honest Company in our diaper bundle!
[tip]: Don’t be afraid to re-roll out and try again if your print does not look so good after the first attempt. Baby prints are especially tricky! We did each kid’s several times.
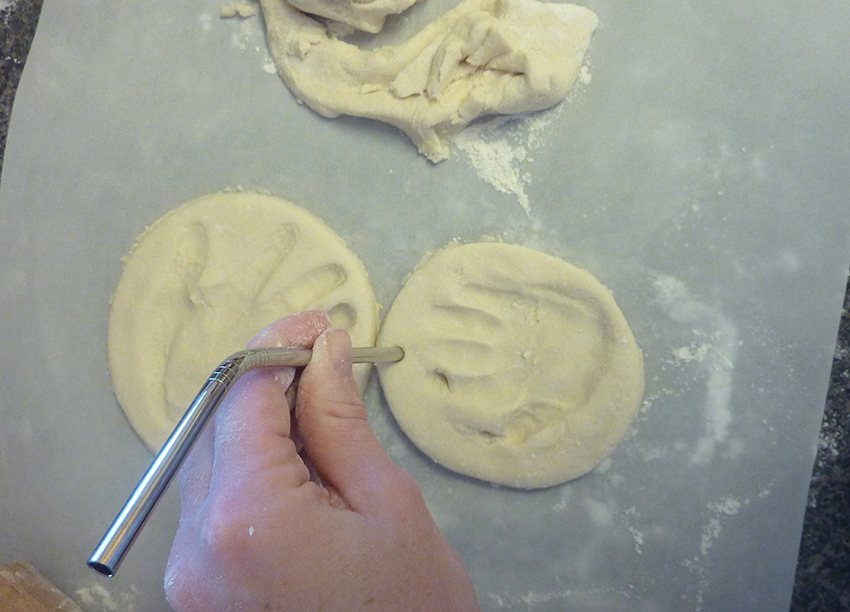
6./ Punch a hole in the top using a straw.
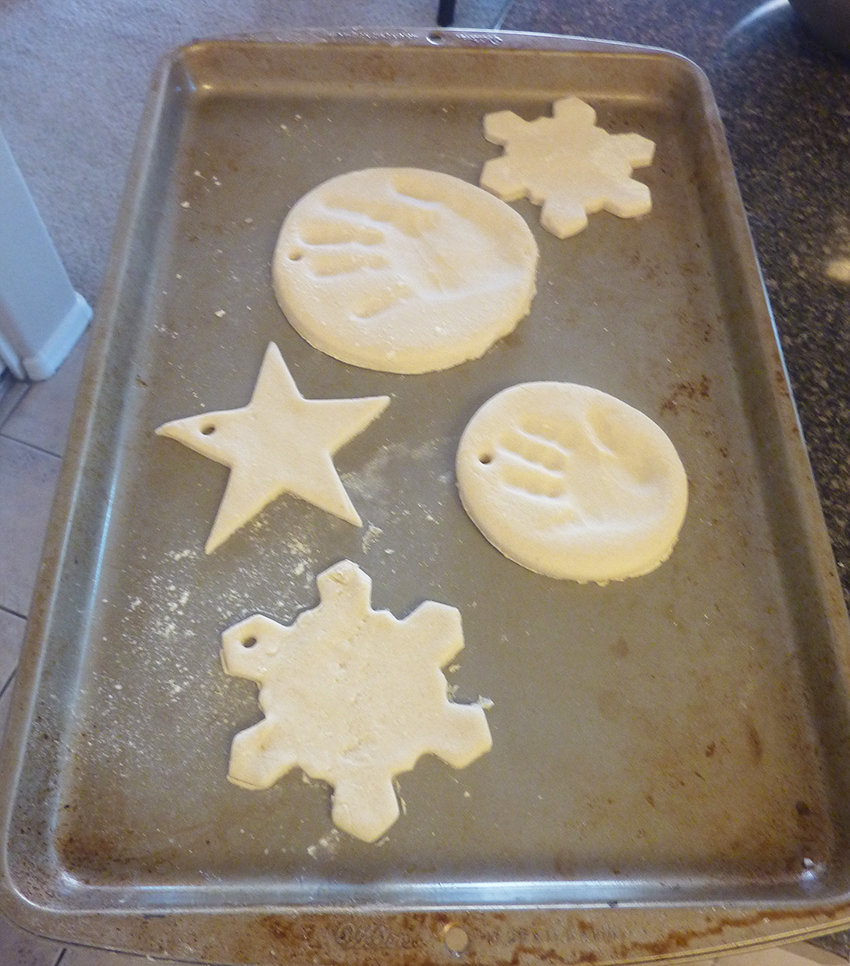
7./ Bake smaller ornaments for 2-3 hours on an ungreased cookie sheet. Our handprints took closer to 4 hours total. Flip once while baking, but be sure the handprints are pretty well set before flipping (minimum 1.5 hours in the oven before flipping). Ornaments should feel firm and thoroughly dry when they are completely done.
8./ Use scraps as play-dough while you wait. ; )
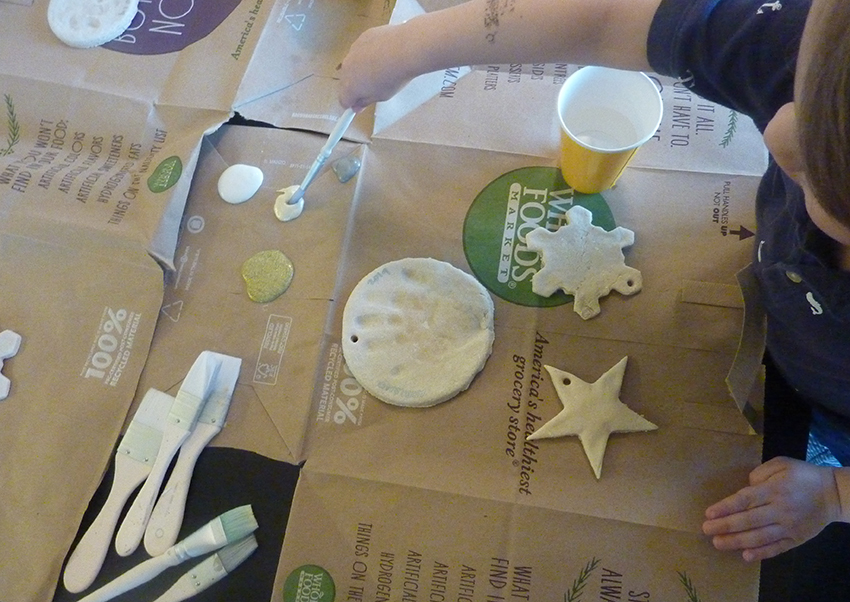
8./ After the ornaments are cool, paint and decorate to your hearts content! Clearly, only select paint colors are allowed in my craft bin.
9./ After paint is dry, attach ribbon, string, or raffia (like we did) and it’s ready to go! I also wrote on the back of each ornament the kids’ names and the year so the receivers will always remember where it came from.
My in-laws loved it! They said they would hang the handprints on their wall all year round. (Much to my son’s dismay, who insisted they should go on their tree.) See, it’s not just a holiday project after all!

