diy paper maché unicorn head

As the countdown for my little one continues, I am so excited to share with you one of my favorite projects of all the DIY projects for this magical birthday party extravaganza so far: the paper maché unicorn head!
As soon as I decided to go with the unicorn theme for the party, I had this vision of a unicorn bust coming from the wall. I was telling my sister about this and she pointed me in the direction of one I loved (and used here for my inspiration board), but was outside of my party budget. So I started looking for other options and I found this image via pinterest which lead me to this fabulous blog post by Ashley Hackshaw of Lil Blue Boo.
I pretty much followed her directions to the letter, with a few exceptions. So rather than completely re-write them all, I am just going to show you some pictures of my process and explain what I did differently. Definitely go check out her post for more detailed instructions and her whole blog for some fun inspiration!
Her timing was about right for me: about 4 hours over three days because the paper maché needs ample time to dry in between.
materials used:
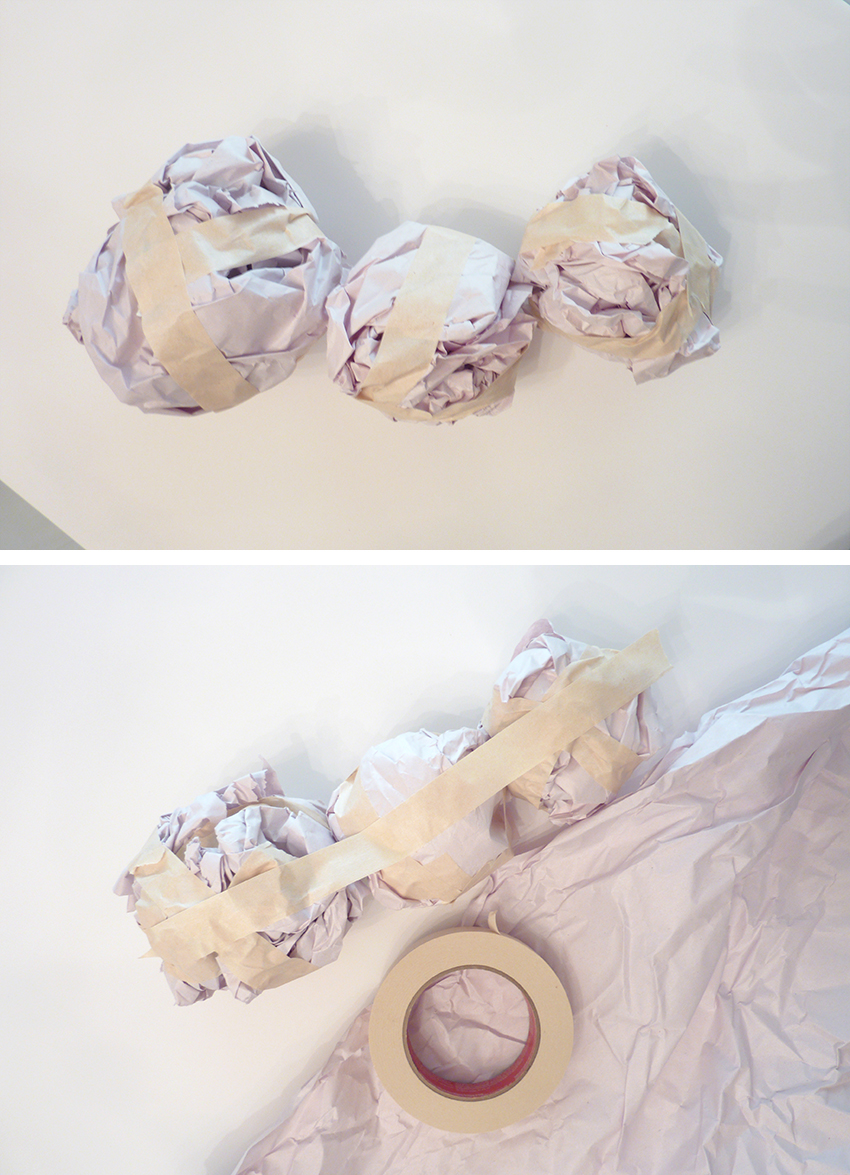
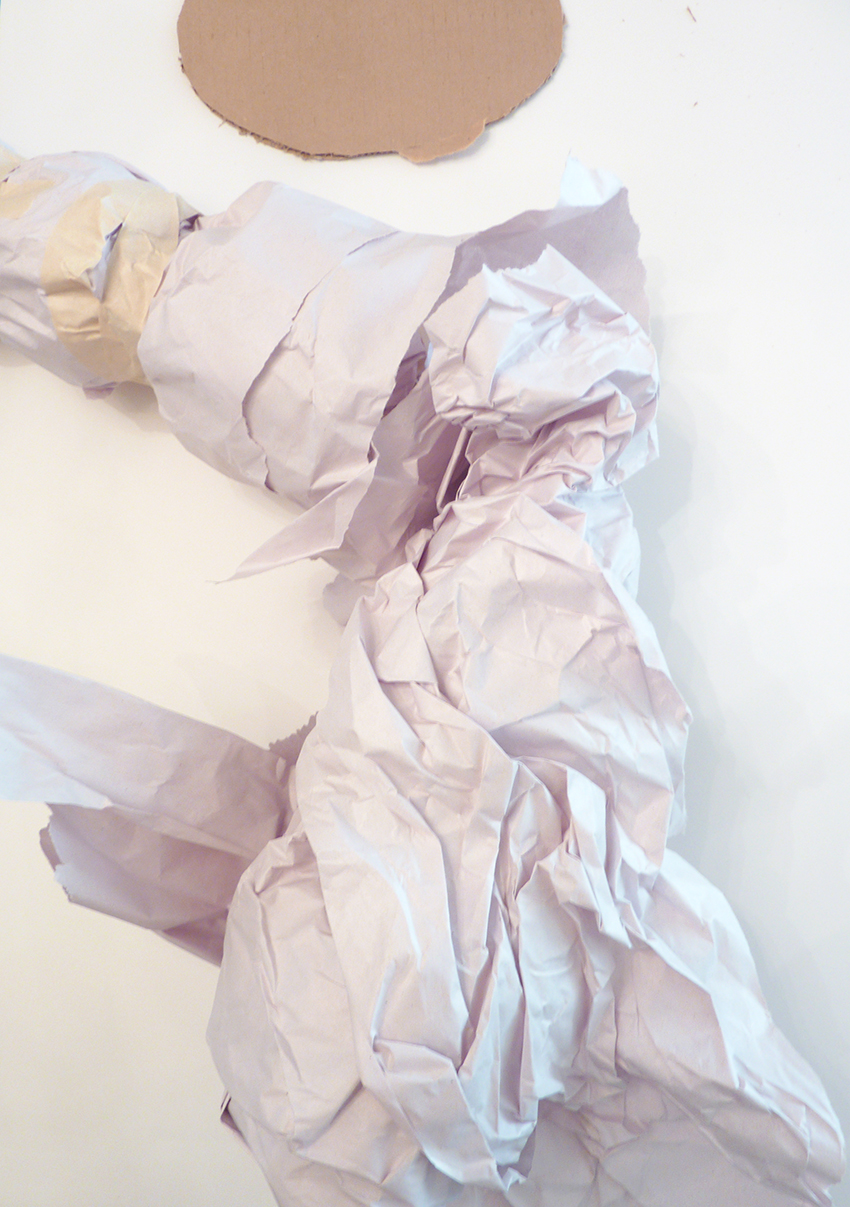
– printless newspaper (to form basic head shape)
– masking tape (to hold paper together)
– cardboard (for a flat surface against the base)
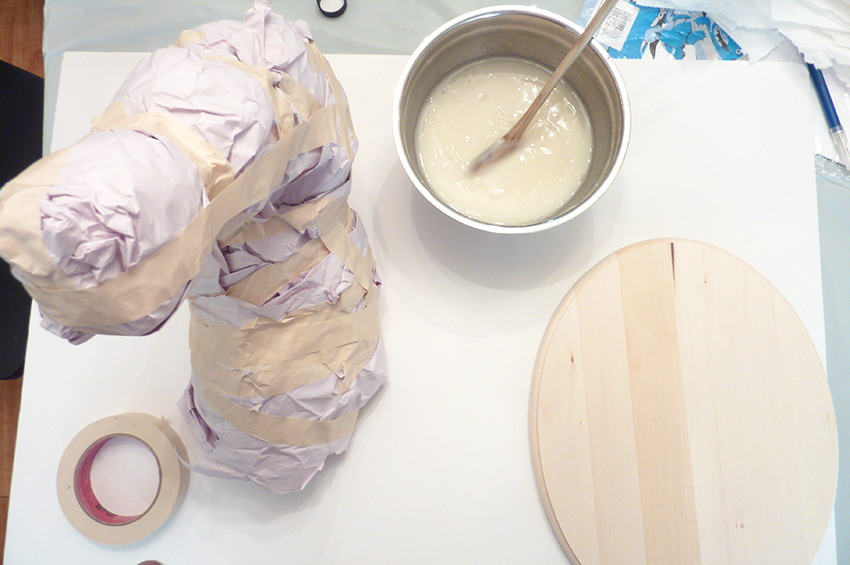
– flour/water mixture (for the “glue”)
– paper towels (to scuplt/mold)
– white printer paper (for color and finish)
– modge podge (to glue paper strips on)
– craft paint and brushes (for base) and gold spray paint (for horn)
– staple gun and super glue (to attach head to base)
– wooden platform base
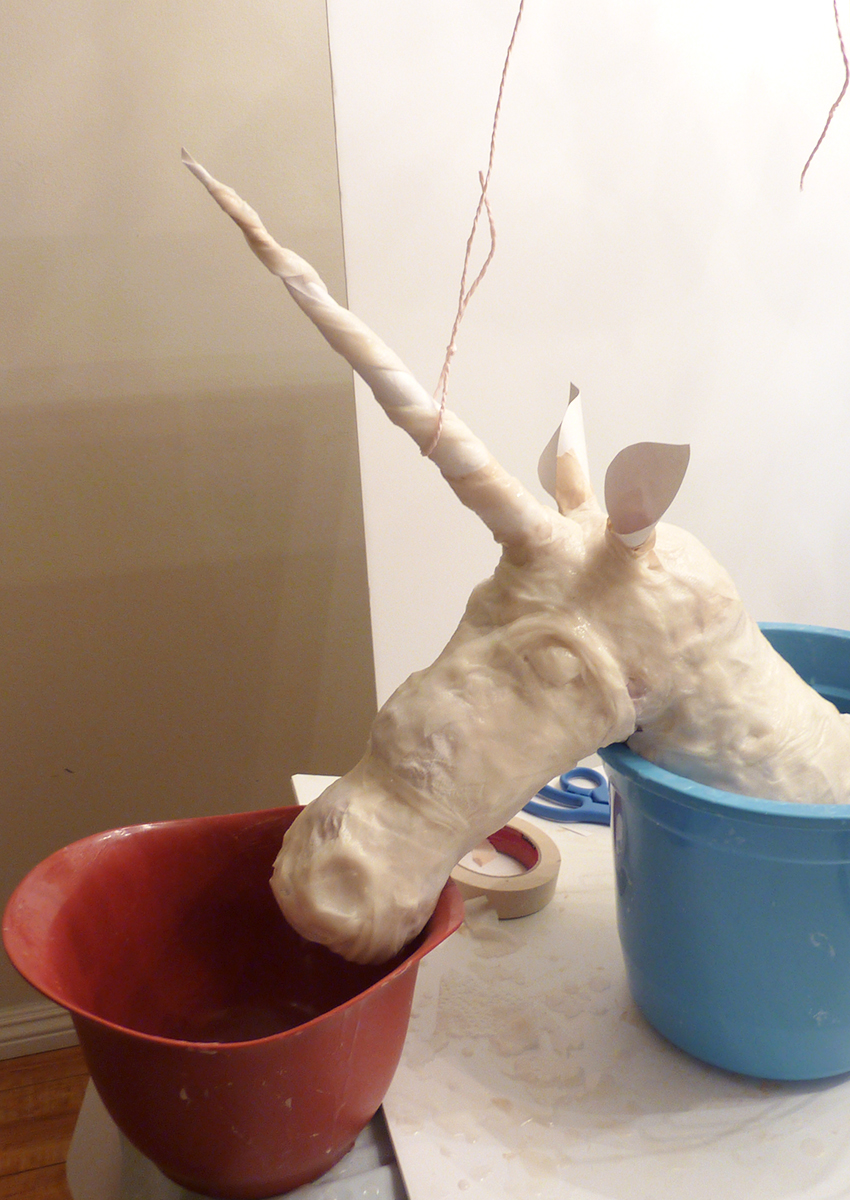
day 1:

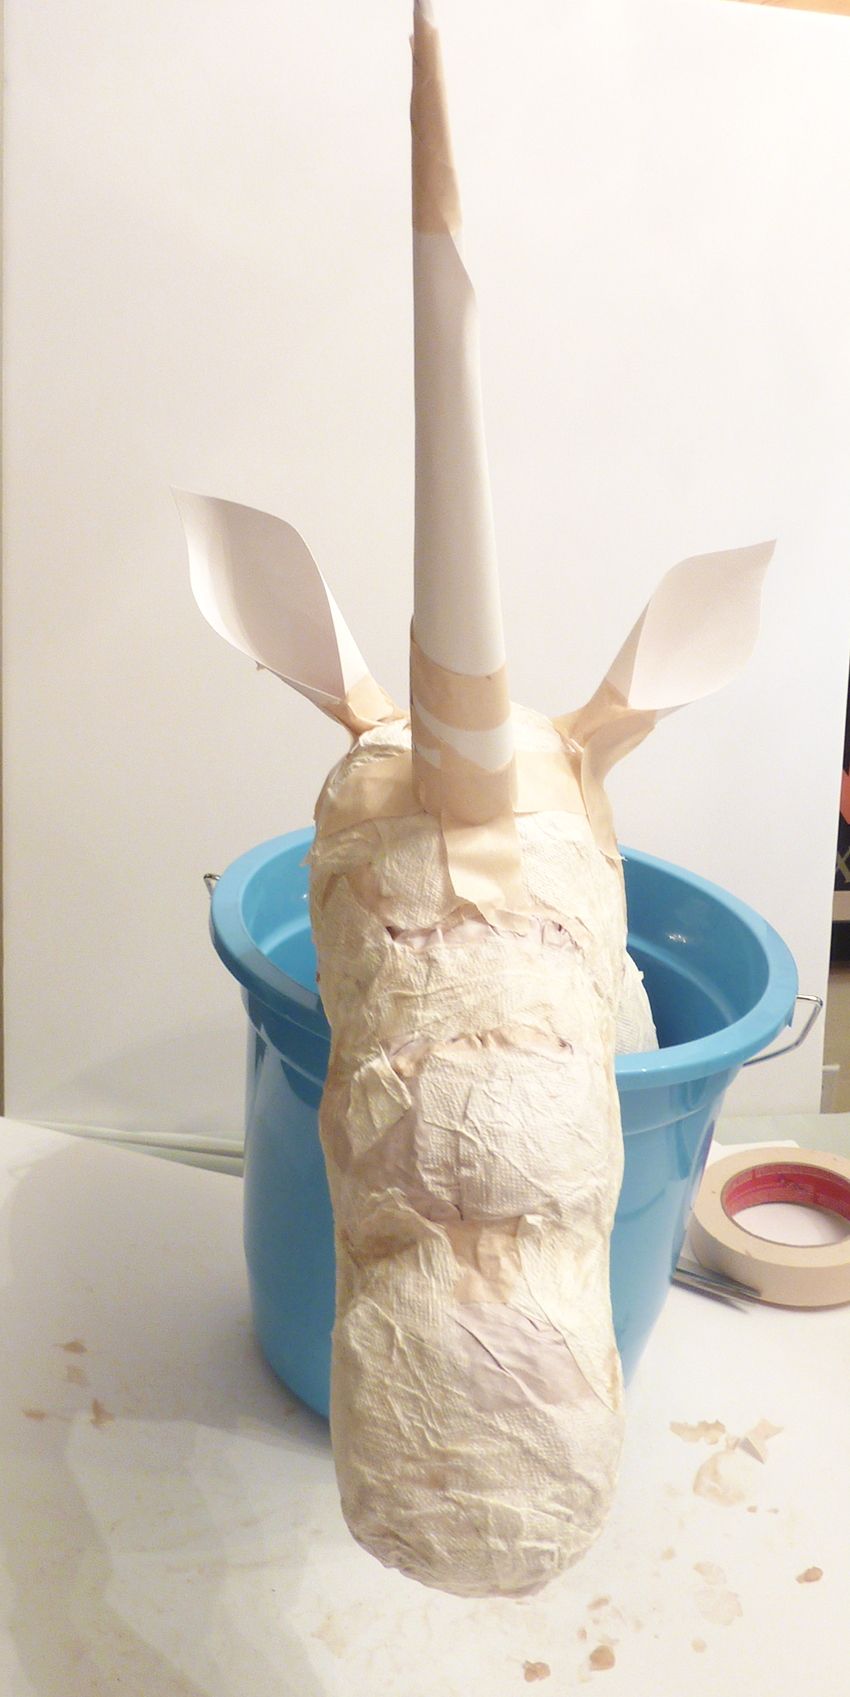
day 2://
I highly recommend a little prop to hold up your unicorn horn while it dry so it does not slide down. I used a string with a loop on one end of the unicorn’s horn and tied the string to a beam on the ceiling on the other end.
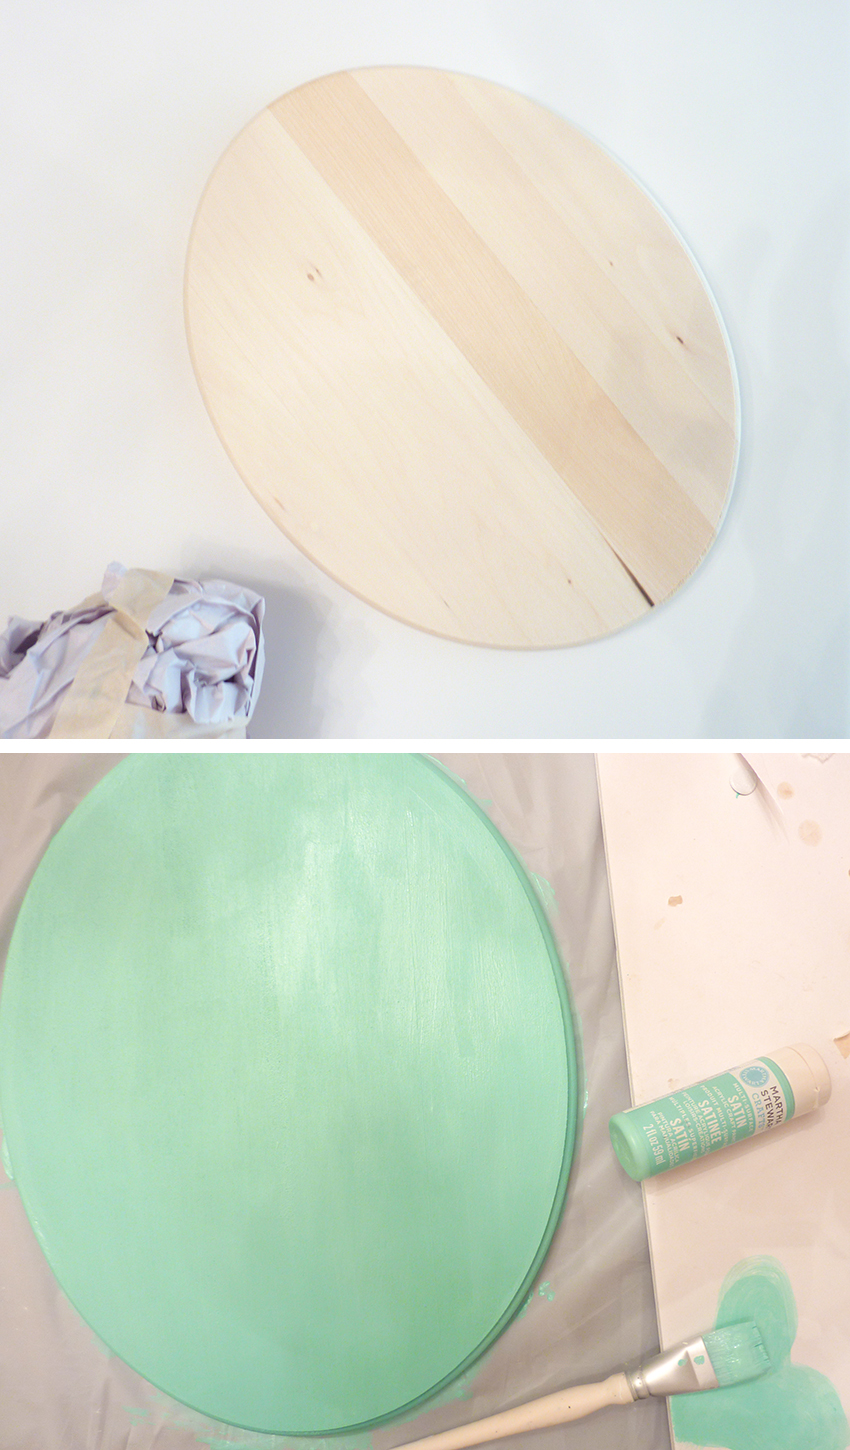
day 3:
I wanted a more simple base, so I chose this style from Michael’s. I painted it mint green which not only matches her party, but also her bedroom so I can use it afterwards as well.
I used gold spray paint for the horn to get a nice metallic finish. If you want to do this, cover the face of the unicorn with paper because even though you will modge podge over the face, you don’t want any color peeking through.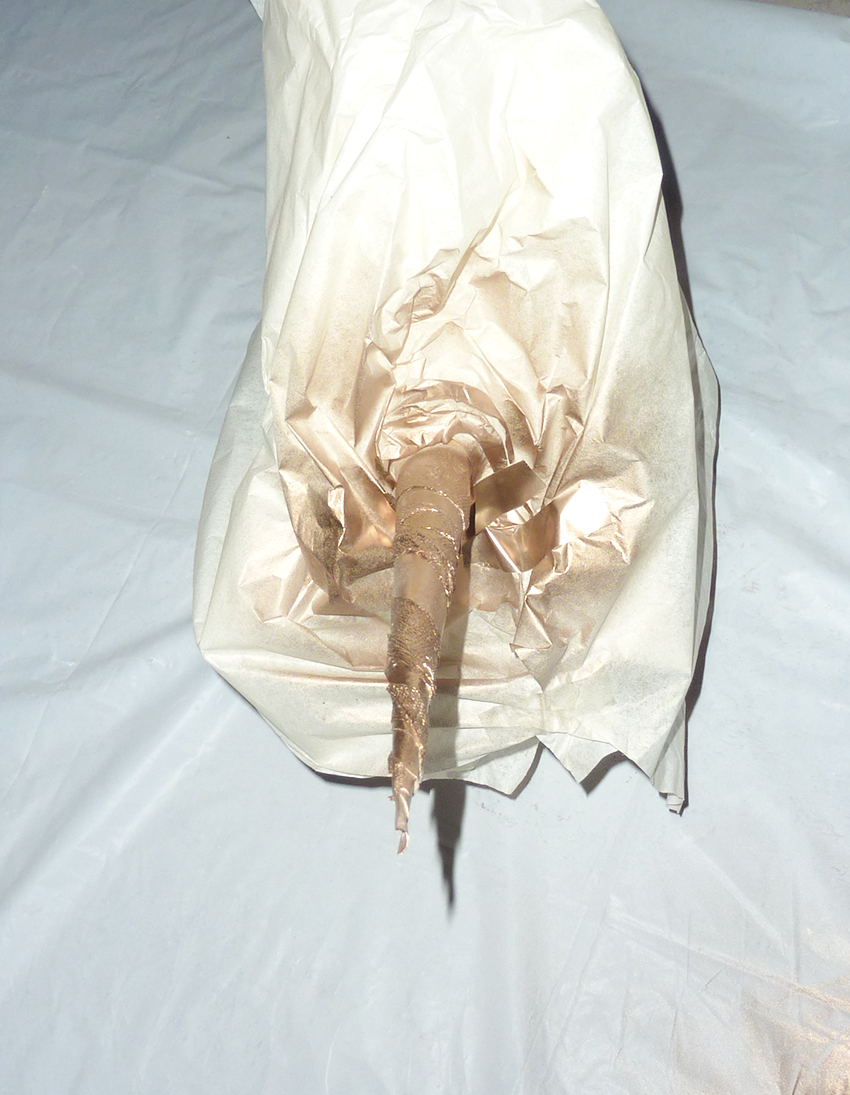
I wanted a white unicorn so I just used small strips of white computer paper to modge podge on.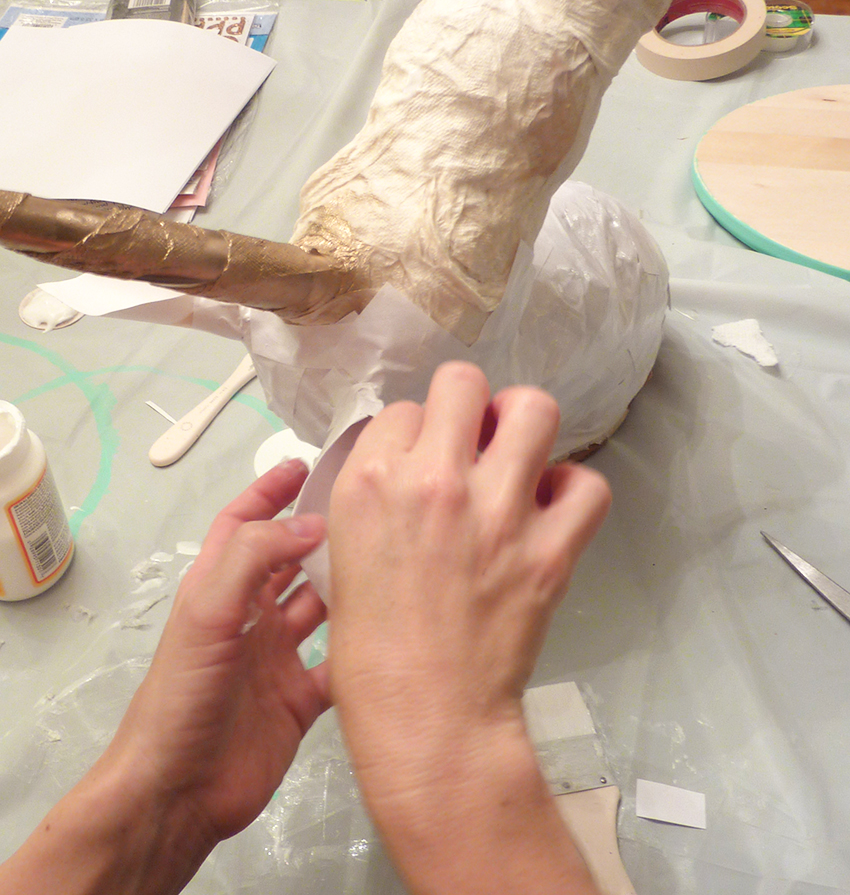
And plain gold was just not quite enough, so I added some glitter via glitter craft paint and brush.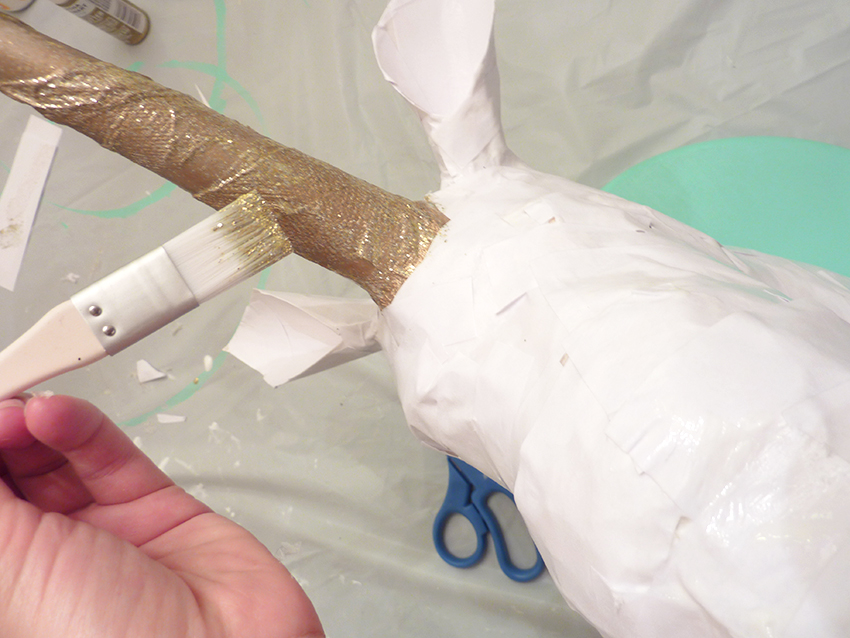
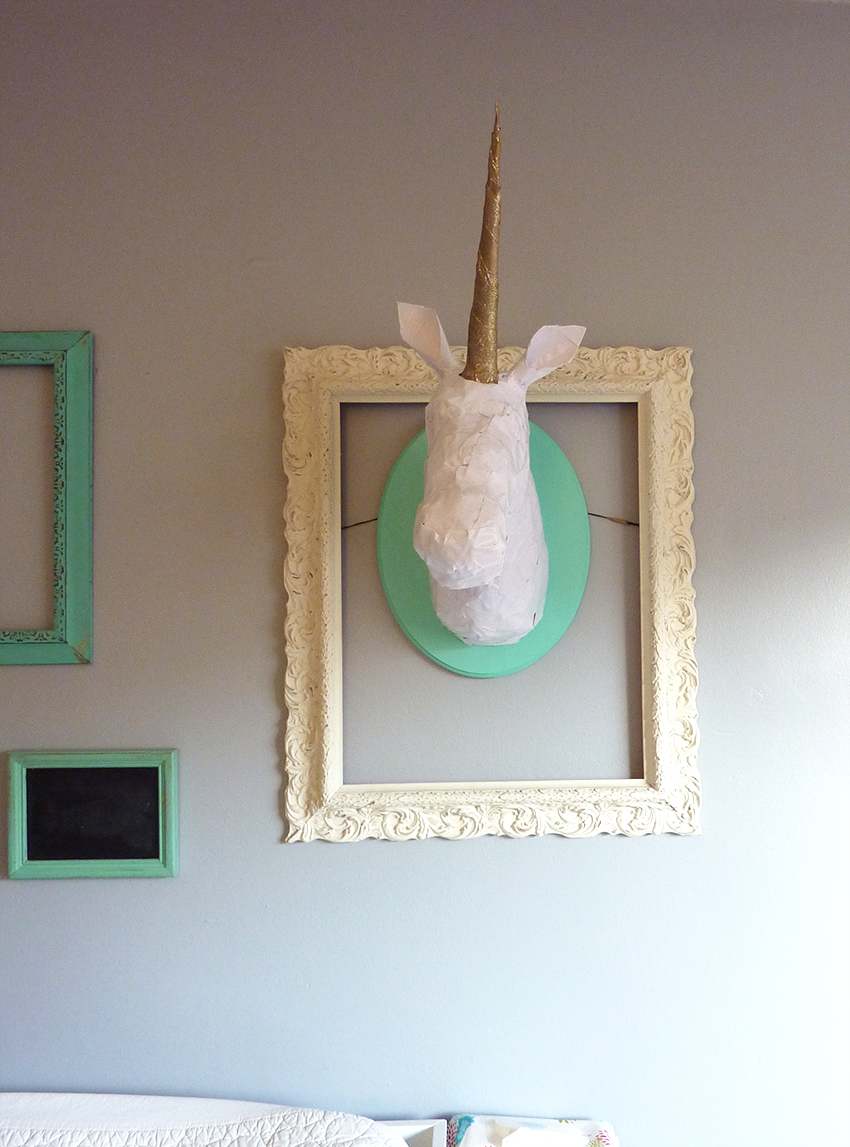
We will have to find a better place for it in her room once the party is over. I can’t wait to show it to you there!


