how to take better pictures for instagram
Welcome to the third installment of The Mom Blog Collective: How to Take Better Pictures for Your Instagram or Blog.
If you’re new here, here’s the scoop. Every other week, our group of amazing and inspiring mamas will answer the same set of questions to do with blogging, Instagram, photography, collaborations, sponsored posts, balancing it all with motherhood, and more. We each have different perspectives and different opinions, so this is a fun way to learn from one another. We hope you’ll join along! Check out the hashtag #themomblogcollective to see everyone on Instagram, and I will also link you to all of the amazing blog posts here at the bottom of my post!
In my last post, I talked about How To Build an Online Community and Establish Your Brand, which built on my Top 5 Tips for How to Start a Blog or Instagram. If you haven’t read those yet, I would suggest to start there, as I will be building on some of those concepts with this week’s topic!
So let’s dive right in!

1. What do you use to take your photos?
I get asked this so often! I’d say about 80% of my photos on my Instagram and 98% of my photos on my blog I use my DSLR [digital single lens reflex camera], which is a Canon 60D that I bought used from a photographer friend. Normally I am a big researcher when it comes to investing in products like this, but since my friend was selling it on the cheap, I was happy to take it off her hands! The rest of my pics you see are from my iPhone, which you can usually tell because the quality is much worse than my other photos. But sometimes I just don’t care about the photo quality! It’s usually the subject that is most important to me when posting on Instagram, so that’s what I go with when ultimately deciding what to post.
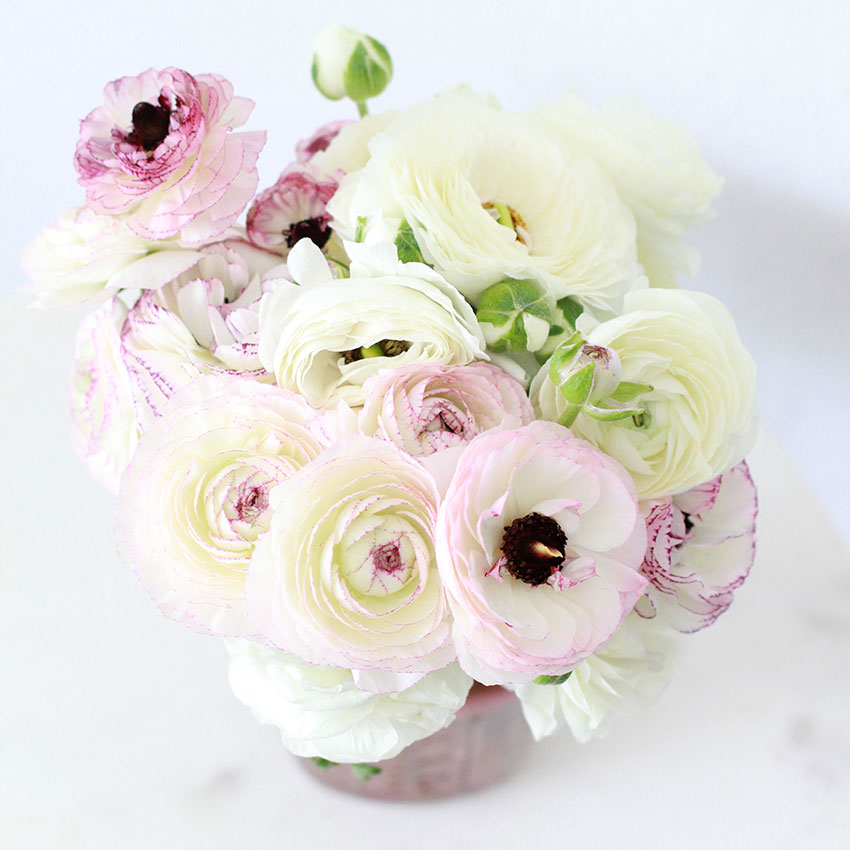
For my DSLR, I started with an 18-35mm zoom lens that came with the camera. But it was sometimes hard to control. That is, the zoom would go in and out when I didn’t want to and it wouldn’t always focus the way I wanted to. So my photog friend recommended getting a prime lens. A prime lens just means it is fixed and doesn’t zoom in and out on the lens itself. One of the cheapest prime lenses that Canon makes is the 50mm 1.4. Actually the 150mm 1.8 is less expensive, but I recommend the 1.4 because it allows more light in (for those lighter, brighter photos) while still making your pics clear and sharp. So because of the price point, I agree it’s a great starter lens! [Both of the above two photos were take with my 50mm lens.]
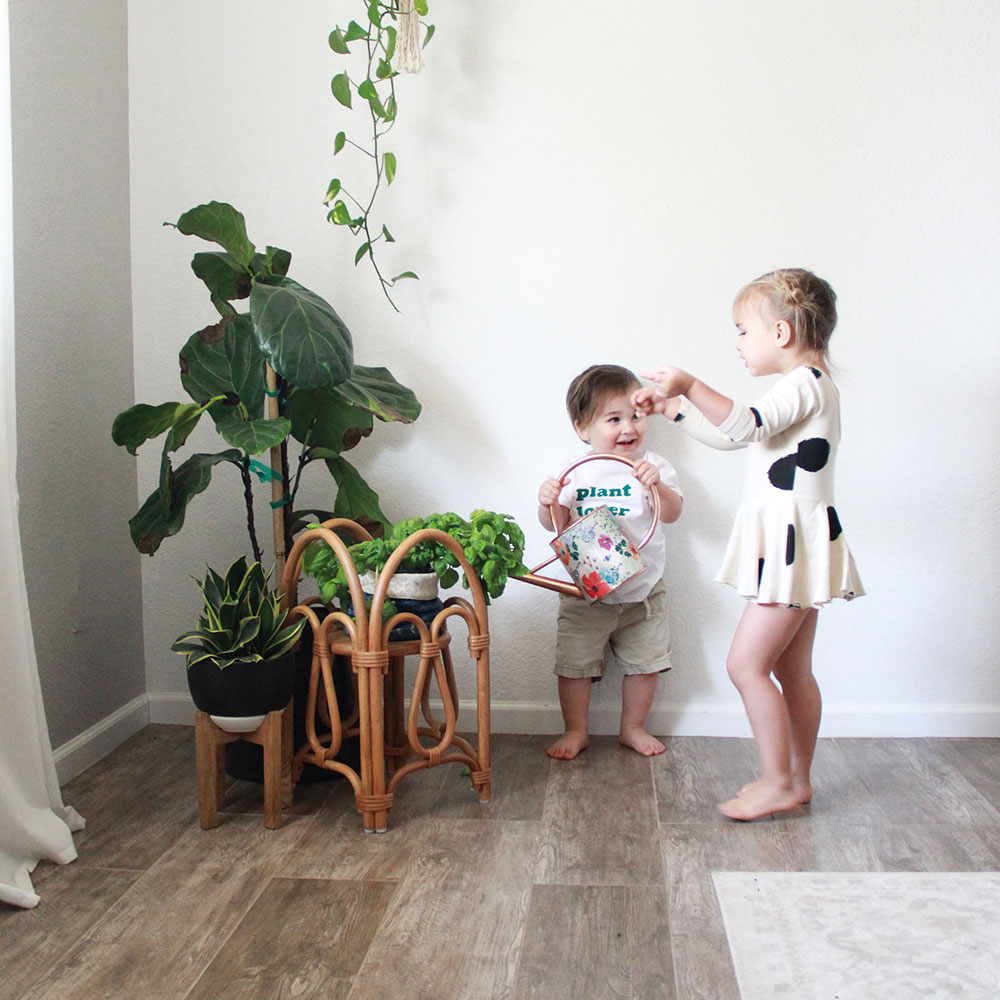
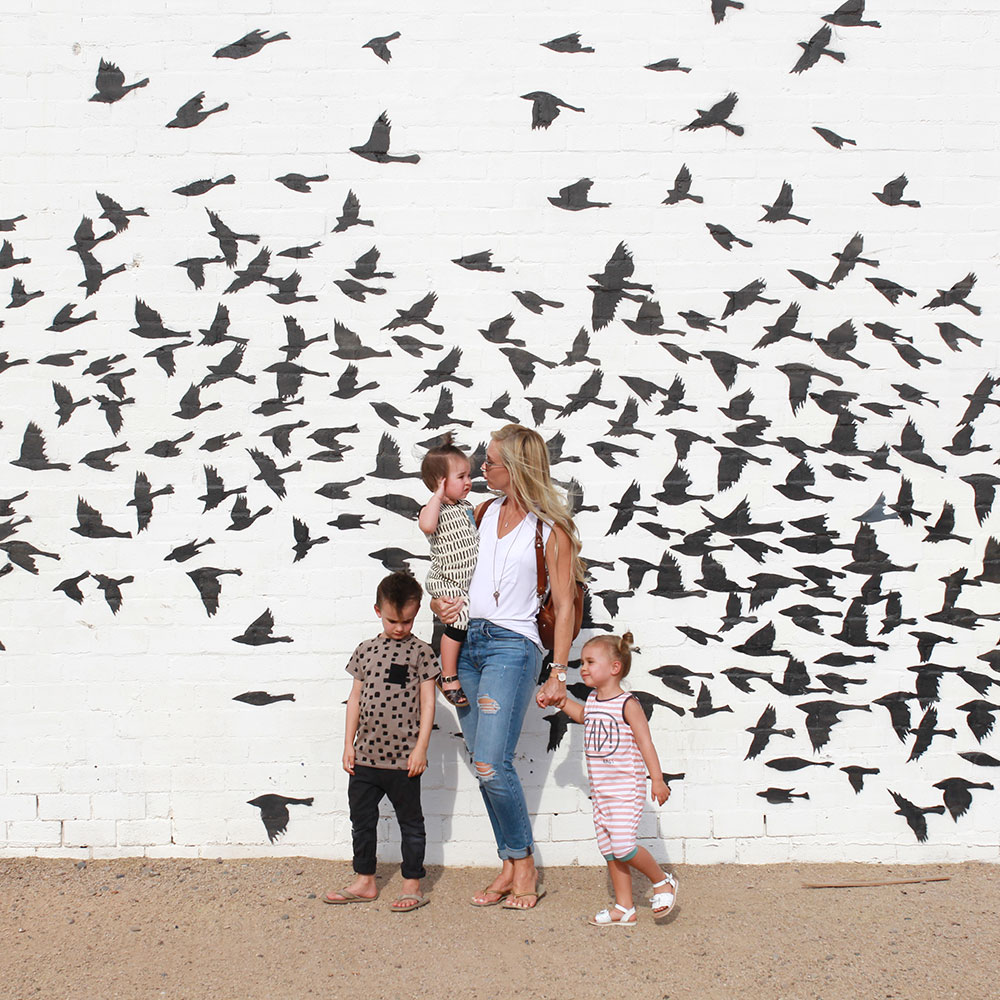
But eventually, I found that the 50mm just wouldn’t let me get a wide enough shot. Inside pics were challenging because I would have to be way across the room from my subject. And bird’s eye shots were virtually impossible! So after many months of debate, I finally decided to spring for a 35mm 1.4 lens. I was tempted to stick with the Canon 35mm 1.4, since that was all I had ever used up to this point, but at a nearly $1,800 price tag, I was having a hard time stomaching it! Another photographer friend recommended Sigma, which is just another lens brand. Sigma makes lenses that fit Canon, as well as other camera bodies. As far as my novice eye can tell, they perform the exact same way. I actually rented a Canon 35mm and then later borrowed a friends Sigma 35mm and to me they were the same! So I bought the Sigma 35mm 1.4 at almost half the price of the Canon and have zero regrets!
[both below photos taken with my 35mm lens]
When it comes to a DSLR, in my opinion, if you are going to invest in an expensive camera, invest some time learning to use it. Your pictures will not get better just because you are shooting with an expensive camera. I had NO CLUE how to use a DSLR 3 years ago when I first started my blog. Lucky for me, my photographer friend Brandi [of Radish Mama blog] also offered to teach me how to shoot in manual mode. Manual mode is the only way you can “force” the camera to do exactly what you want – no matter how many fancy presettings you have! In fact we teamed up and did a little photography workshop that I styled and she taught. So I got to learn right along with her students! It really helped me take my photos to the next level.
For those who are local here in Arizona and are wondering – we haven’t done one of these workshops in awhile. But if there is enough interest, maybe we could start it up again. Let me know in the comments below if you are interested!
Other than just knowing your way around a camera, I recommend taking some basic photography and/or art theory classes if you really want to improve your photography. This was not a photography workshop exclusively, but 2 years ago I attended The School of Styling workshop in Los Angeles, California. It was actually an amazing experience for so many reasons. But there was a touch on what makes a beautiful picture: the rule of thirds, negative space, movement, light, color theory, etc. Sometimes you get this stuff in school, so if you did, then you already have a leg up! But I just think it’s useful to understand why a pretty picture is pretty, ya know?
2. What do you use to edit your photos?
For any photos I take on my DSLR, I download to my computer and edit in Adobe Photoshop. I learned basic Photoshop when I was in fashion school, and then I also took a Blogshop online class back in the day from Design Love Fest. I don’t think she offers that class anymore, but if you can find something similar, I highly recommend it because it really helped me with specific editing tricks related to blogging!
Or, if you are more a DIYer who likes to read up on this stuff, you should check out my friend Morgan’s blog Laughing Latte. Tons of great photography tips!
It’s hard to explain my exact editing process in Photoshop in this space, because every photo is different. But most every photo I brighten and/or play with the curves. This is also where I crop, remove unsightly objects, and play with color balance.
I know a lot of photographers and bloggers use Adobe Lightroom, but I’m just not familiar enough with it to use it regularly. I hope to learn it someday soon though!
When I edit on my phone, my go-to apps are:
- A Color Story [currently crushing over the Flashes of Delight pack]
- Afterlight
- Touch ReTouch [for removing objects or making other photoshop-like correction on your phone]
It used to be that the in-app filters and editing tools in Instagram weren’t all that good. But they have come a long way over the years! So I think it’s also fine to do in-app editing on the Instagram platform as well!
3. What photos tend to do well for you?
You know, I wish I could answer this question with a degree of certainty. LOL. It used to be that photos of my baby girl always did the best. But I never wanted my feed to be only and always about her, so I would break it up with other lifestyle shots, shots of my kids, and of our family. But with the introduction and constant changes with the Instagram algorithm, it’s become kind of a mystery what photos will do well these days! Some that usually do well for me are from my professional photographer friend Jen of Griffith Imaging. Her look is just so unique and I agree with my followers, I love it!
Which brings me to another point. You don’t always have to take all your own photos! People like to see who you are too, so get in front of that camera every now and then! If you can hire or collaborate with a professional photographer, that can give you content for weeks or even months. I would just suggest sprinkling the photos from your session throughout your feed (rather than posting them all in a row). This helps build your story, makes your feed look pretty, and keeps your followers coming back for more!
No matter what photos do best for you, I still love to see variation in shots, both on blogs and Instagram. Let’s face it, seeing the same thing over and over again can get boring. So do some close ups, some very wide angles, portraits, full length shots, etc. I try to post different viewpoints throughout my feed so I don’t have two wide shots next to each other, for example.
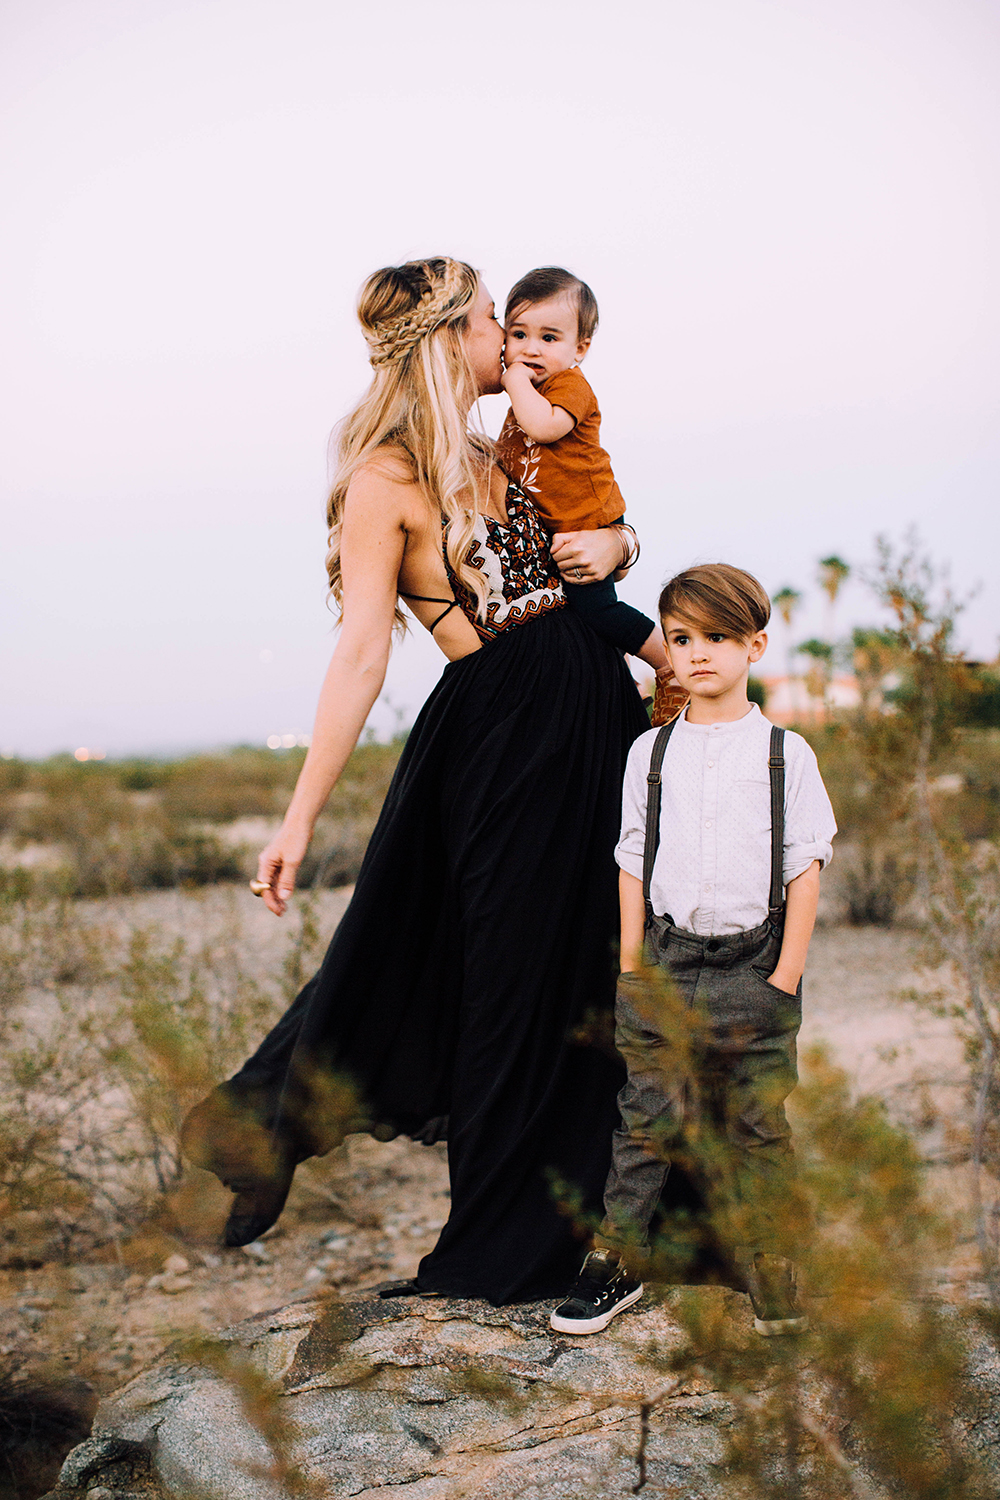
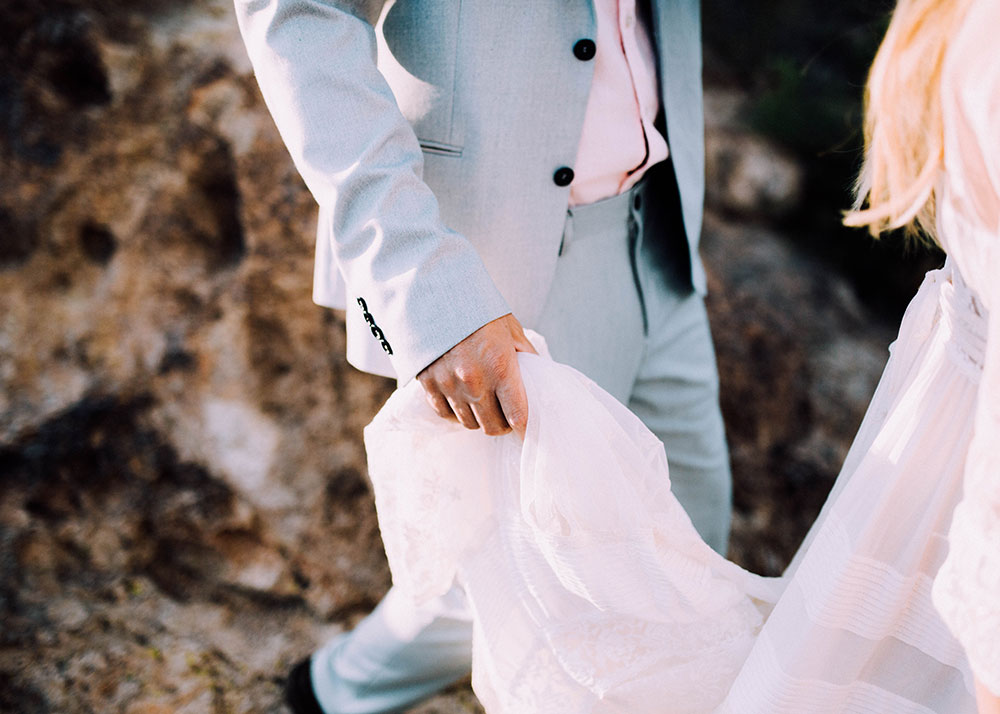
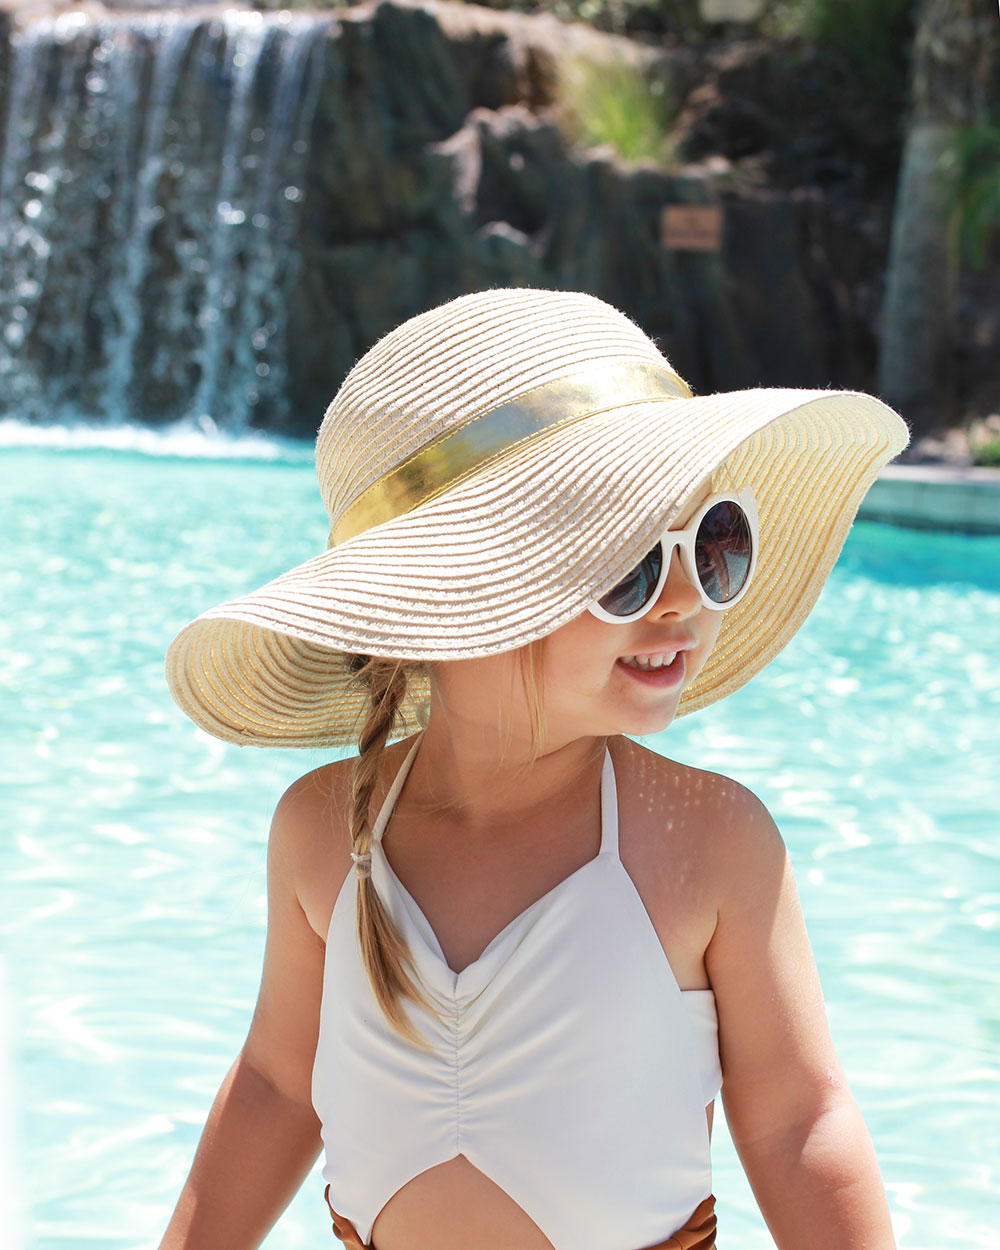
[both above photos from separate sessions with Griffith Imaging.]
Above all, be yourself and stay authentic to you. The internet and these social media apps are ubiquitous these days. A lot of people post the same type of shots [hello bird’s eye view of my legs and coffee in bed, amiright?]. So draw inspiration, yes! Take my tips and run with them! But don’t just recreate exactly what someone else has done. It’s just not nice.
A while back, there was a hashtag circulating Instagram #createorcredit. In other words, if you did not create the image yourself, give credit! Whether that is a direct repost [which by the way it is common IG etiquette to ask before reposting other’s images and if you do, you must tag/credit them], or whether you are drawing inspiration from someone else. If you recreate an image or take someone’s inspiration, throw them a @mention and/or support them by using their hashtag. For example, have you seen the fun trend #objectsforoutfits by @allthatisshe? She encourages everyone to play along and use the hashtag! How fun, right?
So yeah, let’s bring back CREATE OR CREDIT. It’s just the nice thing to do. 🙂 And no matter where you’re at in this process of building your blog and/or Instagram, just remember it takes time and dedication. You have to invest in yourself in order to create an online space that people want to visit. You and your brand are worth it!
Be sure to check out all the other mamas in this week’s #themomblogcollective , linked here below. And please do feel free to let me know in the comments below if you have any questions or suggestions for future posts!
britthavens.com | @britthavens
www.ashleynoel.life | @_ashley_noel_
occasionallyperfect.com | @occasionally_perfect
mrsseacannon.com | @mrsseacannon
koleimpressions.com | @steph__pollock
hellobabybrown.com | @hellobabybrown
darlingnightingale.com | @darlingnightingale
cultivatemotherhood.com | @cultivatemotherhood
thelovedesignedlife.com | @thelovedesignedlife
www.a-blessed-nest.com | @blessednestblog
and this week’s guest posters:
@hopefeathers | hopefeathersphotography.com
@hollynbaron | psimfromthemidwest.com
This post also contains some affiliate links, which if you click on and purchase, I will receive a small commision for. As always, I only share things on here with you guys that I genuinely love and use! All pictures on here were taken and edited by my (with exception of those noted and credited!).
hey! if you found this post helpful, go ahead and pin this to your pinterest!


September 5, 2017 @ 6:47 PM
Loving these tips! And I would be interested to hear more about your workshop. Our subjects might be a little different but basic camera functions are always valuable. Thanks to you and all the other mamas for creating such great content! Much love ❤️
September 7, 2017 @ 8:36 PM
I am located in AZ and would LOVE to do some kind of work shop. I am still learning how to use my camera which is a Cannon Rebel and it defintley takes practice. Thank you for all of these tips ?