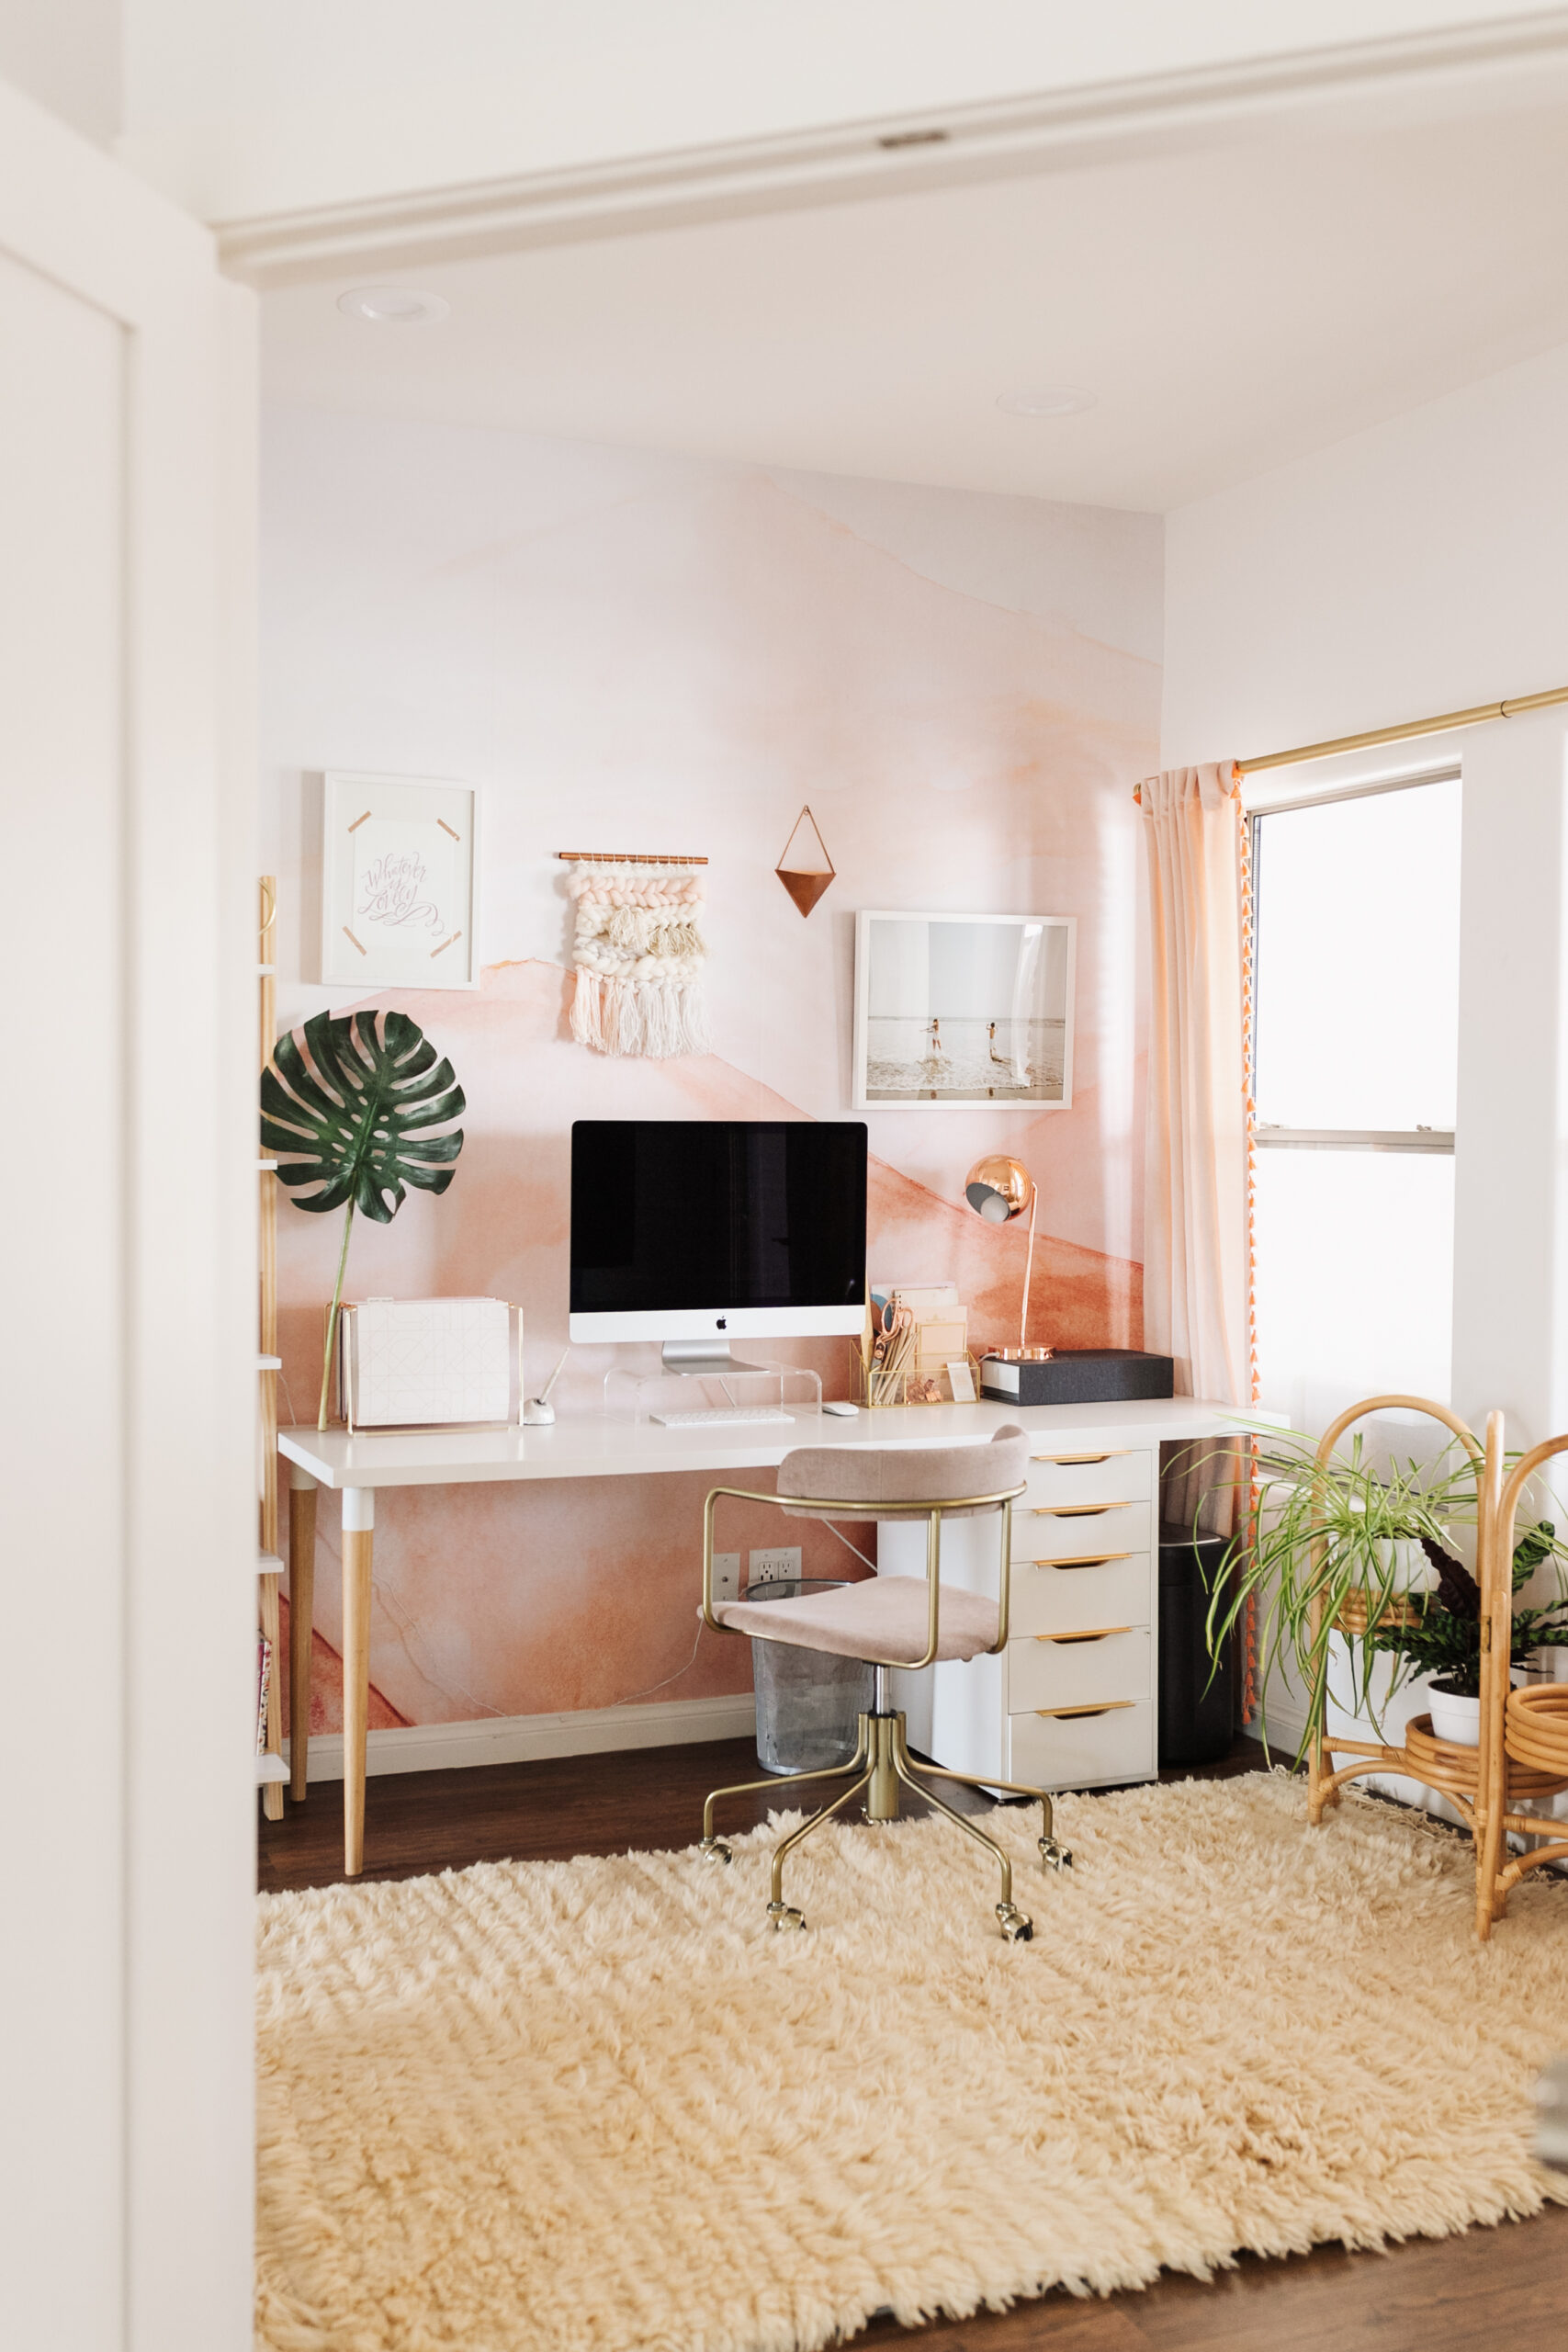
diy: refinished french provincial dresser

It’s been a little while since I’ve done a DIY project here on the blog, but I have been getting back into crafting lately and I hope to share some more DIY projects with you in the coming New Year. I was working on this dresser back in September as I started to pull together my little girl’s room, and I got a lot of questions about how I was doing it on my Instagram stories. So here it is, with all the details about it!
My daughter’s room style has always been a mix of modern with bit of a vintage feminine flair. I try not to go too heavy into any one home decorating trend because as we all know, they change quite rapidly! So while I personally love mid-century modern all the way for the rest of the house, I thought a little French Provincial style dresser would be fun for her room. Most of the time, you will see these dressers in a painted white color with some “distressing”. Which is how I found this one, listed for sale through a Facebook group for home stuff.
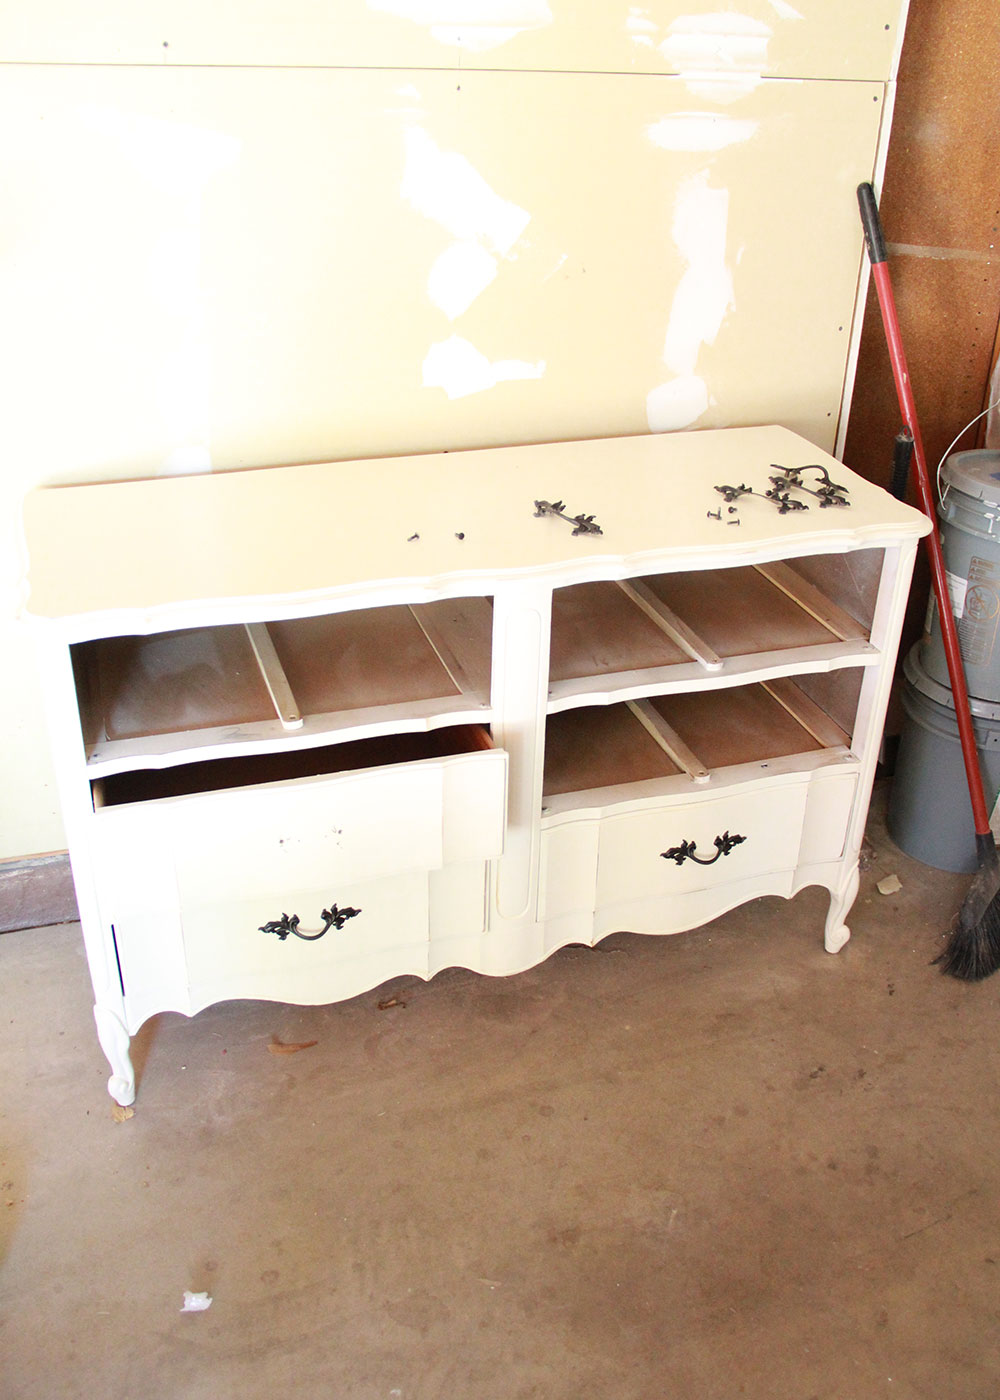
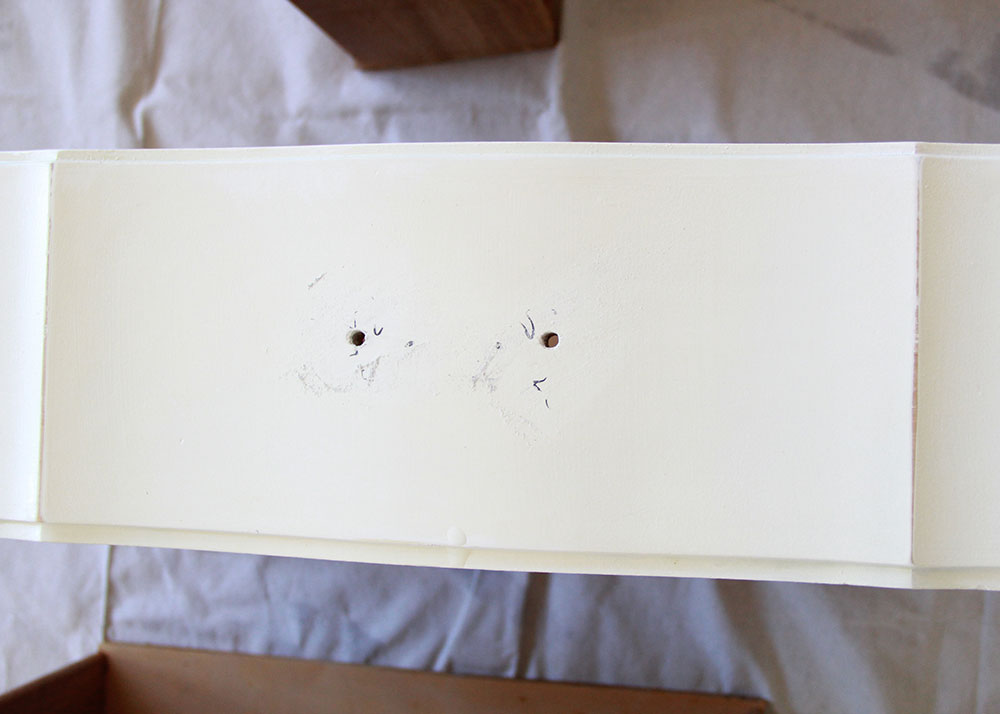
I forgot to take a pic of it before I started taking it apart to clean and then re-paint. But you get the idea! It was in pretty much great shape, other than slight damaging from the previous owners putting the drawer pulls on too soon after painting it last.
As much as I have always loved all white everything, I wanted to do something different with this piece. It had been recently refinished, from what I can tell in a flat latex interior paint. But I found the white a little too yellowish, and I wasn’t a fan of the “distressing” they did to it either. I already had picked out my B Darling wallpaper [use my code paige15 for 15% OFF over there]. So I was building her big girl room and color scheme around that. It made perfect sense to do a light pink color for it!
I have painted furniture in the past with a standard interior latex paint and didn’t love the results (it chipped and scratched pretty easily). Then a few years back, a friend told me about Annie Sloan chalk paint. This friend had finished a bathroom vanity in it and I love the way it turned out! So as I was preparing to do this DIY, I looked up the Annie Sloan paint to try to find a color that would work for me. I was looking for a very pale, warm pink shade. However, the Annie Sloan color card is pretty minimal [nothing like what you can find from some of the big name latex paint brands.] Still, this “Antoinette” color [described as a ballet pink] seemed like just what I was after! [You can find it here.] When I opened the can, I really loved the color I saw!
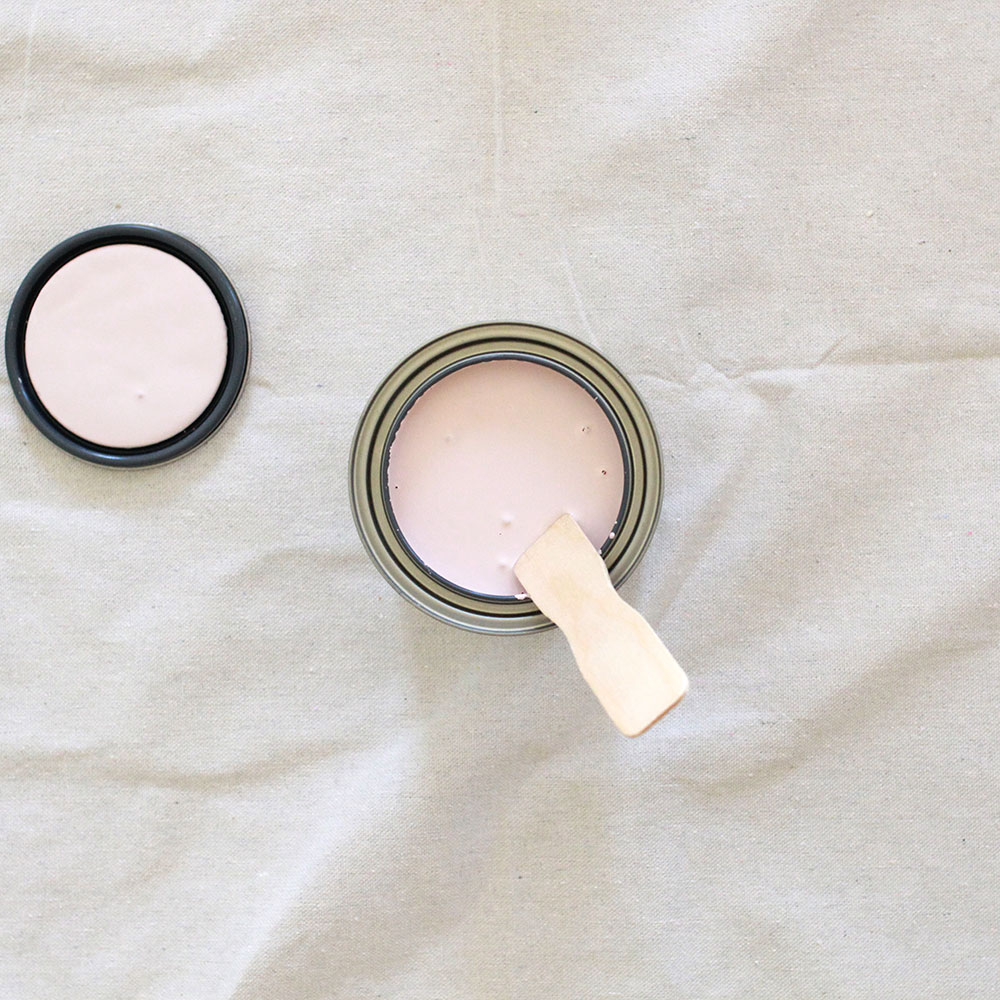
I followed the instructions from the Purple Painted Lady website [which was super helpful!] pretty exactly, including bringing the furniture piece inside to paint it to ensure an even temperature. I started by simply hosing it down to remove and dust and dirt, and then dried with a clean, dry towel to prep for painting. This worked fine for me because it had already been recently refinished as was in good shape! I then applied two coats of the Annie Sloan Chalk paint and let it dry overnight.
TIP: I ended up using about half of the small 32oz can of paint I had and got great coverage. So I would say that one can is enough to cover most any furniture piece.
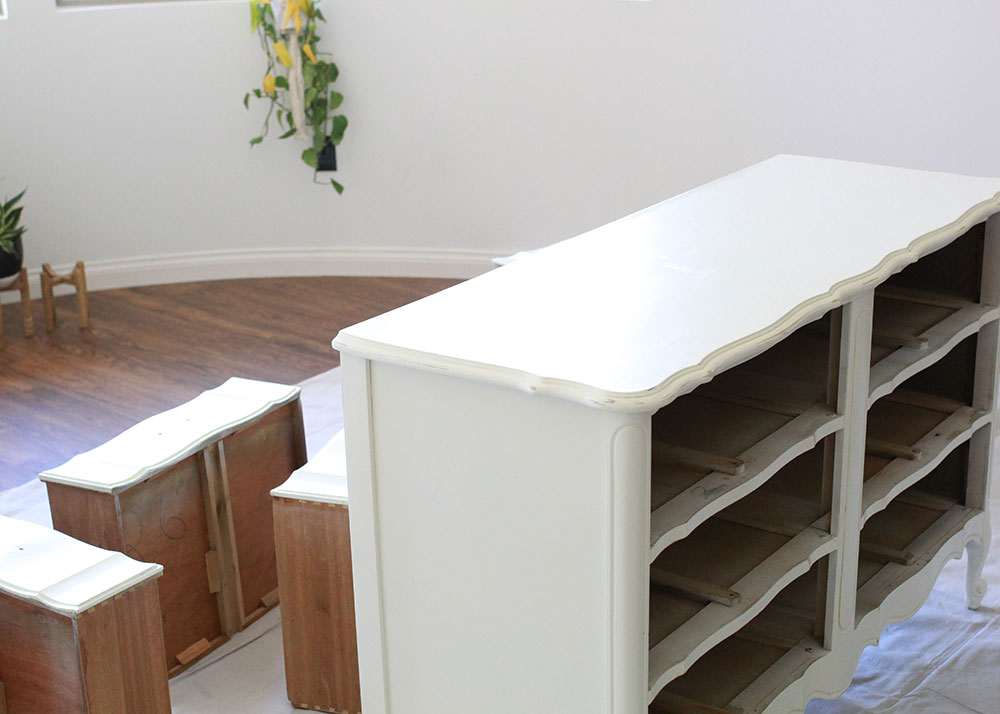
before
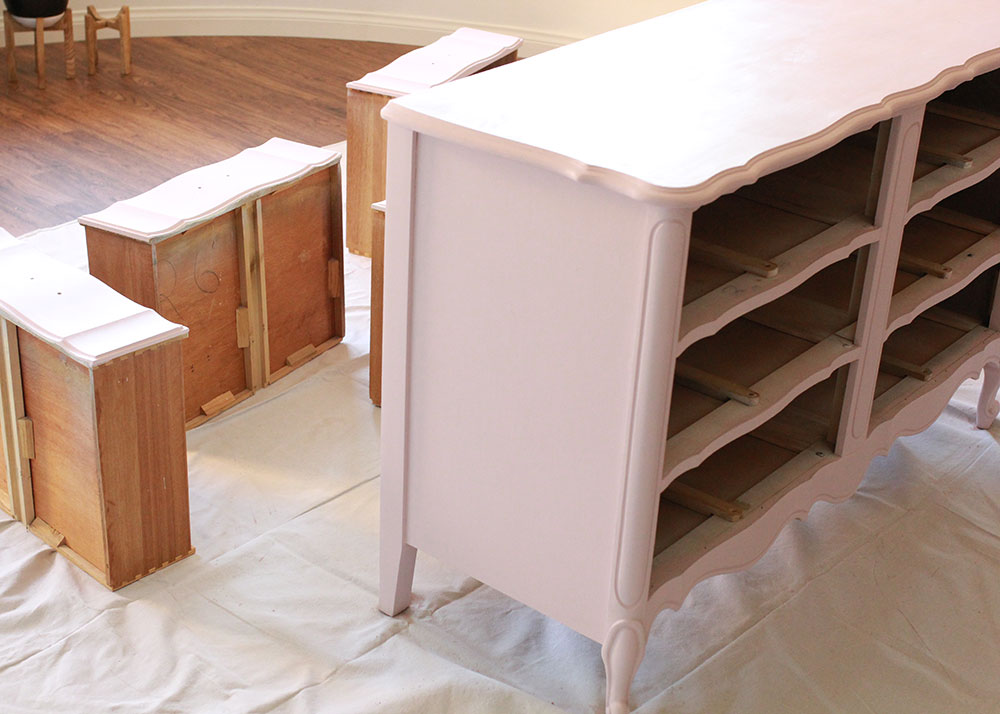
after
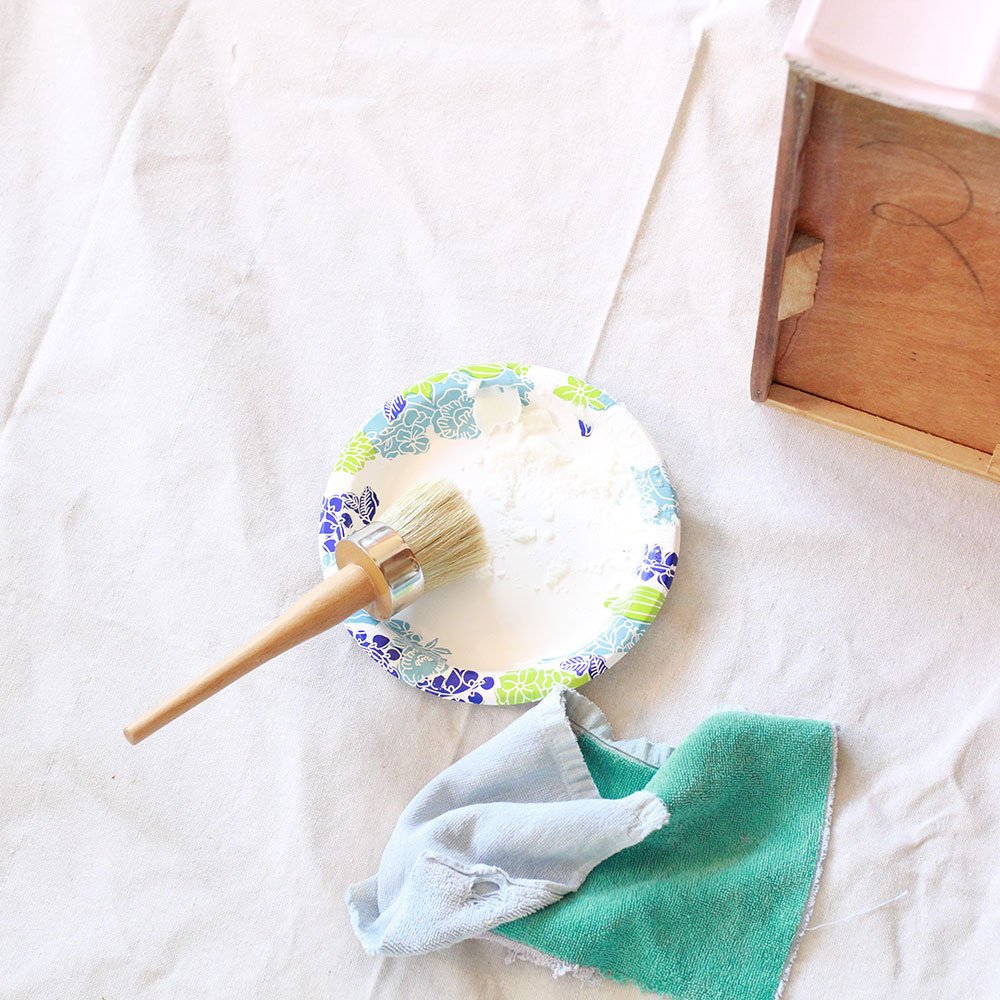
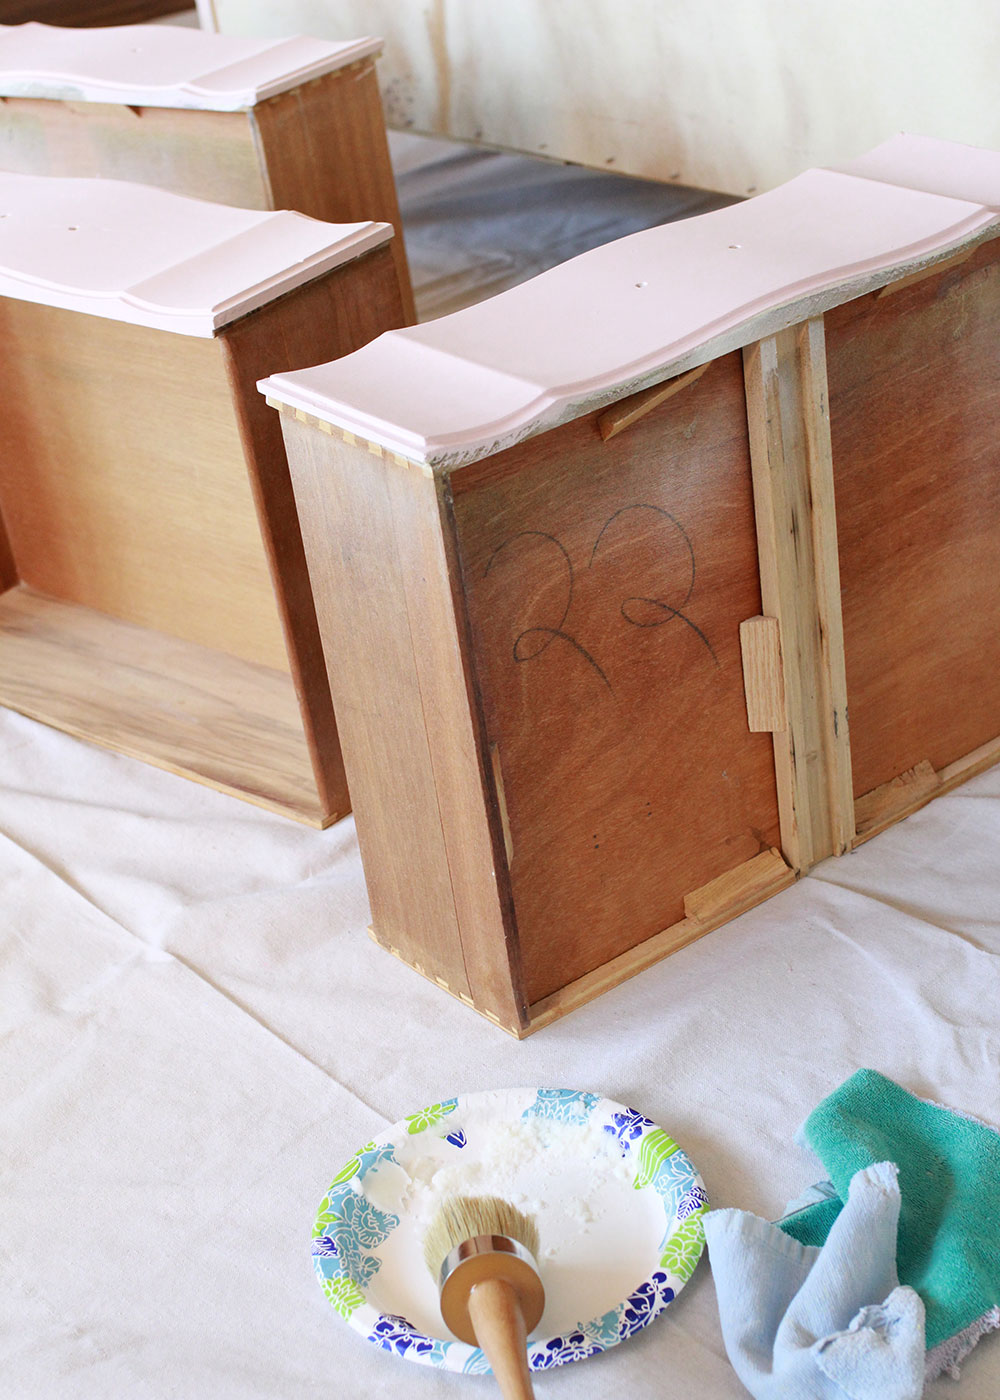
The next day, I applied the Annie Sloan wax, which is recommended to help seal and protect the paint finish. I applied using the recommended wax brush, 2x coats of wax to the top of the dresser (since it gets more wear), and 1x coat to the rest of the dresser.
Because I wanted to incorporate a little modern twist with this piece, I switched out the drawer pulls from the traditional black French Provincial handles to these golden beauties from Anthropologie. I really love how they gave this piece a facelift!
After going through this whole process, I do have a couple of regrets. First, the color of the paint in the can was not the same as how it dried. As I said, I was going for a very pale pink color. But as it dried, it got a bit deeper, and definitely has a tiny bit more of a purplish/mauve tone to it. Not the warm, soft pink I was going for. But also not bad enough that I would go through painting it again. 😉 Also, there really wasn’t another shade of pink from Annie Sloan that would have been better.
Second thing I regret is using the wax. The benefit of using the wax is to protect the furniture and the finish. However, it will also deepen any color you use slightly. And, the more you buff it, the shinier the finish becomes. I hardly buffed, but still, I wanted a very chalky matte finish, so I’m thinking I maybe should have left it without the wax!
TIP: I would recommend not using wax if you want that super chalky finish too.


Even with those two minor regrets, I am pretty happy with how it came out! And all in all, it was a pretty easy process for a unique piece that adds a touch of whimsey to her room!
Here’s some of the supplies I used! [Dresser itself was bought used!]
This post contains some affiliate links and all my own opinions!

