our desert chicken coop and run
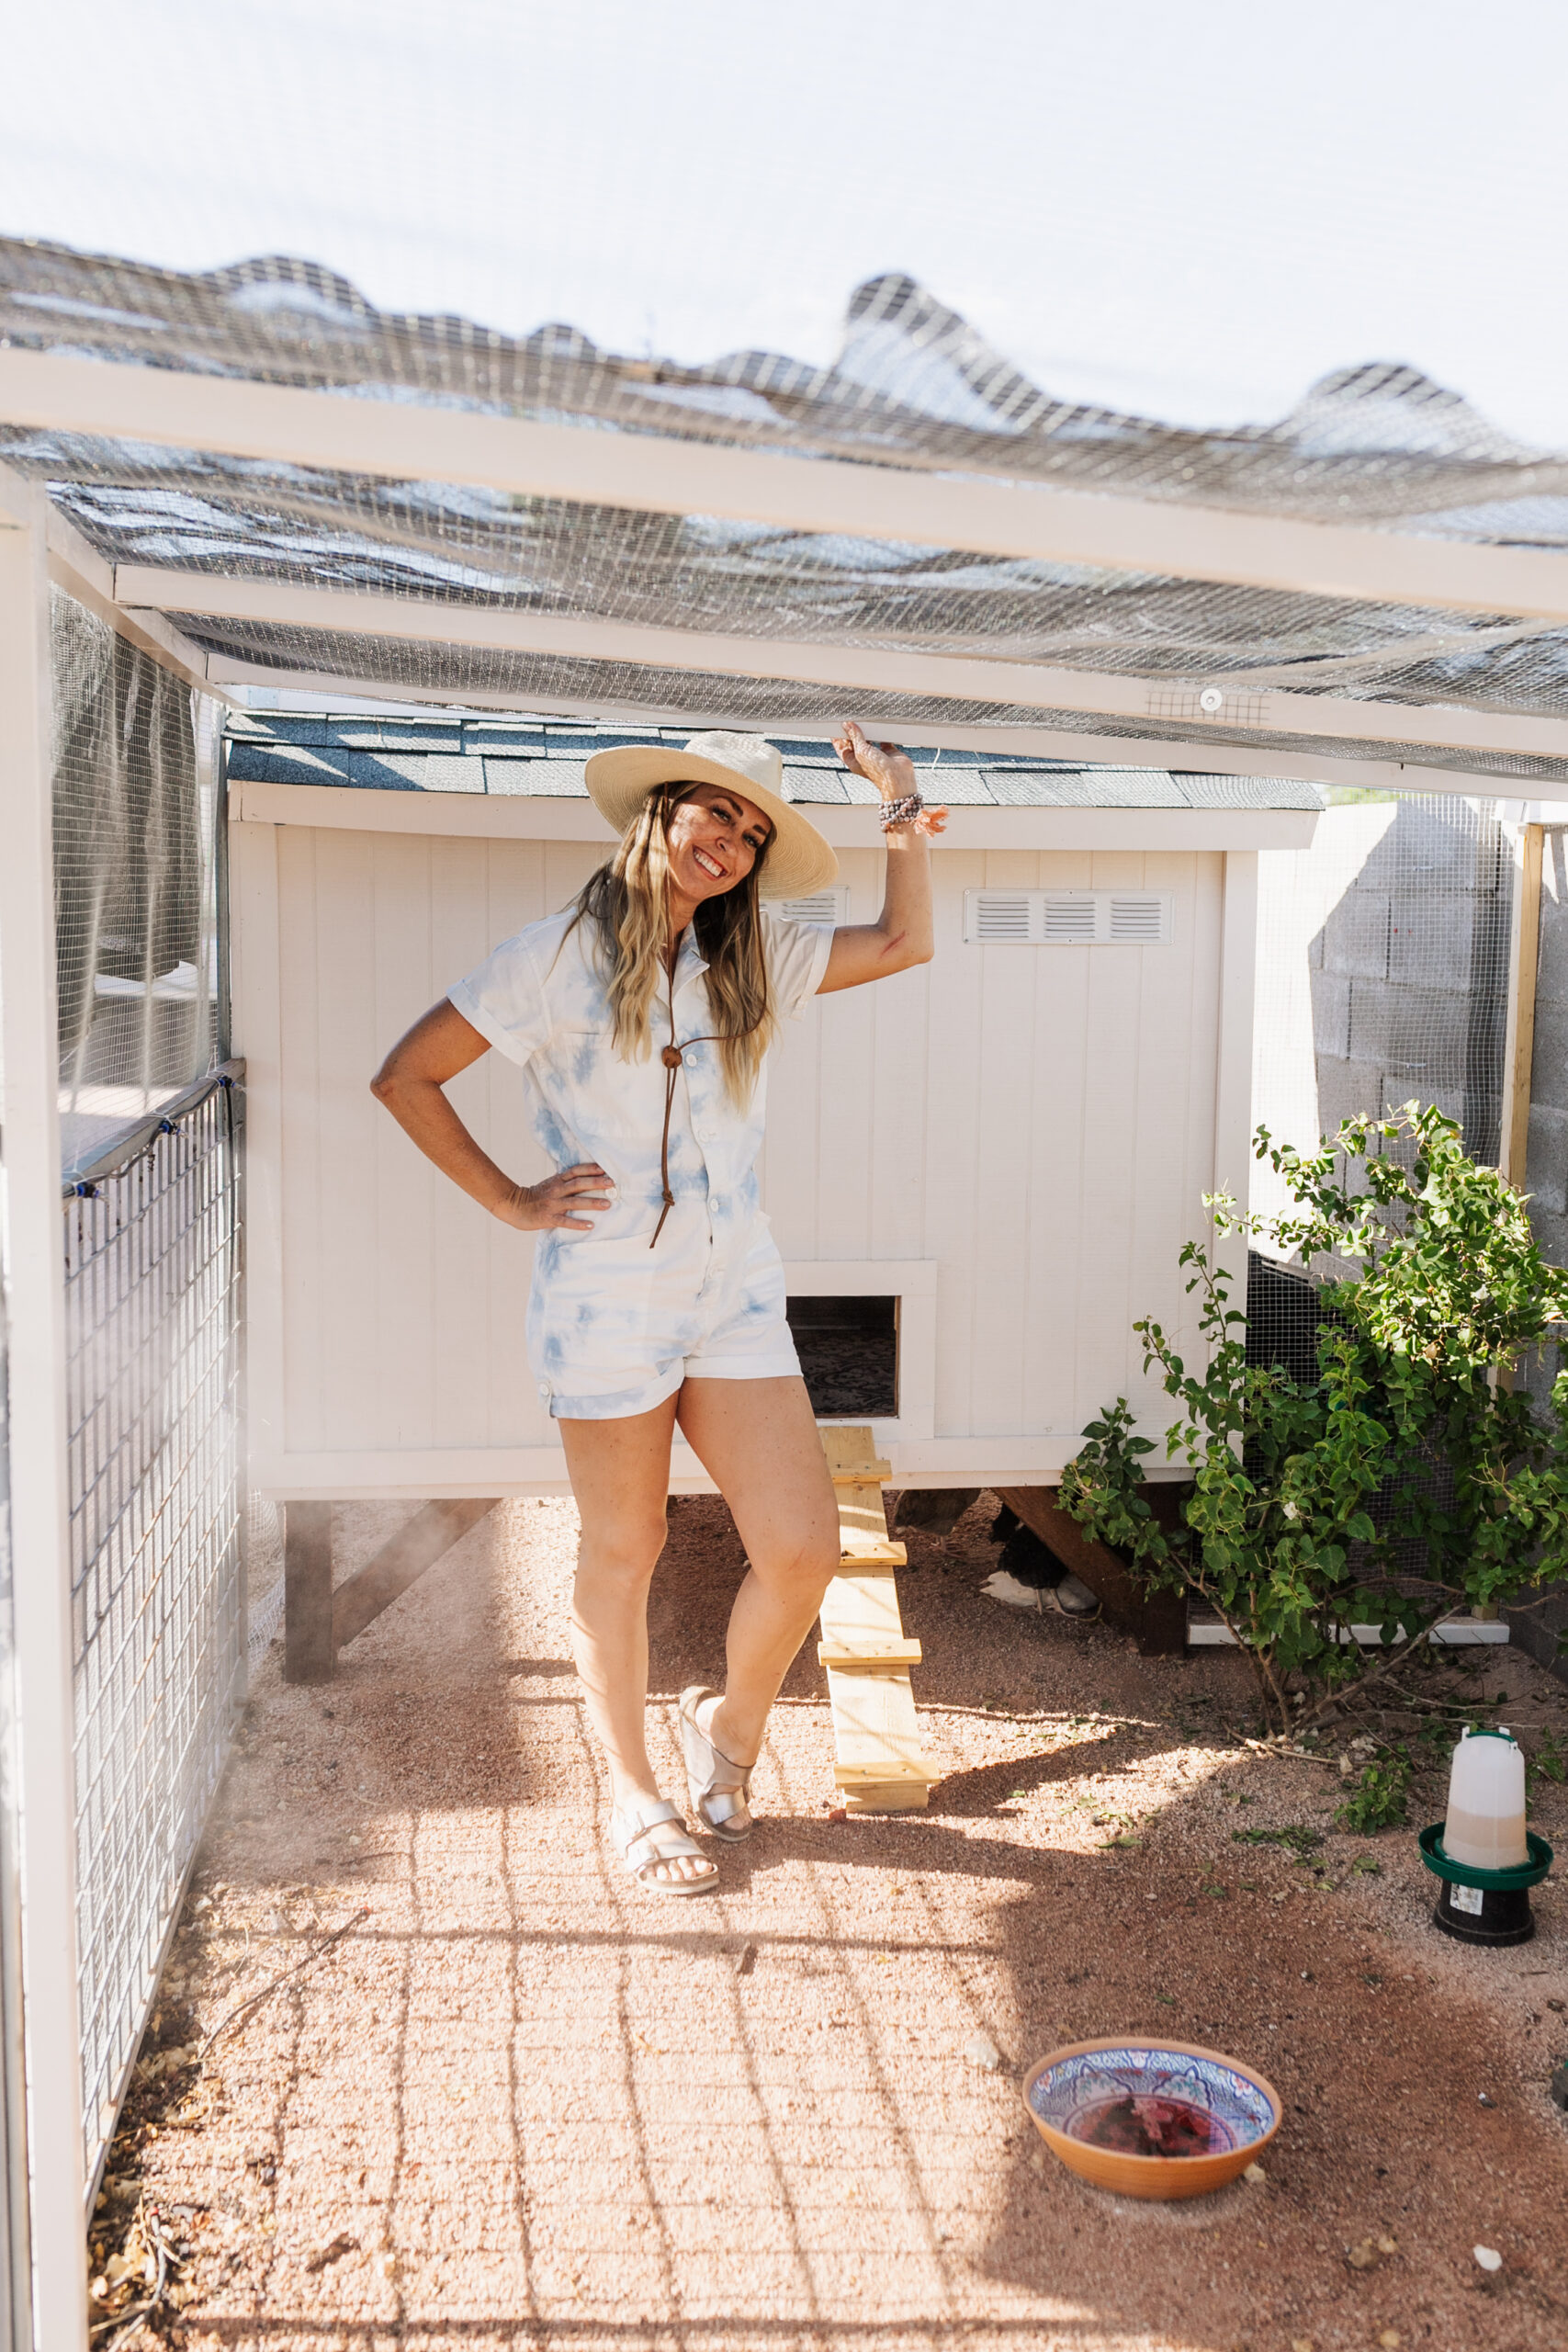
Before we left for our summer travels, we were hard at work getting together our desert chicken coop and run so our girls could be safe and sound while we traveled about. Our Arizona desert heat presents some unique challenges when raising chickens, so I wanted to share what I’ve learned after hours of research and some limited (so far) experience.
For those of you who haven’t been following along with this story on my Instagram Stories, I wanted to share the whole background with you here.
On April 30th, my sister-in-law, an avid outdoorswoman and perpetually bright spirit was tragically killed in an encounter with bears. There are so many things I could say about her and what she meant to our family, but that is not the purpose of this post. It is, however, how I came to inherit six brand new baby chicks that she had ordered shortly before her unexpected and untimely passing.
Here they are, about two days old:
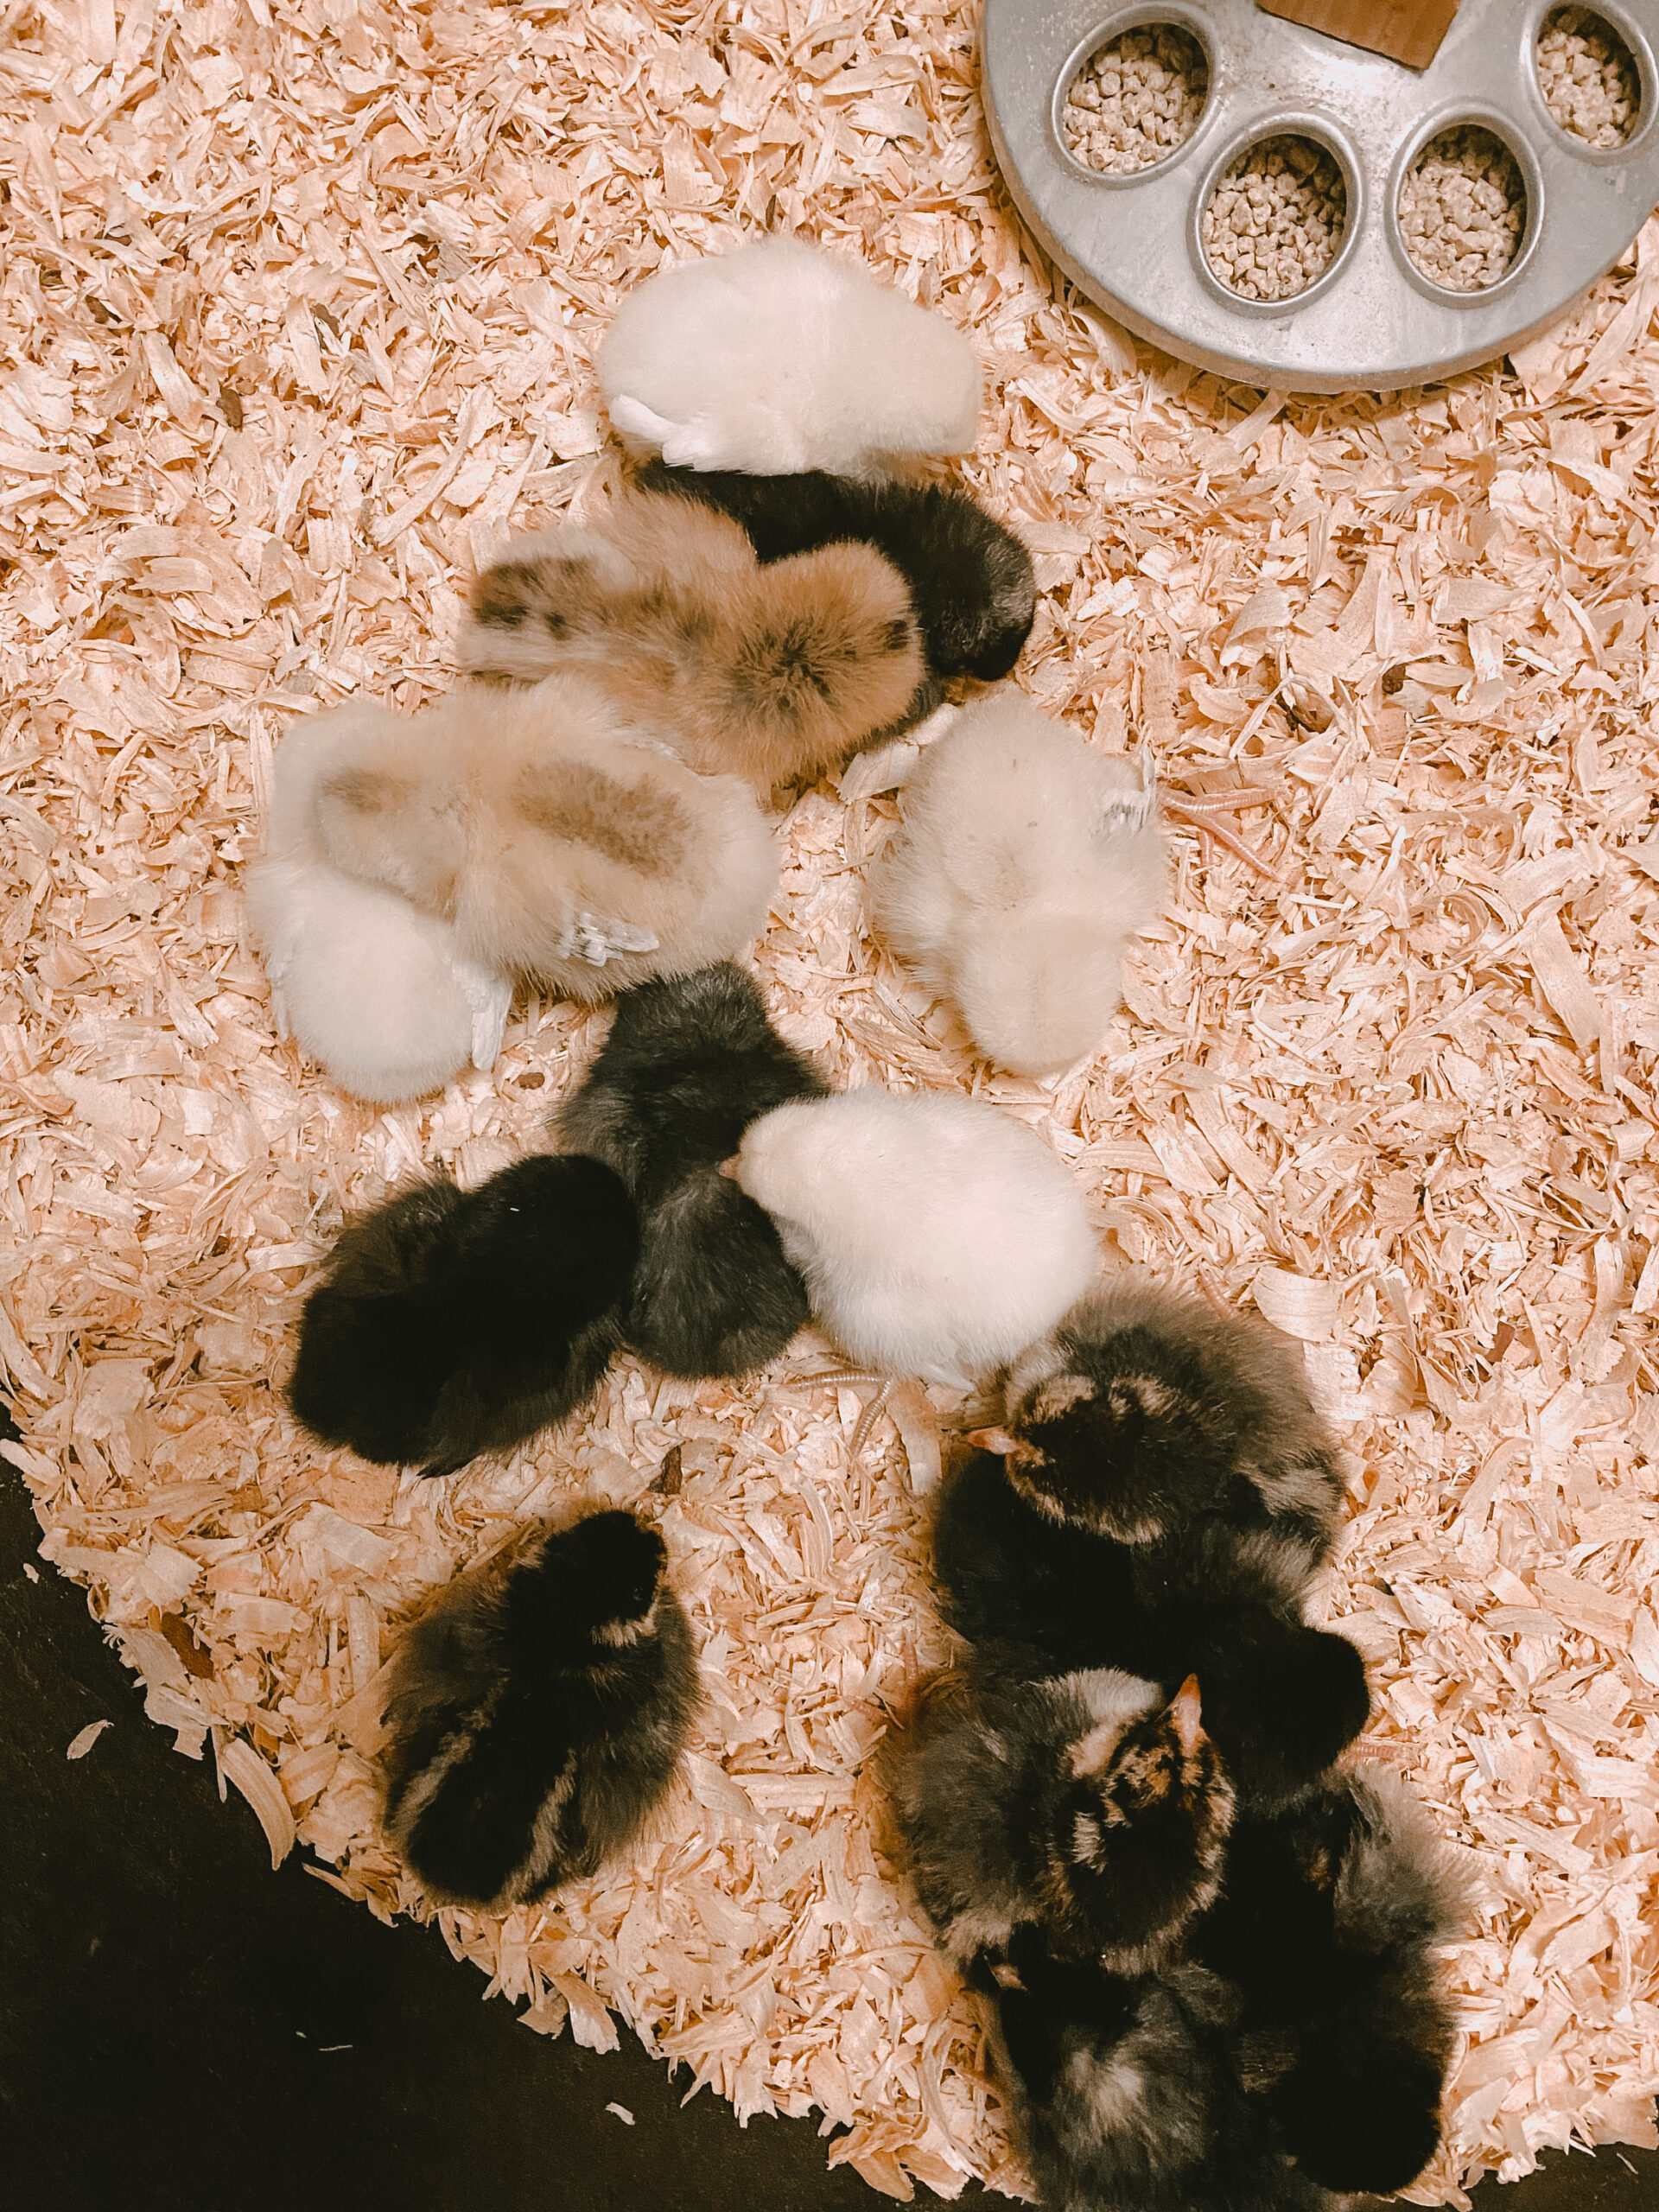
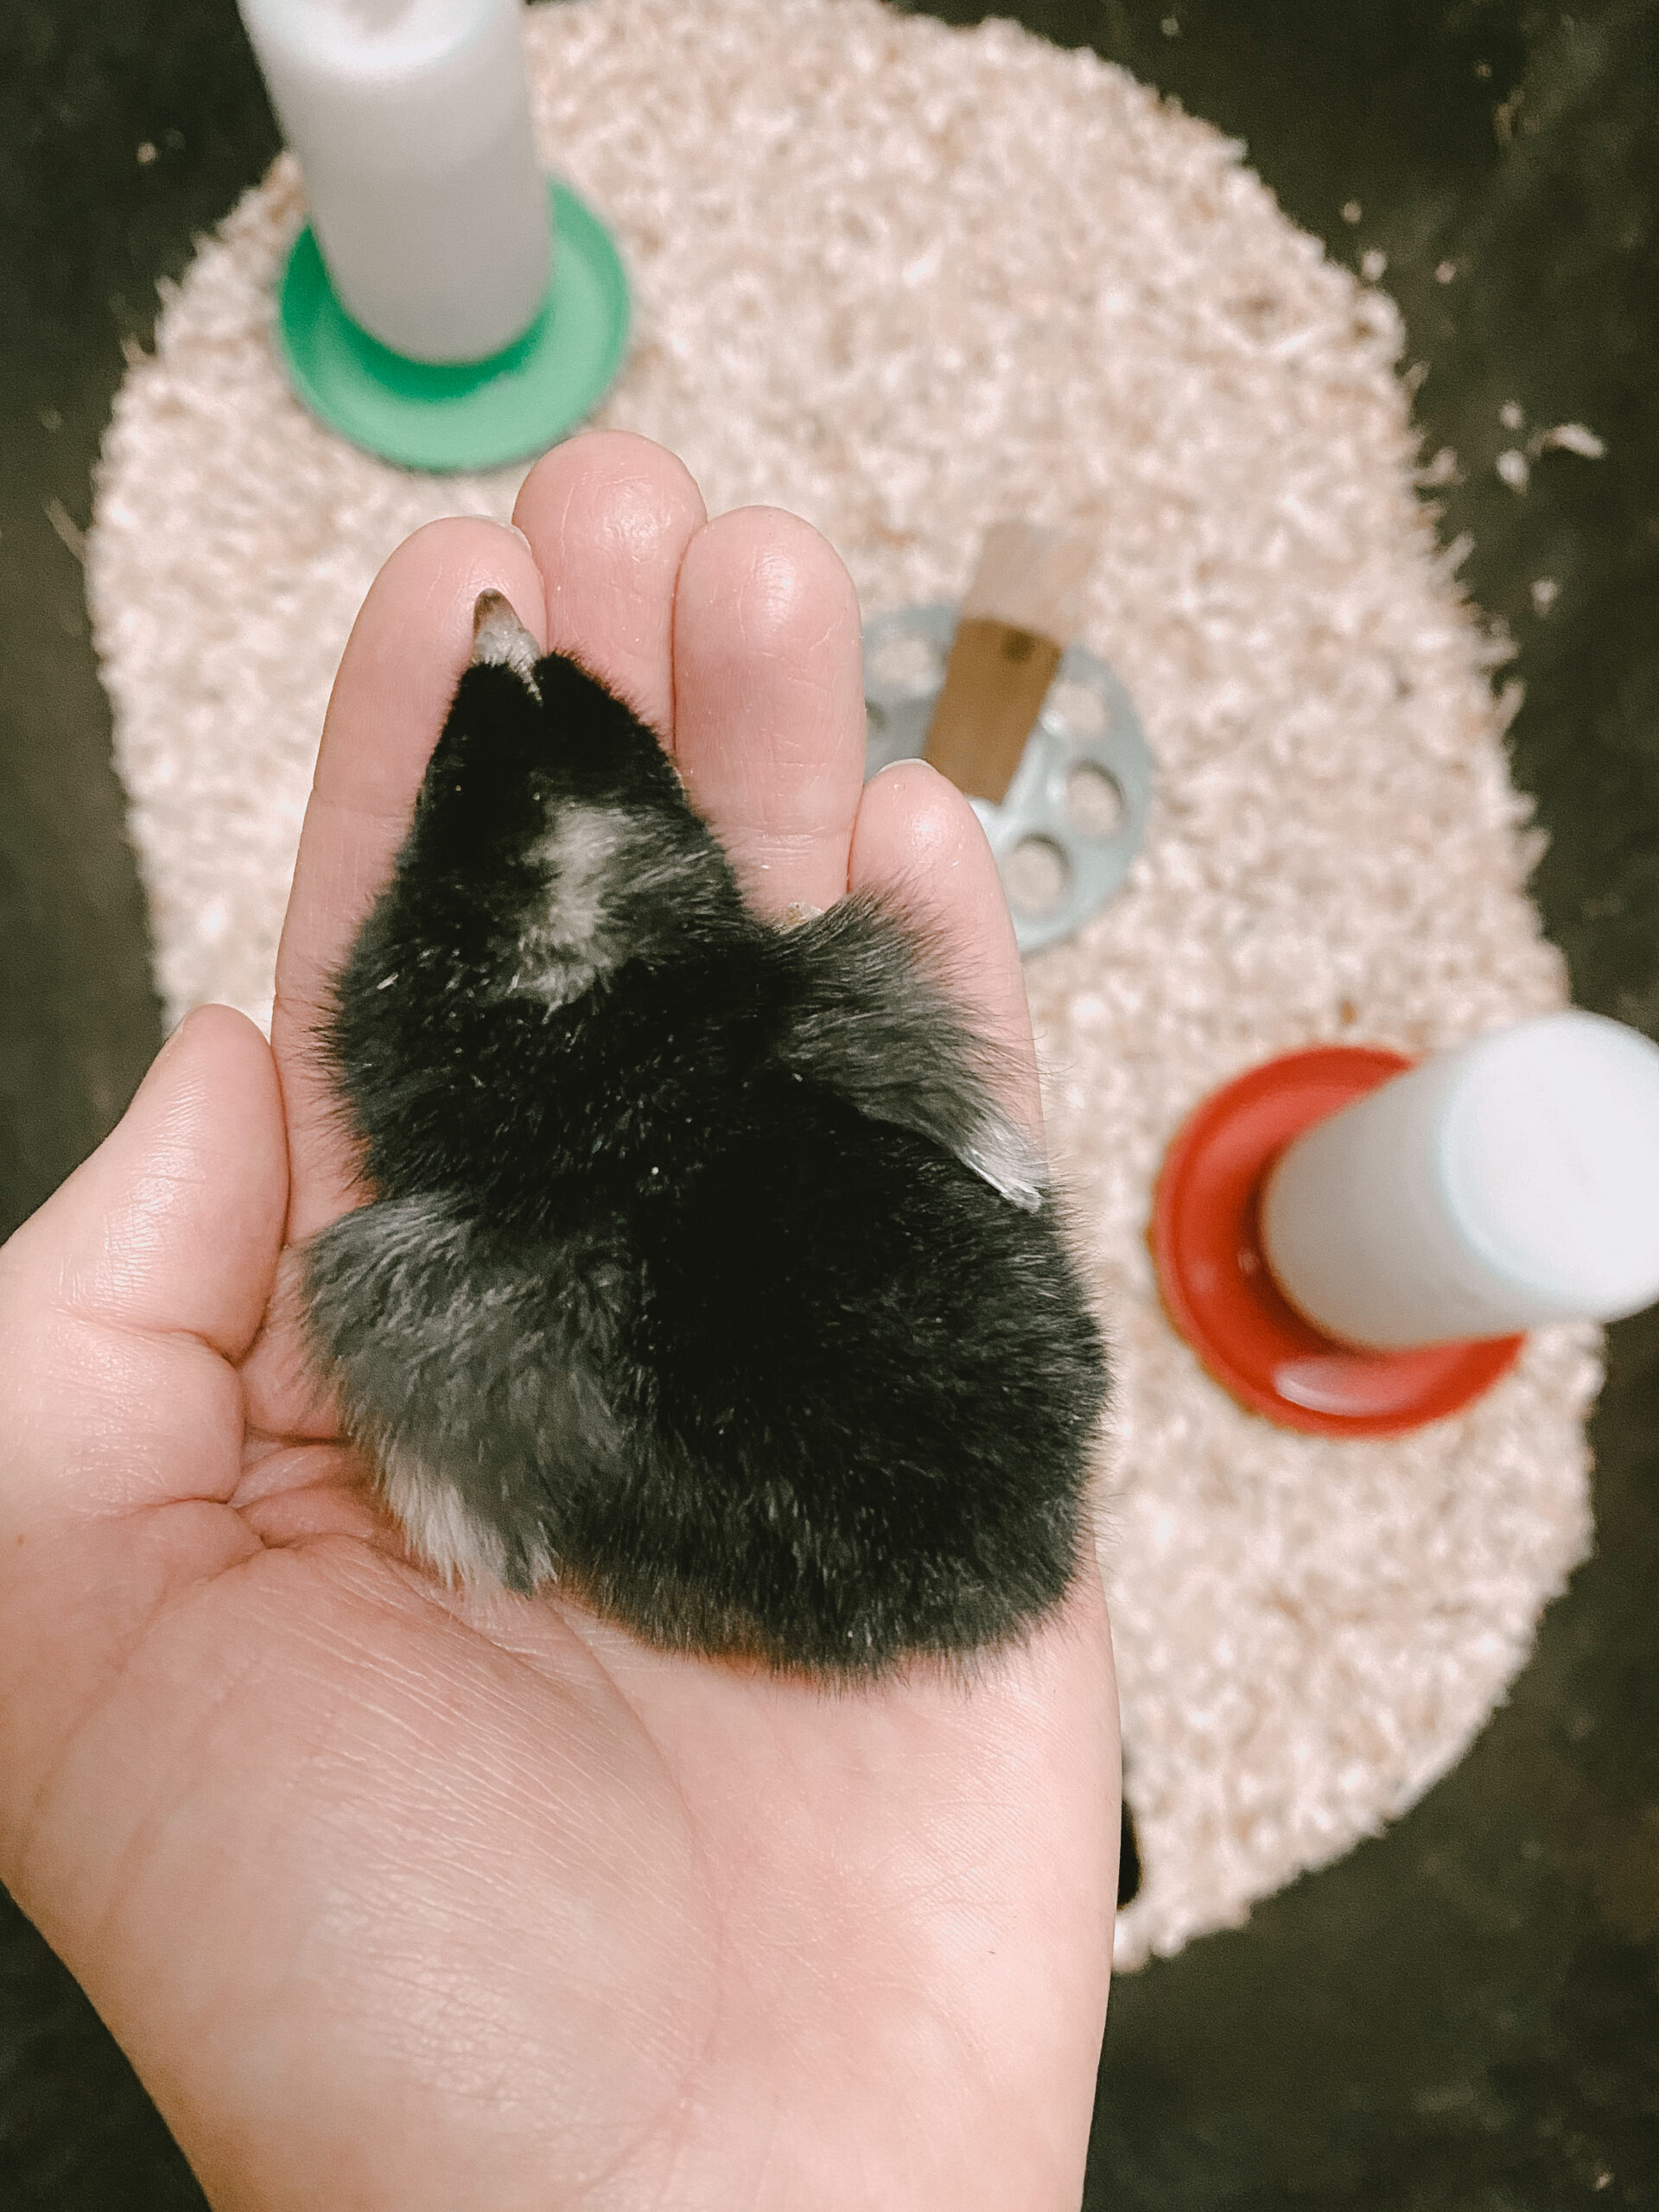
The truth is, I had been wanting to raise backyard chickens for quite some time. I have been working on living more sustainably for years now, and growing and producing our own food is right up there on my priority list. We already have several fruit trees on our property, and I’m hoping to finally get to replanting our vegetable garden this fall.
Also, when we bought our house about four years ago and I found out we were allowed to have chickens in the backyard, I was on a mission to get some of these cute fluffy butts. However, as life goes, we had other priorities for a while there (like finishing our renovations on the house and you know, raising three little humans). I just wanted to mention this though, because if you live in a city, there are most likely restrictions on keeping livestock, as chickens are not allowed in all areas! So just be sure to check before you go out and get your own baby chicks.
As we were swimming through our grief, someone mentioned that the chicks were on the way (via mail order, this is apparently a common way to purchase day-old chicks), and that a new home had been found for them. My ears perked up and basically had to beg my husband to let me take them home with us. My other sister-in-law got in on the action too, and we ended up splitting the chicks. Among this shipment, there was one special breed that my brother-in-law really wanted to keep, so we ended up leaving two babies with him (because baby chicks do better together, and it helps them integrate into existing flocks better), and then my sister-in-law and I each split the rest.
We decided to name our chicks in honor of Laney, our incredible aunt and sister-in-law, by naming them after 14,000-foot peaks that Laney had climbed in her lifetime. I present to you: Sunshine, Sunlight, Sneffels, Eolis, Ms. Wilson, and Animas (that one is technically a river that runs through her beloved home in Durango).
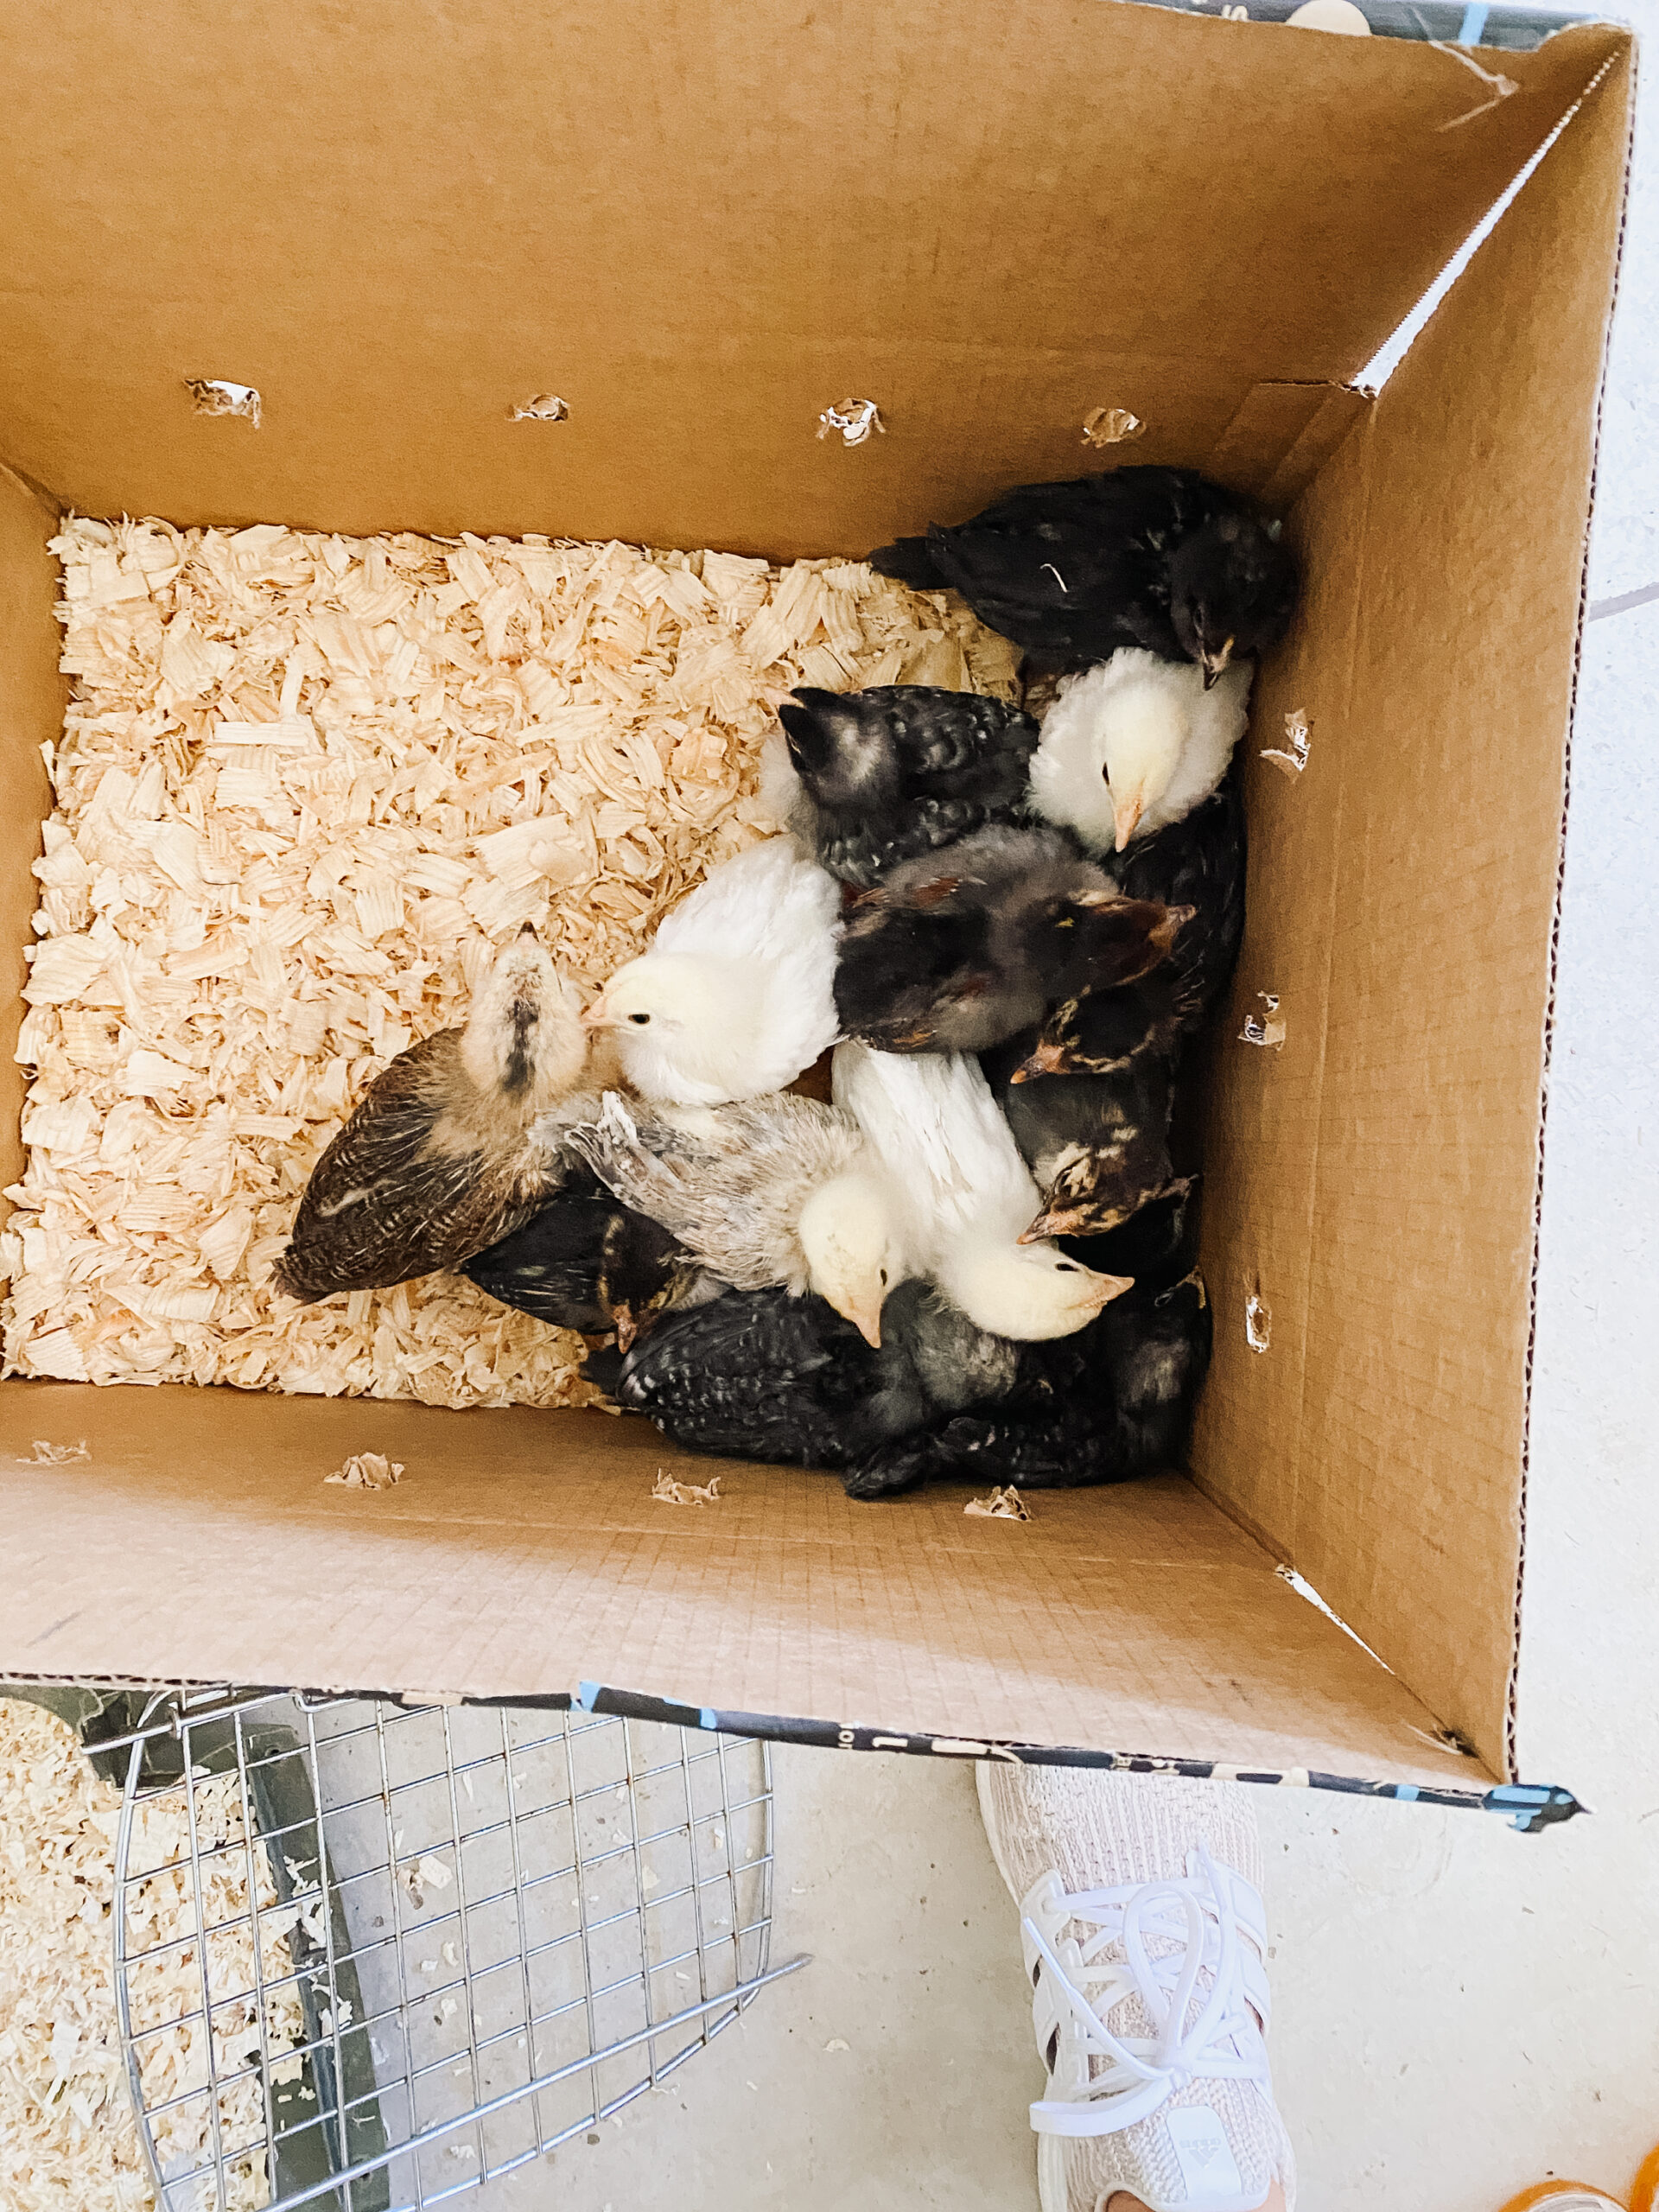
Amongst the shuffle of planning the funeral services, a sweet family cared for the babies until they were ready to come home with each of us. Here they are the day we finally got to bring them home, about three weeks old at the time. It’s incredible how fast they grow!
Because I was feeling so overwhelmed with planning the services and organizing care for the chicks, in addition to traditional end-of-school-year events with my kids and work projects, I reached out for help with a chicken coop. I started by researching pre-fab coops (most readily available at Tractor Supply). But after scouring the reviews, I found that most were just not designed to last more than two years in extreme weather. The last thing I wanted to do was spend a few hundred dollars on something that was going to fall apart, just to purchase or build something more durable later.
So I reached out to a dear old friend, Brandi (find her on Instagram @radish_mama). Brandi has been working on her dream of homesteading for the last several years now and is super knowledgeable about all things around the homestead. I asked if she might know of anyone who builds chicken coops, and she immediately offered to build one for me!
Brandi started with these simple plans, which can be purchased here from Etsy.
Another disclaimer: although Brandi did an AMAZING job pulling this off for me, she’s not a professional coop builder, and therefore is not available for hire for this sort of thing on the regular. Sorry! 😉 I only add this because I did have a few people reach out and ask me about this on Instagram. But you should still definitely follow her @radish_mama for all the homesteading reality and inspo!
One other thing to consider if you decide to go this route of building your own coop is the cost of lumber. At the time we did this, lumber prices have been at an all-time high. Not ideal timing, but we were operating under other timing constraints outside of our control. Just to give you an idea, the total cost of materials for this entire desert chicken coop and run came in at around $2,000.
The day we came home with the chicks, she met us at the house, late in the evening, with this:
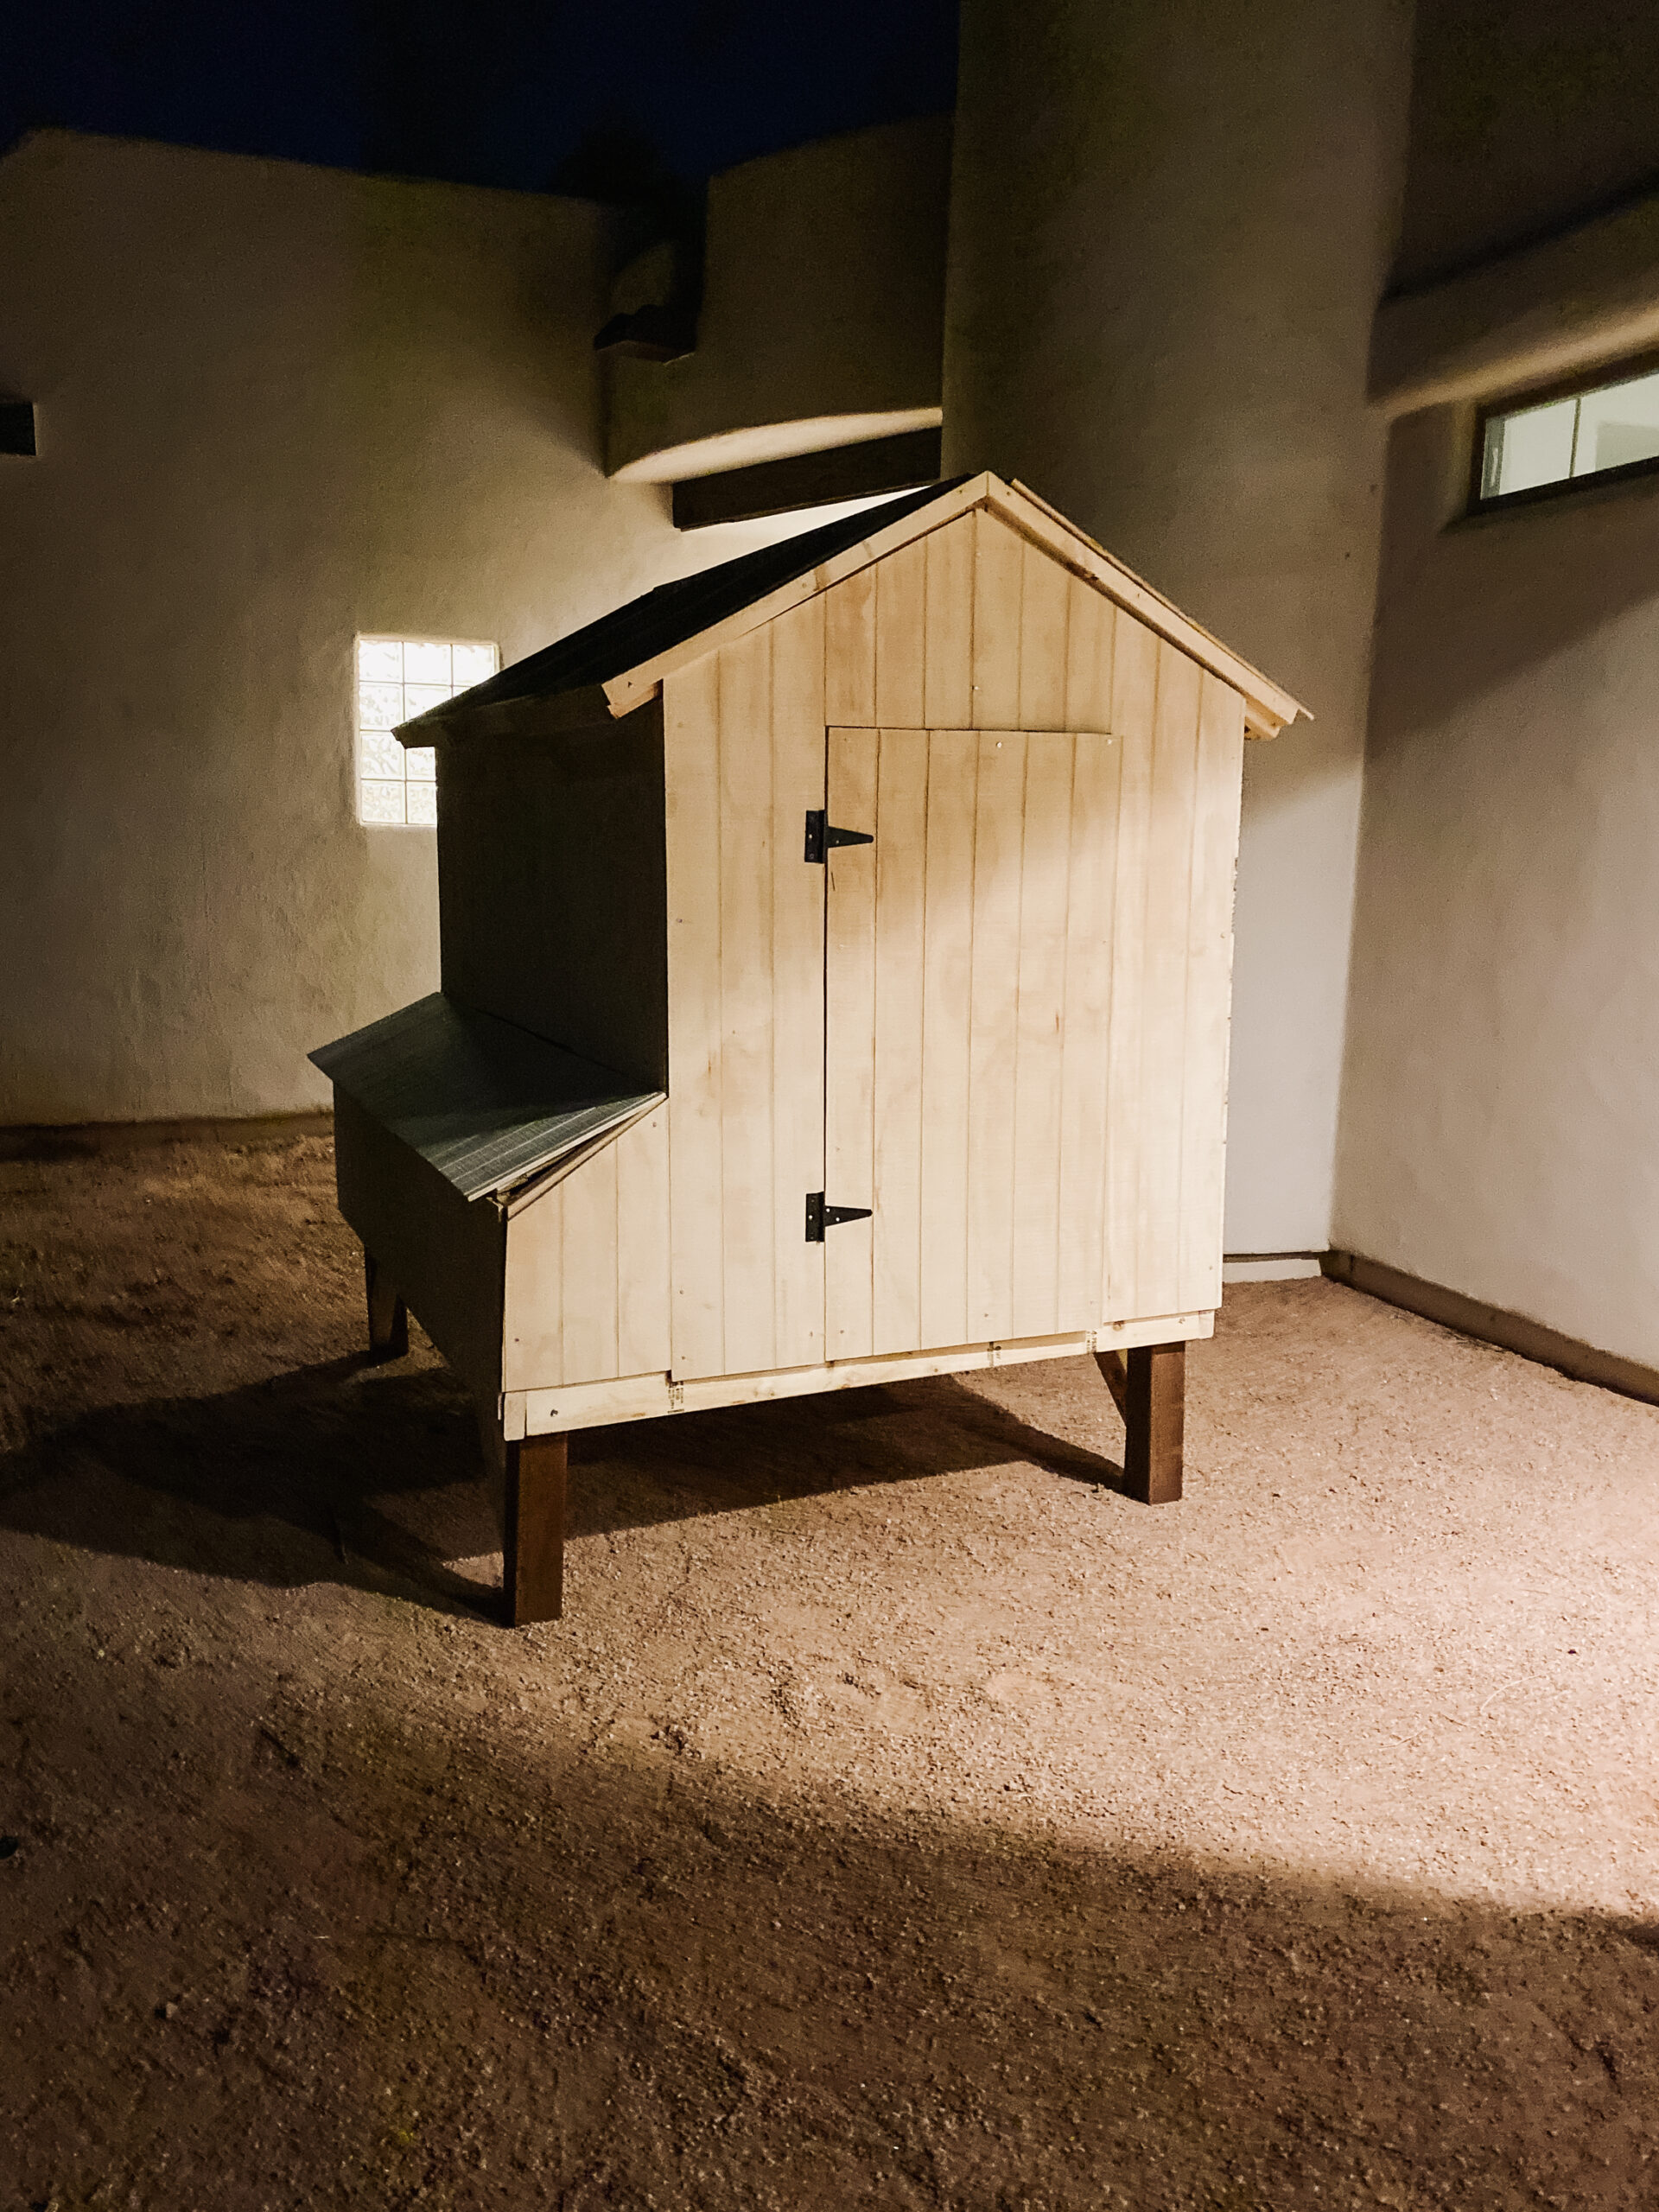
But there was still work to be done! I wasn’t 100% sure at this point about the location of the coop, if I was going to free-range or build a predator-proof run, and it still needed part of the roof, shingles, trim, hardware, and paint! Phew. Honestly, at this point, I thought I was at least halfway there, but we still had SO much work ahead of us. Thankful I finally convinced my husband I needed help in order to complete this project before we left on our summer travels because I couldn’t have done it without him, Brandi, or even her family (who also came over to help build the coop)!
Here are some more progress shots:
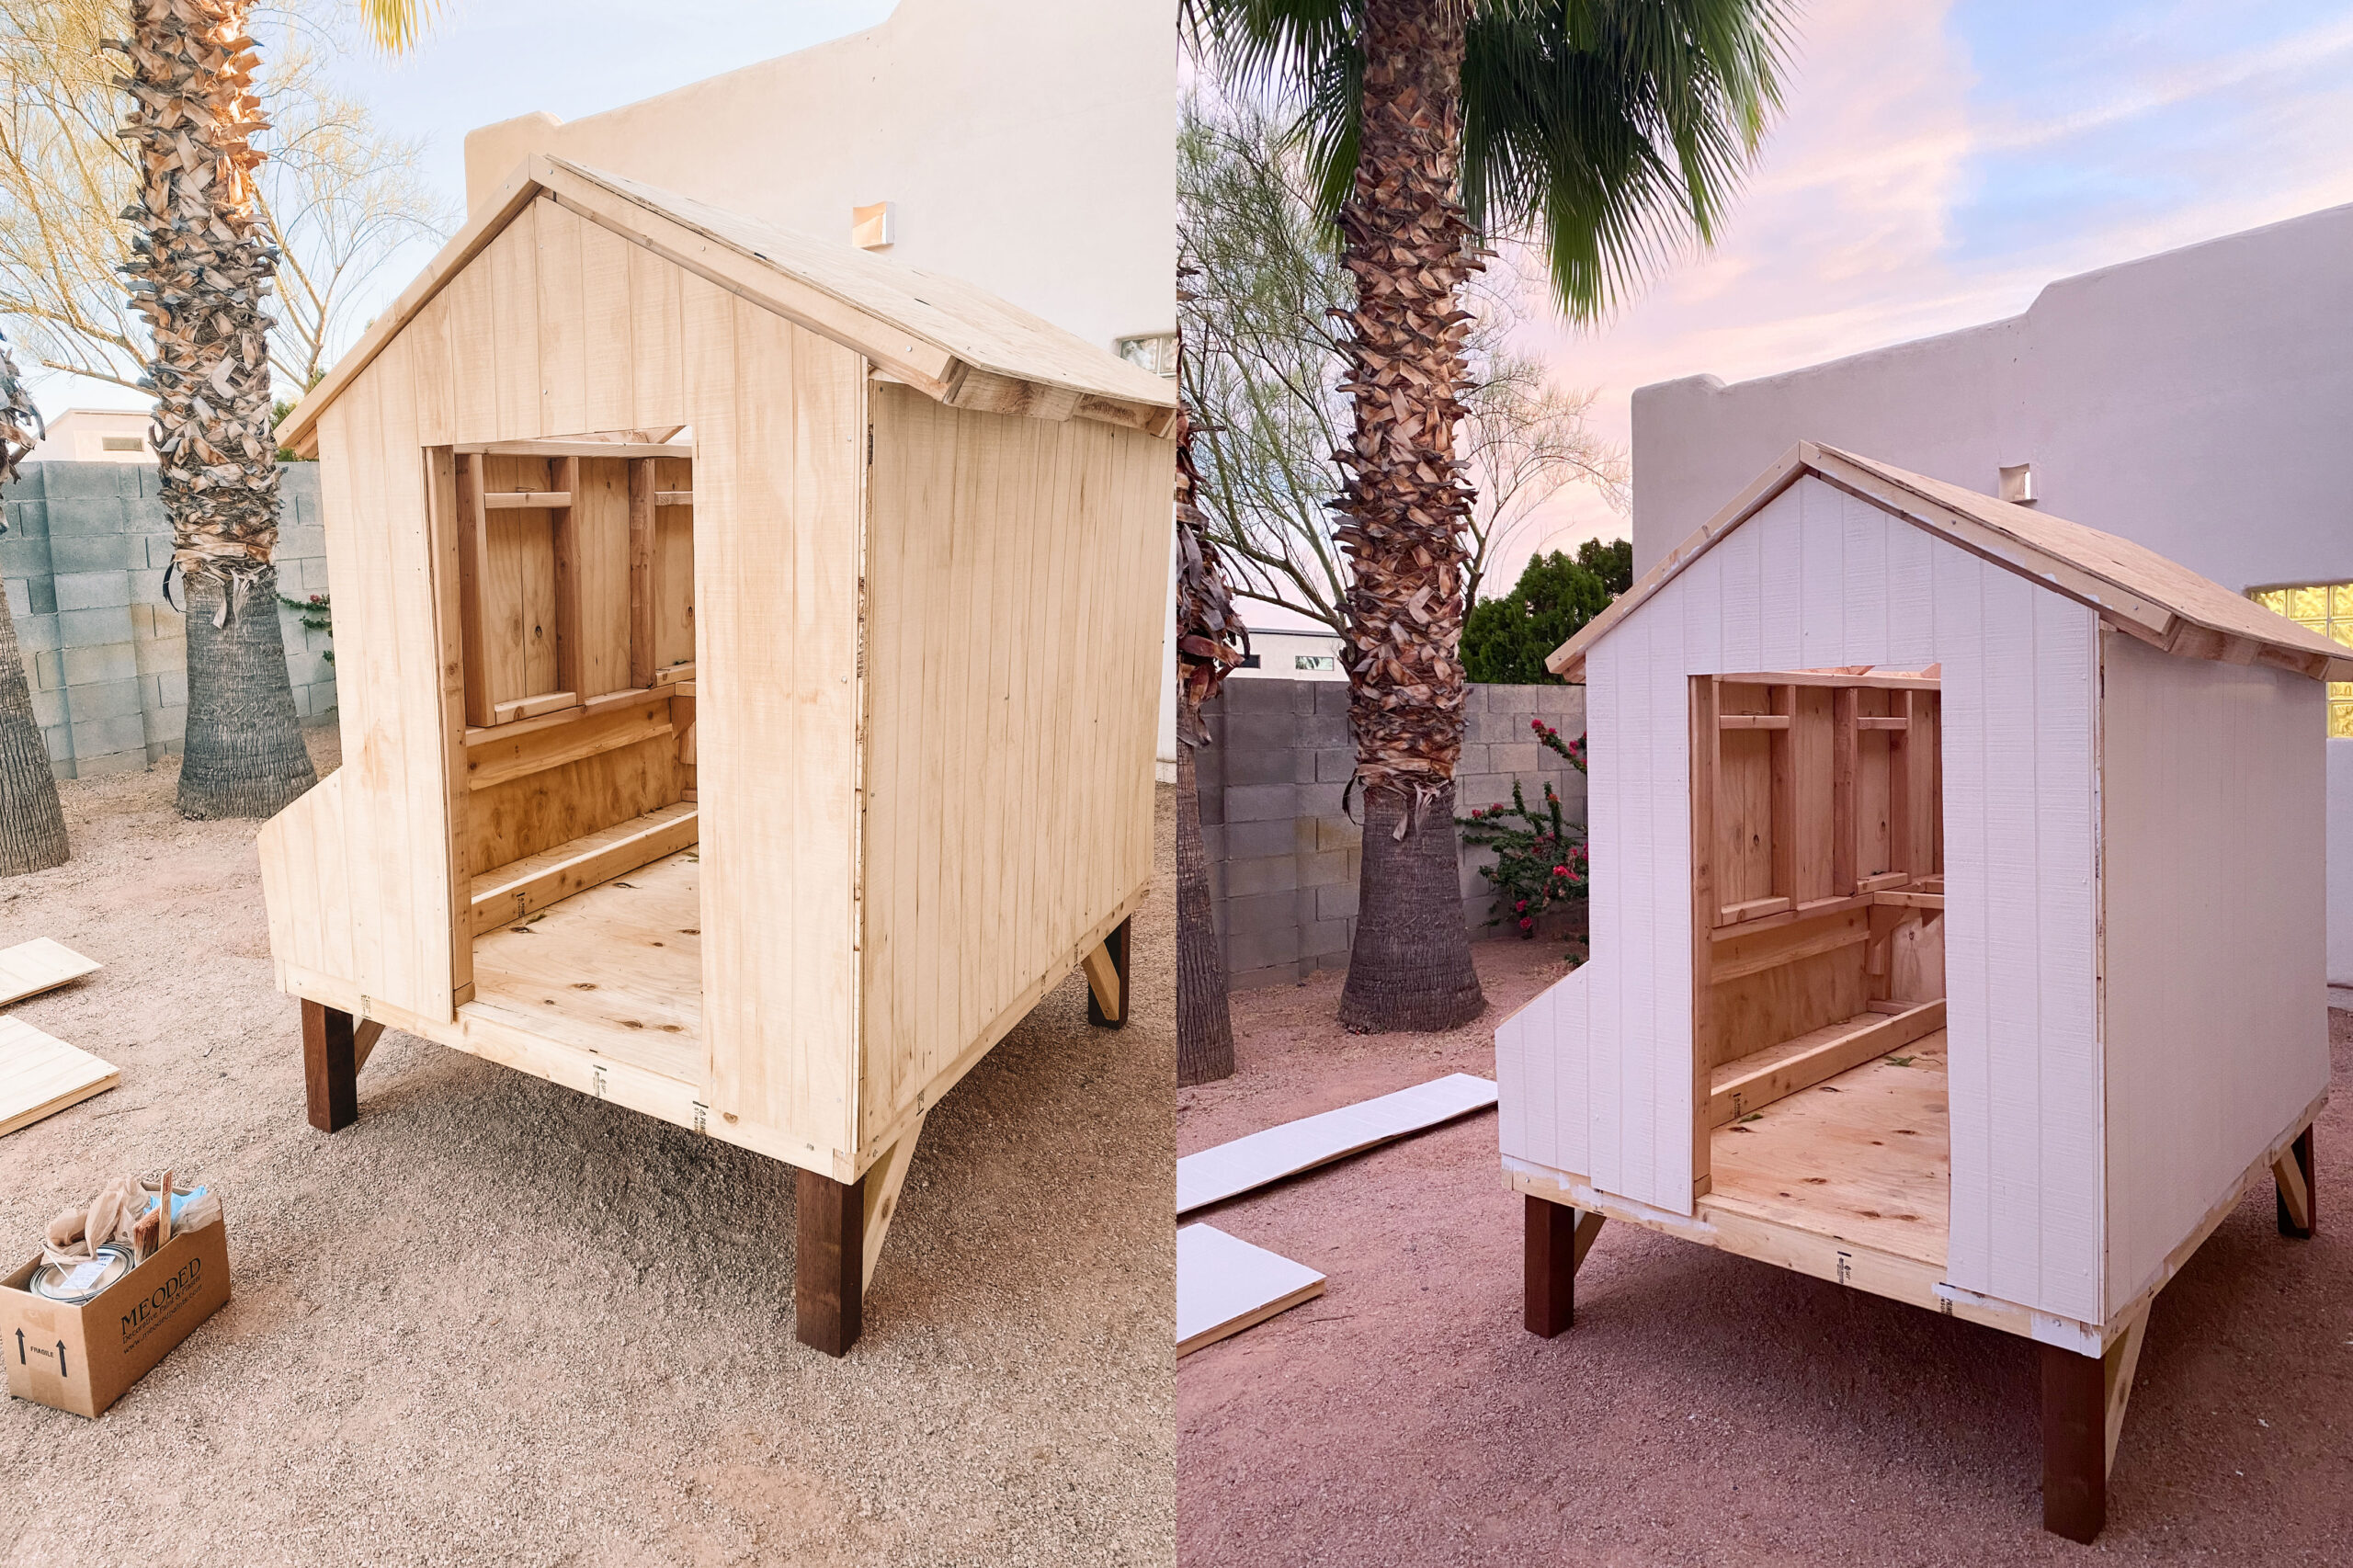
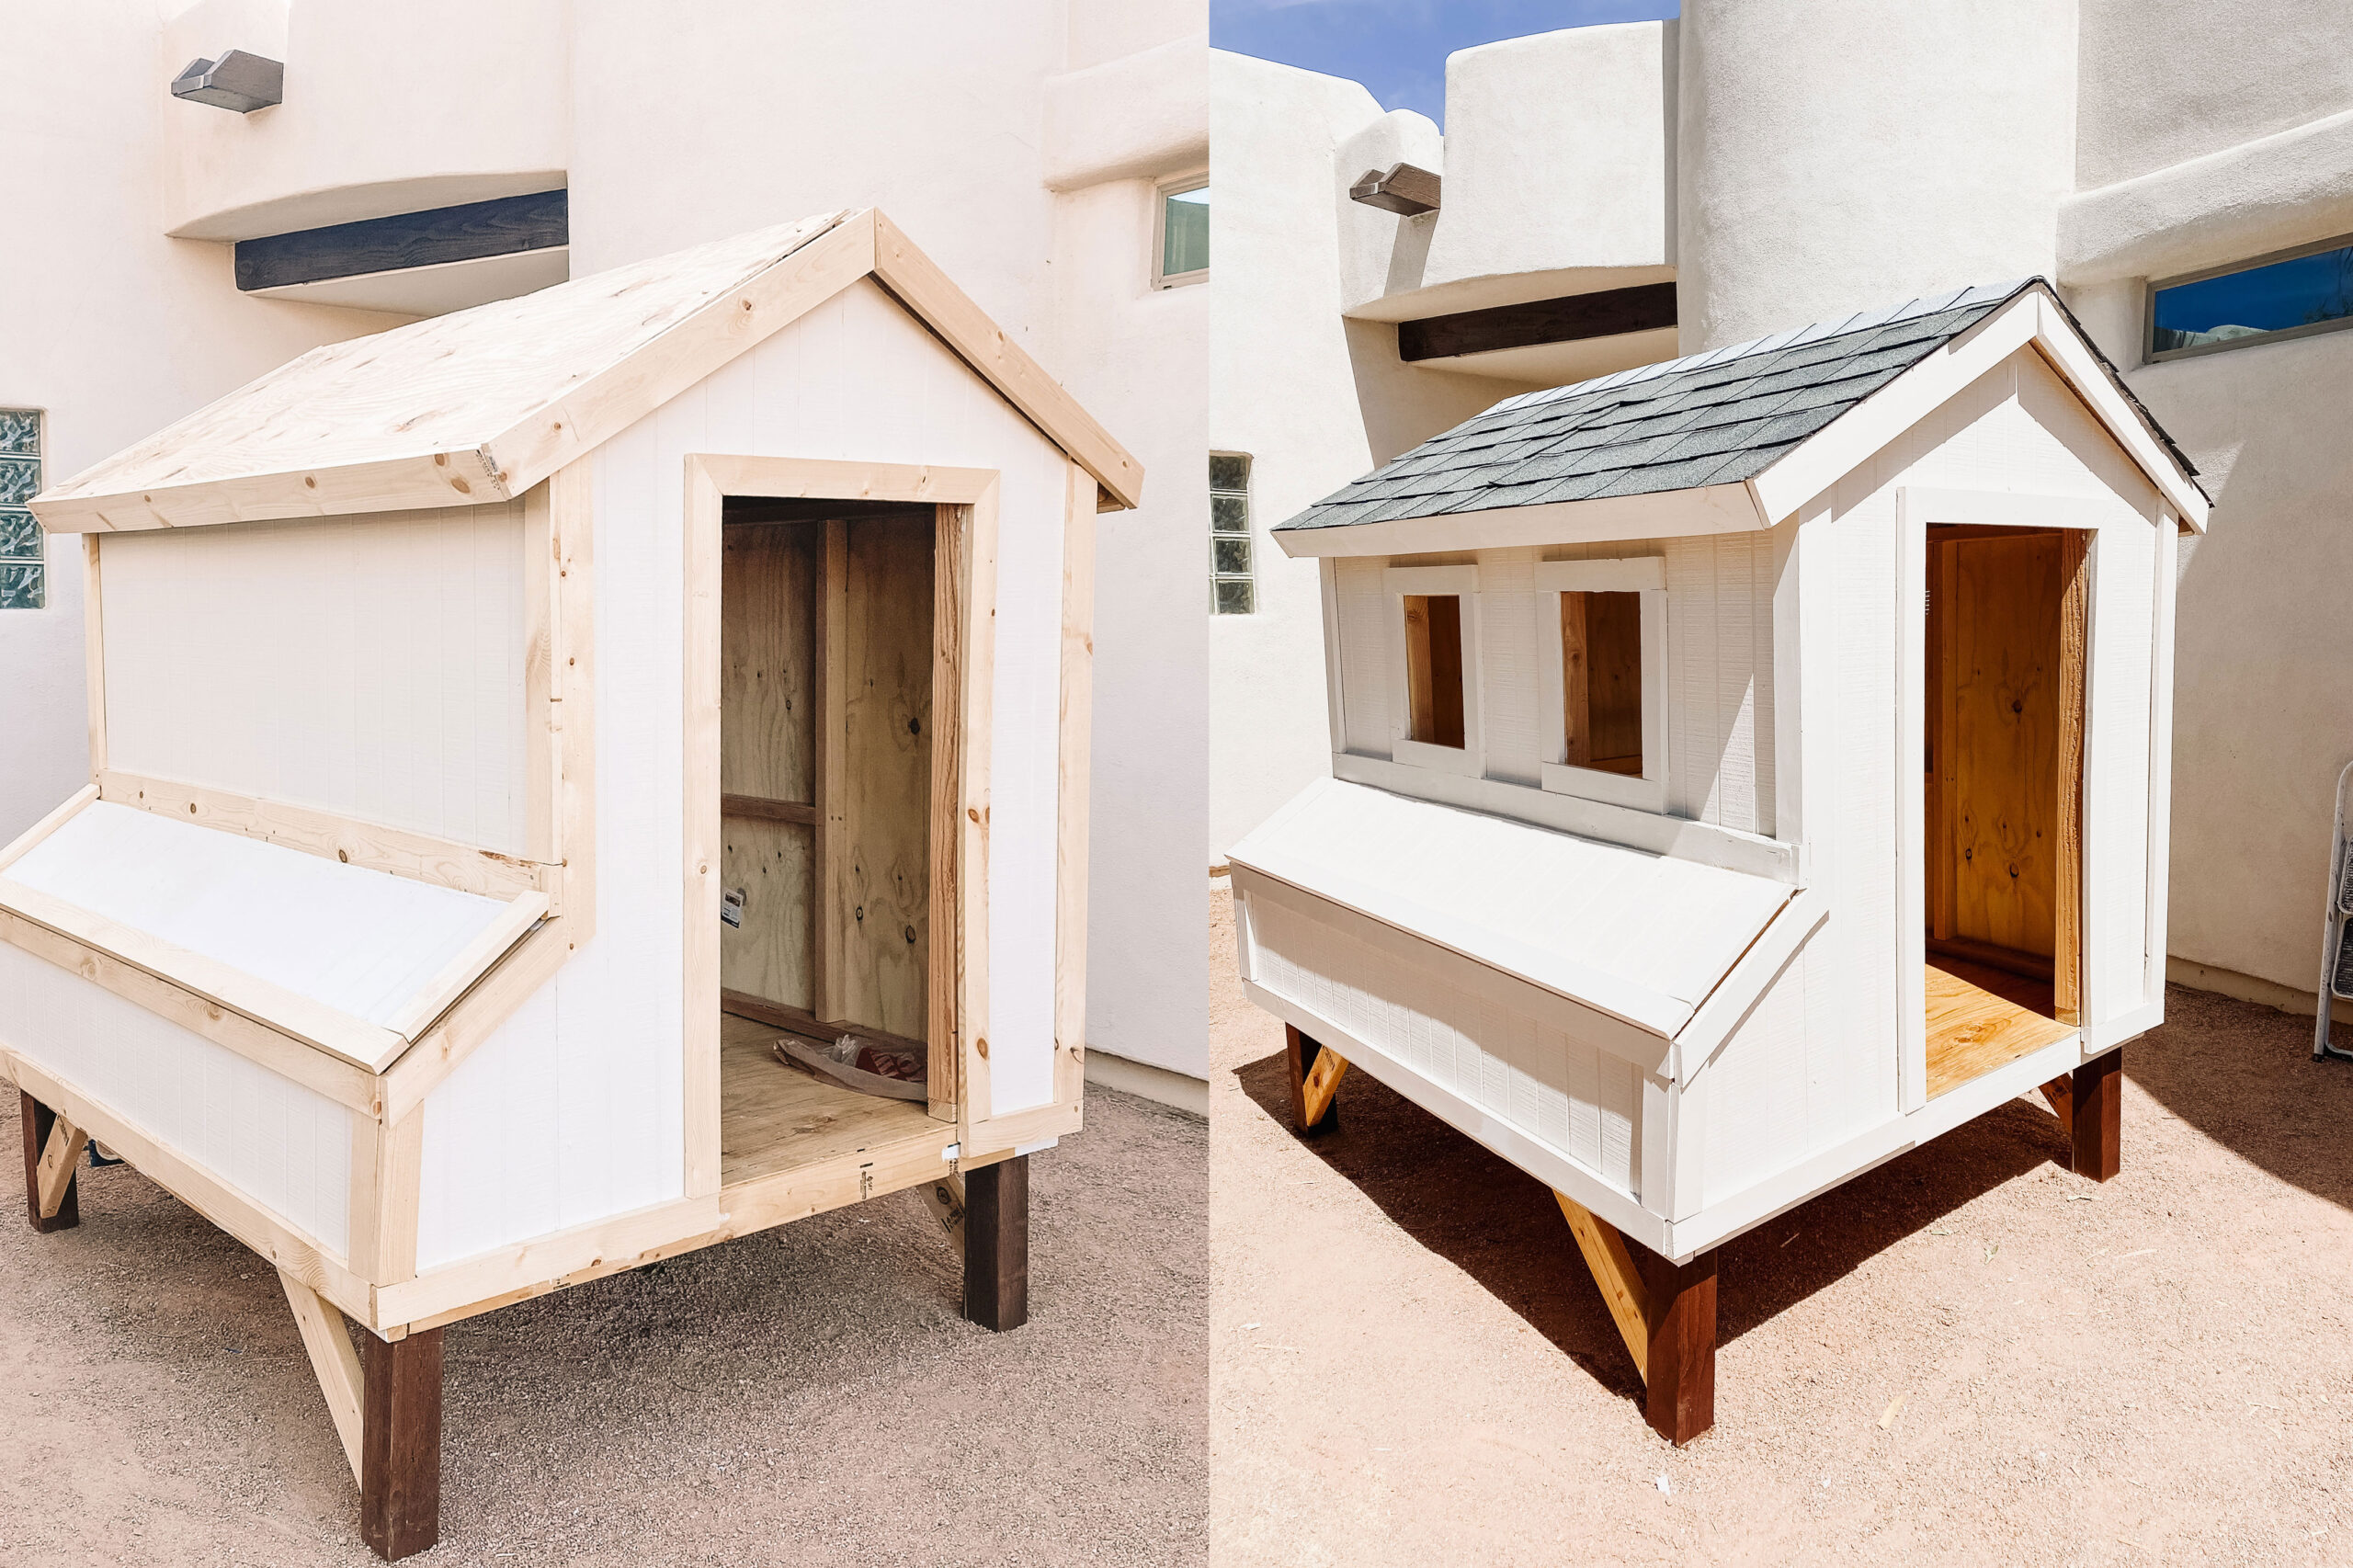
A note about painting: some people do not paint, and depending on what type of wood you use and where you live, you might not need to. The leg posts of this coop are pressure-treated lumber, but the rest of it was not. Because of the current lumber shortage, we couldn’t even find pressure-treated lumber in all of the sizes we wanted. Honestly, I also wanted the coop itself to be painted, for the cuteness factor. We had some leftover exterior paint from our house, so I started with that, but I ended up having to go out and buy more. But I also ended up taking the extra time to paint all of the 2x2s we used for the run structure, as this was again not pressure-treated and I was trying to build this whole thing to last in our intense desert sun and heat.
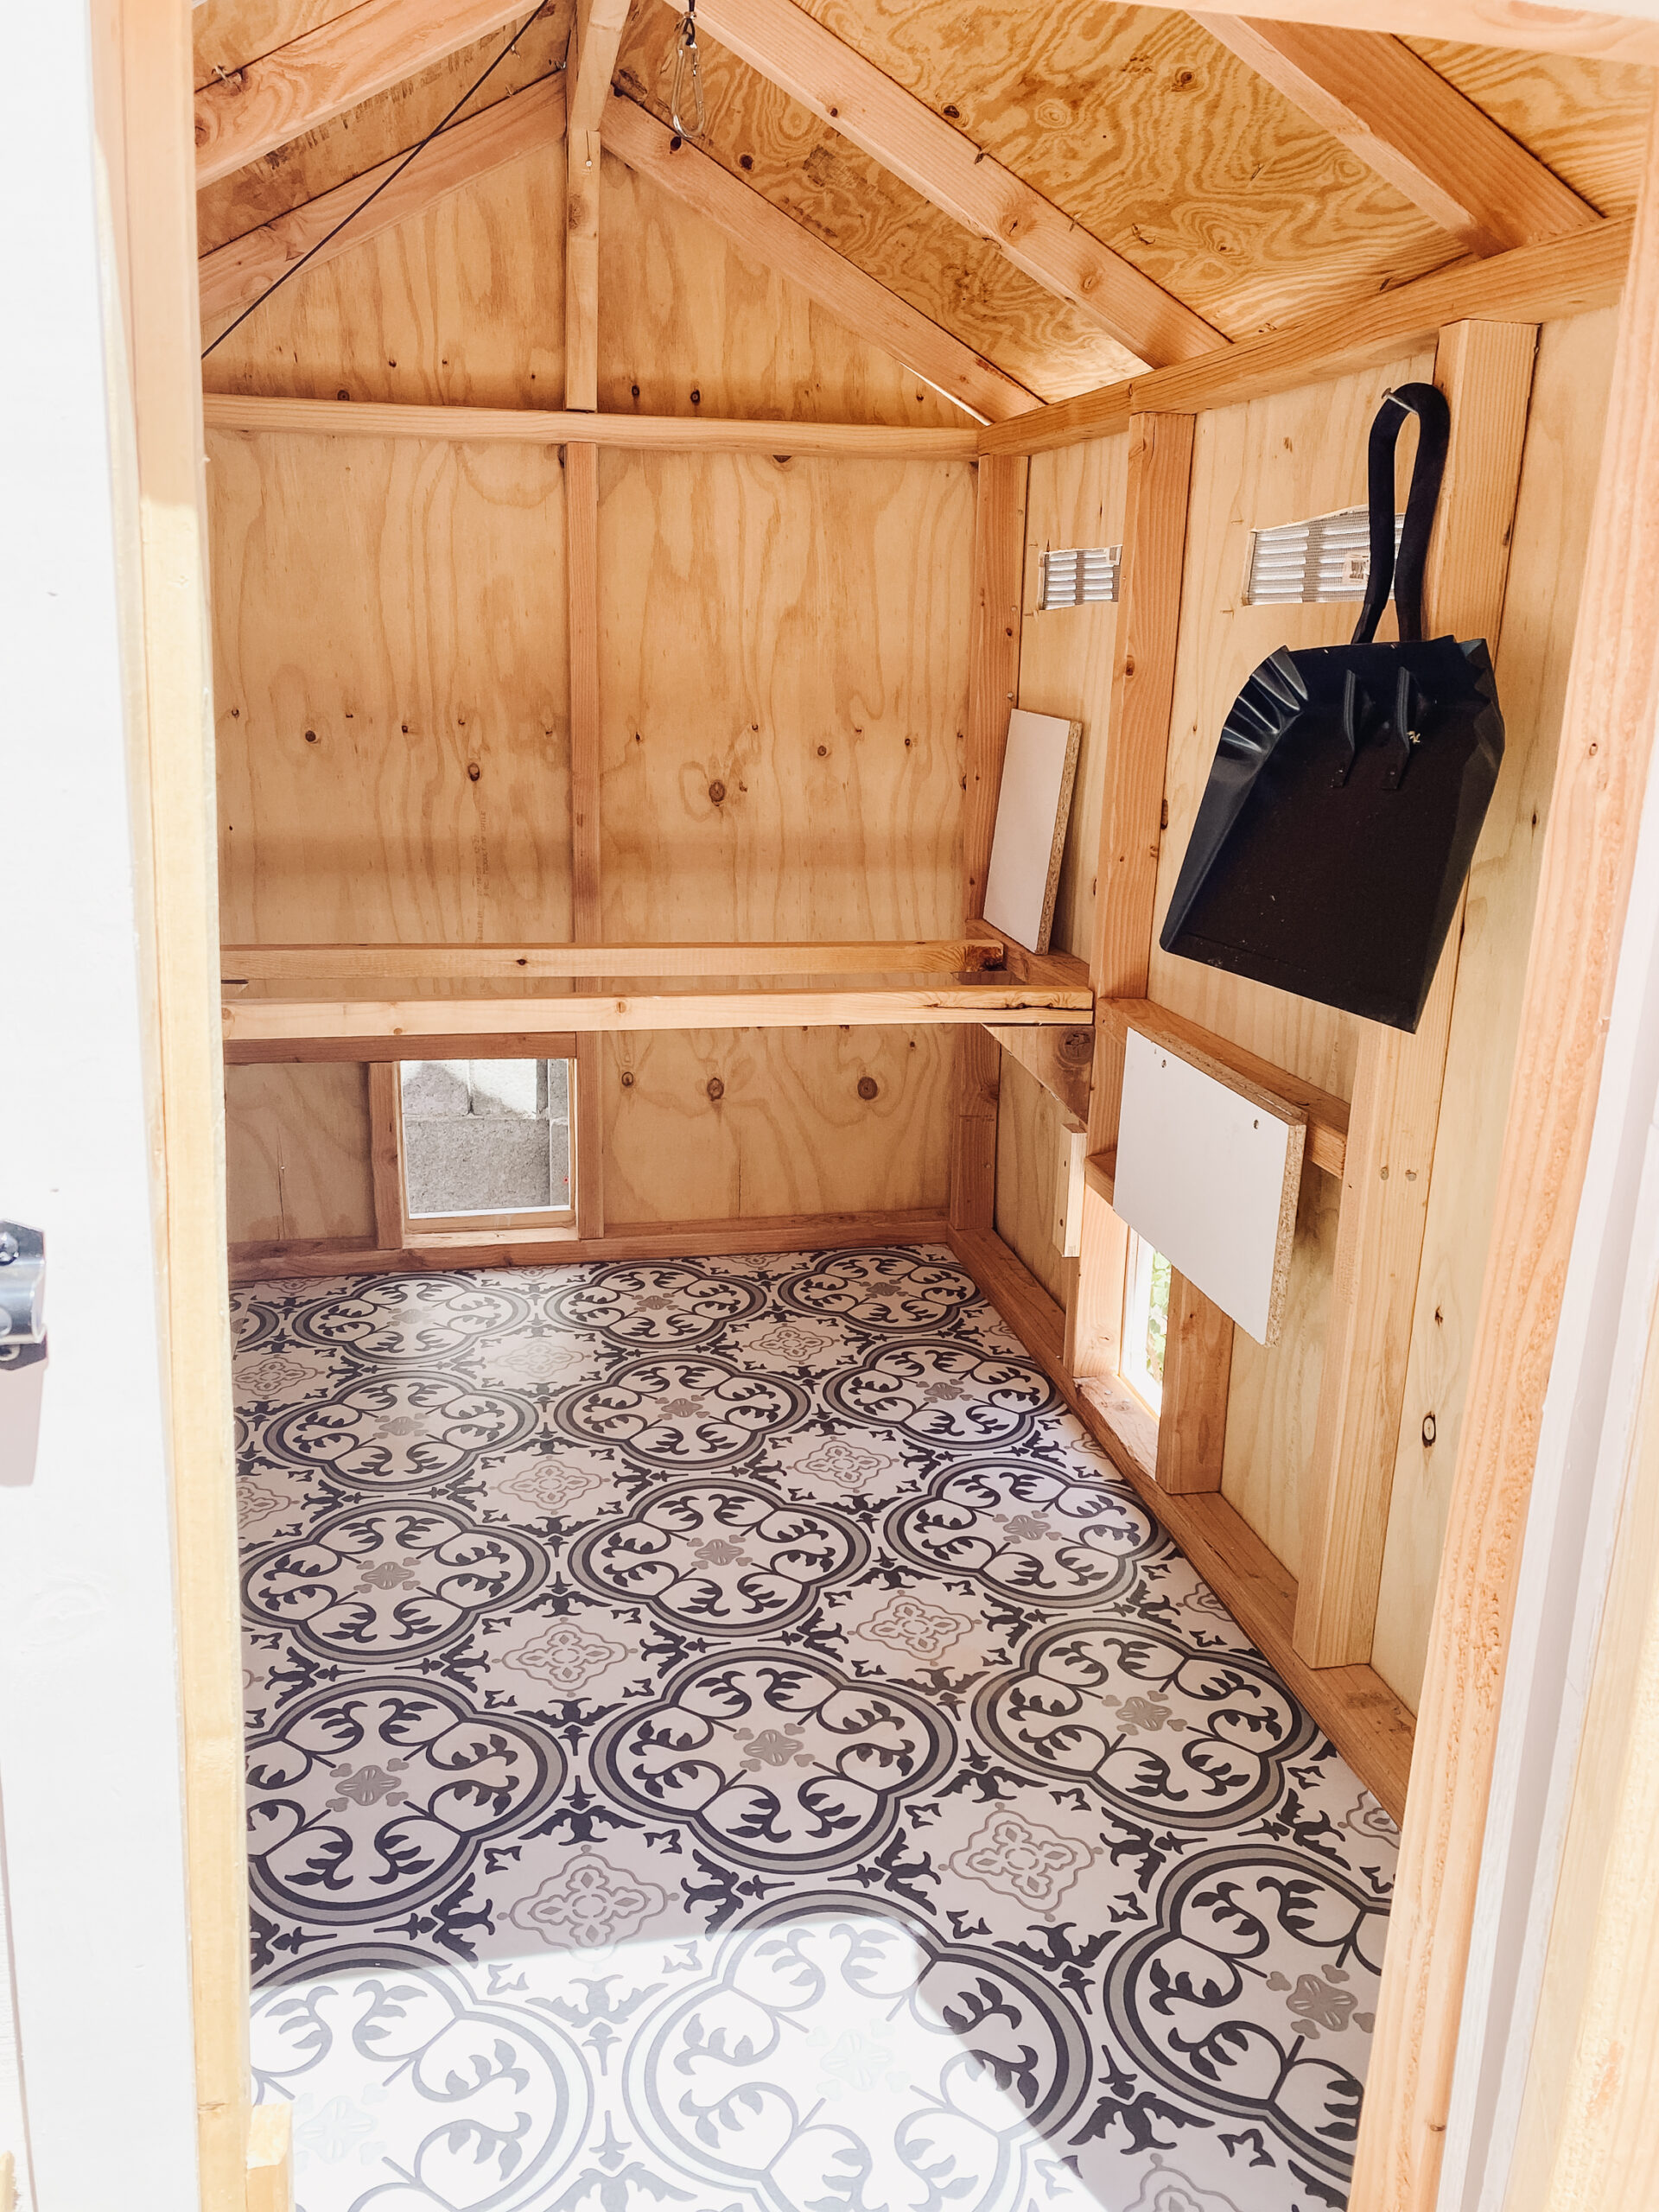
On the coop floor, I initially thought I would just treat it, for the purpose of making it easier to clean. I again spent a ton of time researching (are we noticing a theme here? haha) and wanted something as non-toxic as possible. Chickens have very delicate respiratory systems. On top of that, and going back to my goal of living a more sustainable life, we are going to eat what these chickens produce for us one day! So I want them to have the healthiest environment possible. I settled on this Outdoor Defense Oil from the Real Milk Paint Co, as it’s made mostly of Tung and Pine oils – all-natural and non-toxic. I treated the floor and inside the nesting boxes there with three coats of oil.
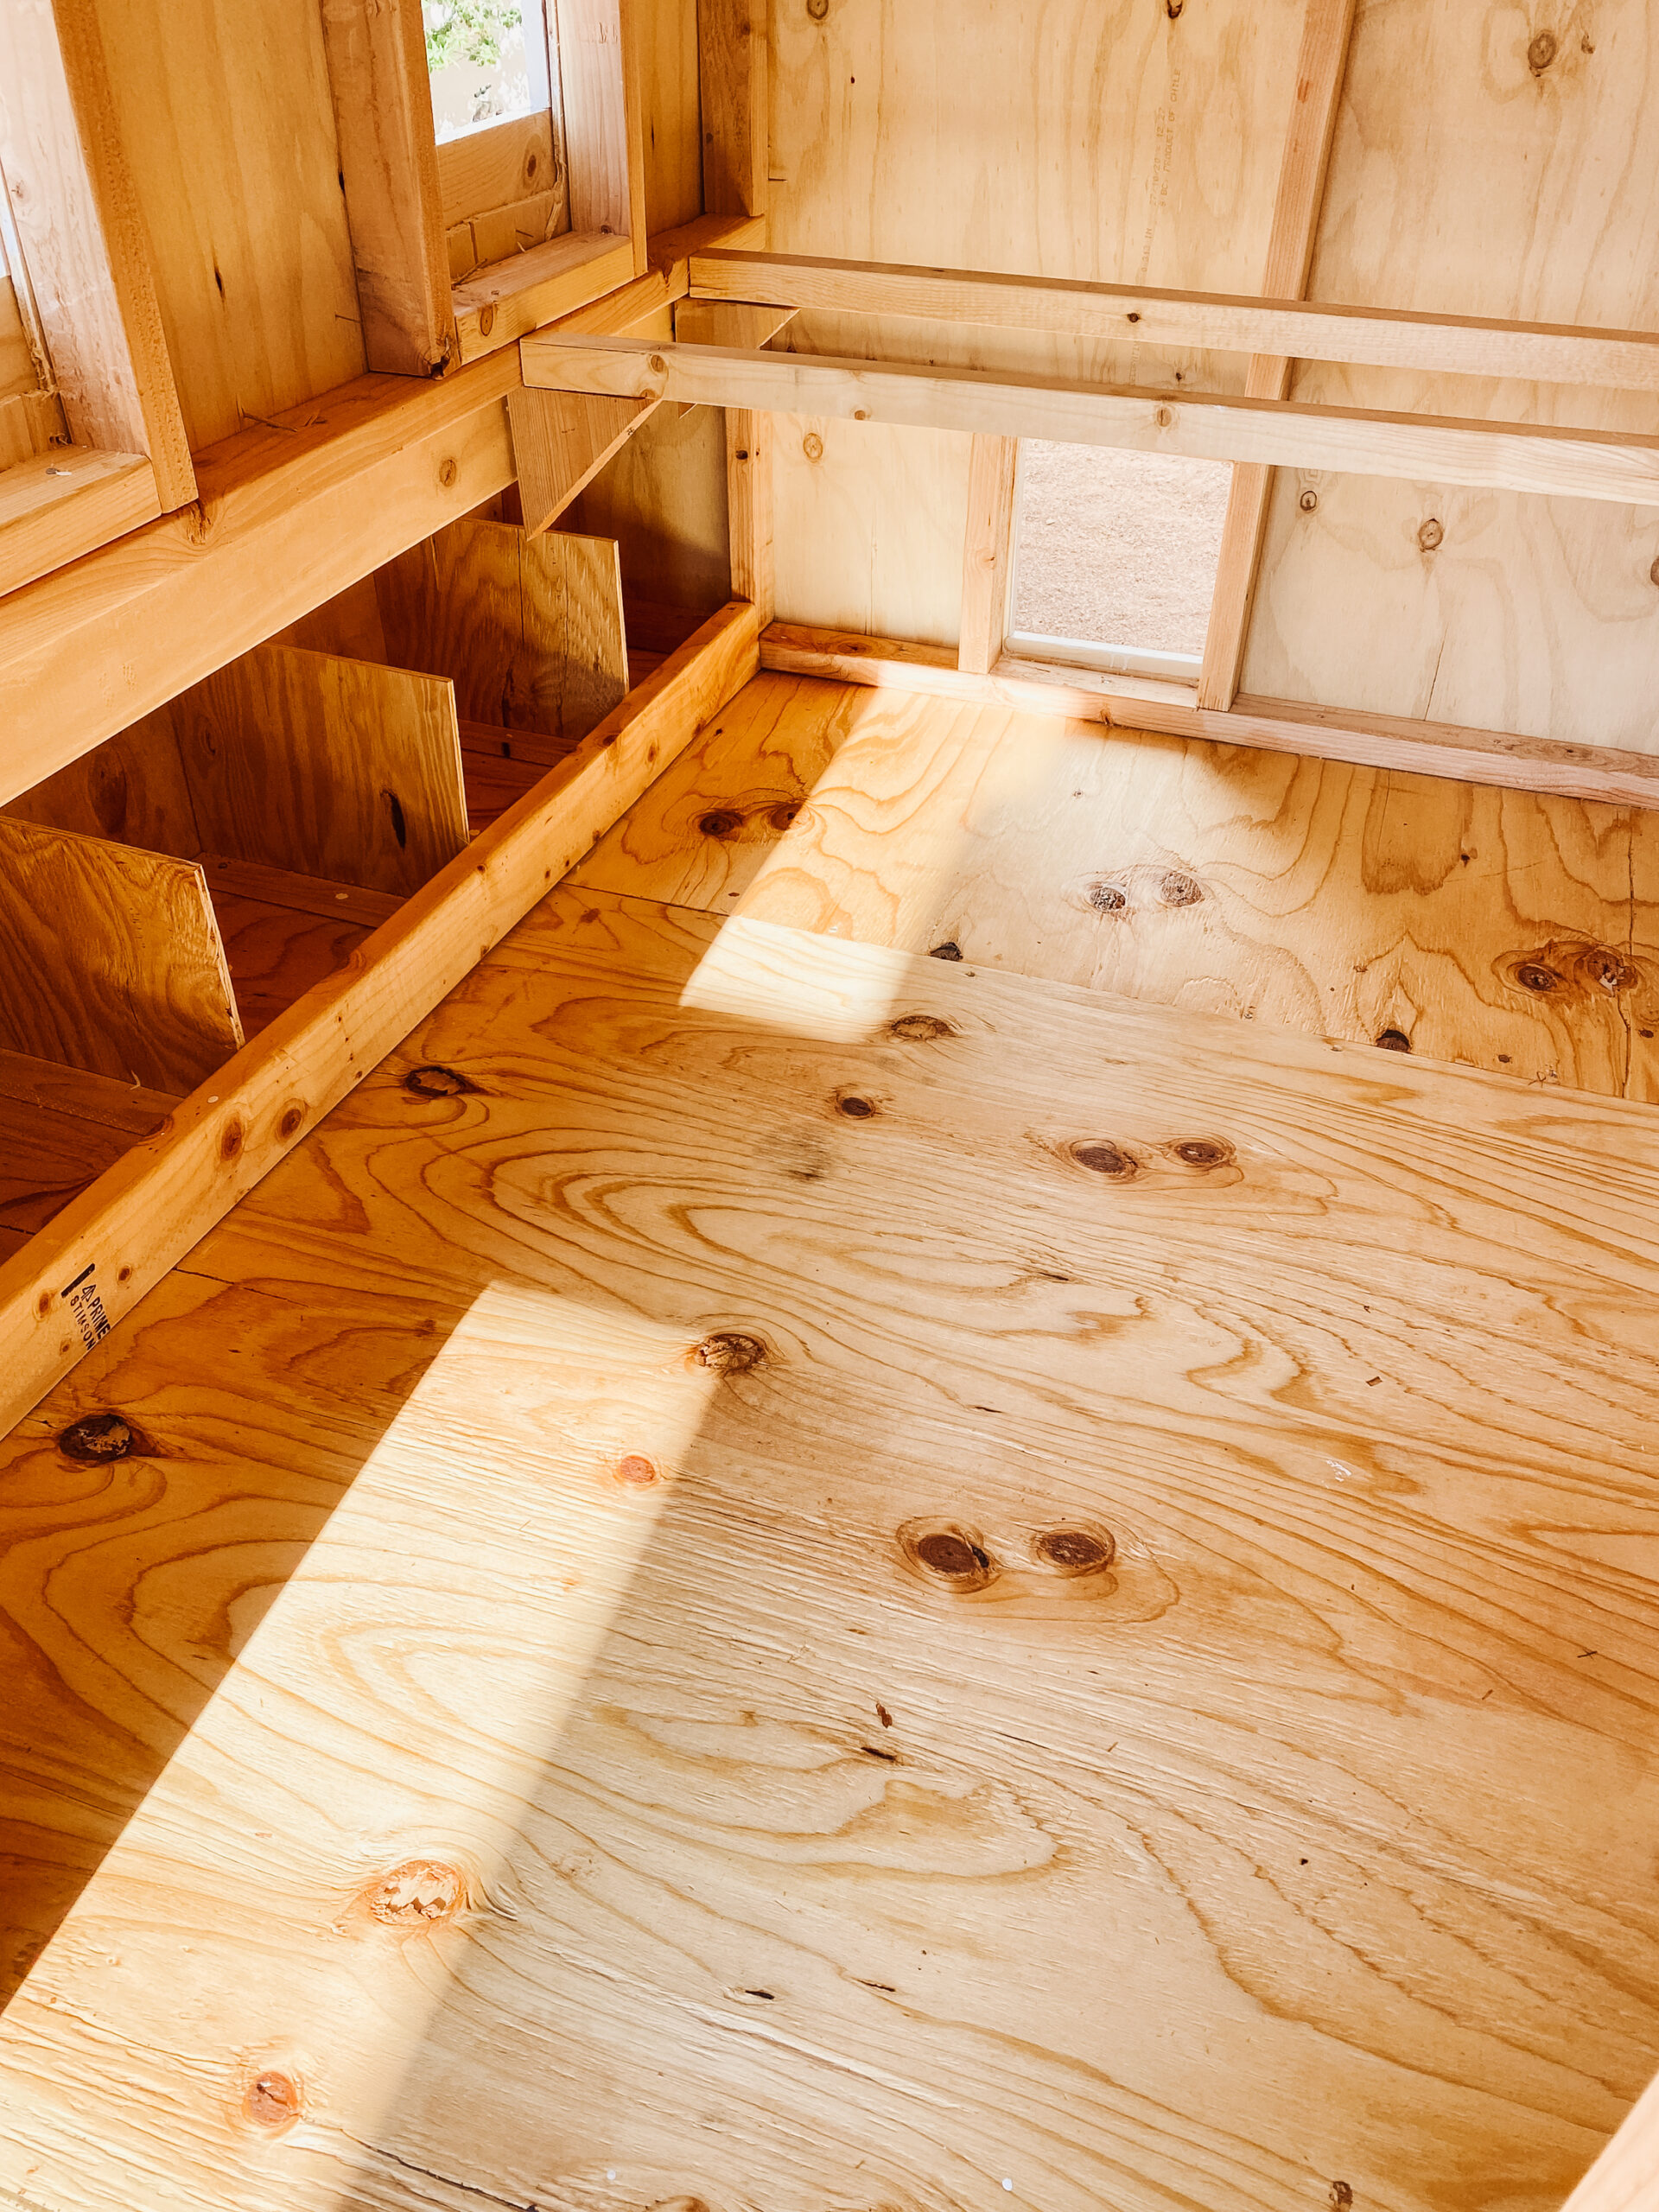
But even after the three coats, although the wood was now technically treated, it wasn’t very smooth and I wasn’t sure how easy to clean it would actually be. Chickens poop the most when they are sleeping, and they sleep here in the coop, and eventually up on those roosting bars when they get bigger. So I needed something easier!
Someone suggested getting a scrap piece of linoleum from Home Depot. Well, Fun Fact: neither Home Depot nor Lowes carries sheets of linoleum in-store anymore. And I would NOT suggest getting the linoleum or vinyl tiles, as they are more work to put down and will eventually peel up at the corners and be a big pain in the butt, according to one of my friends who tried it!
Anyhow, I finally did find some sheet vinyl online that came in a more narrow width, which I wanted, in an attempt to avoid waste. Some of you asked about it, so linking it here! It’s pretty cute, but honestly, I was just going for the cheapest and the more narrow width (most come in 12-foot width). My chief complaint about it was that it was advertised as being 6 feet wide, and it was actually a little short. I even used their square foot calculator and was still short. Just a warning if you end up ordering this same one!
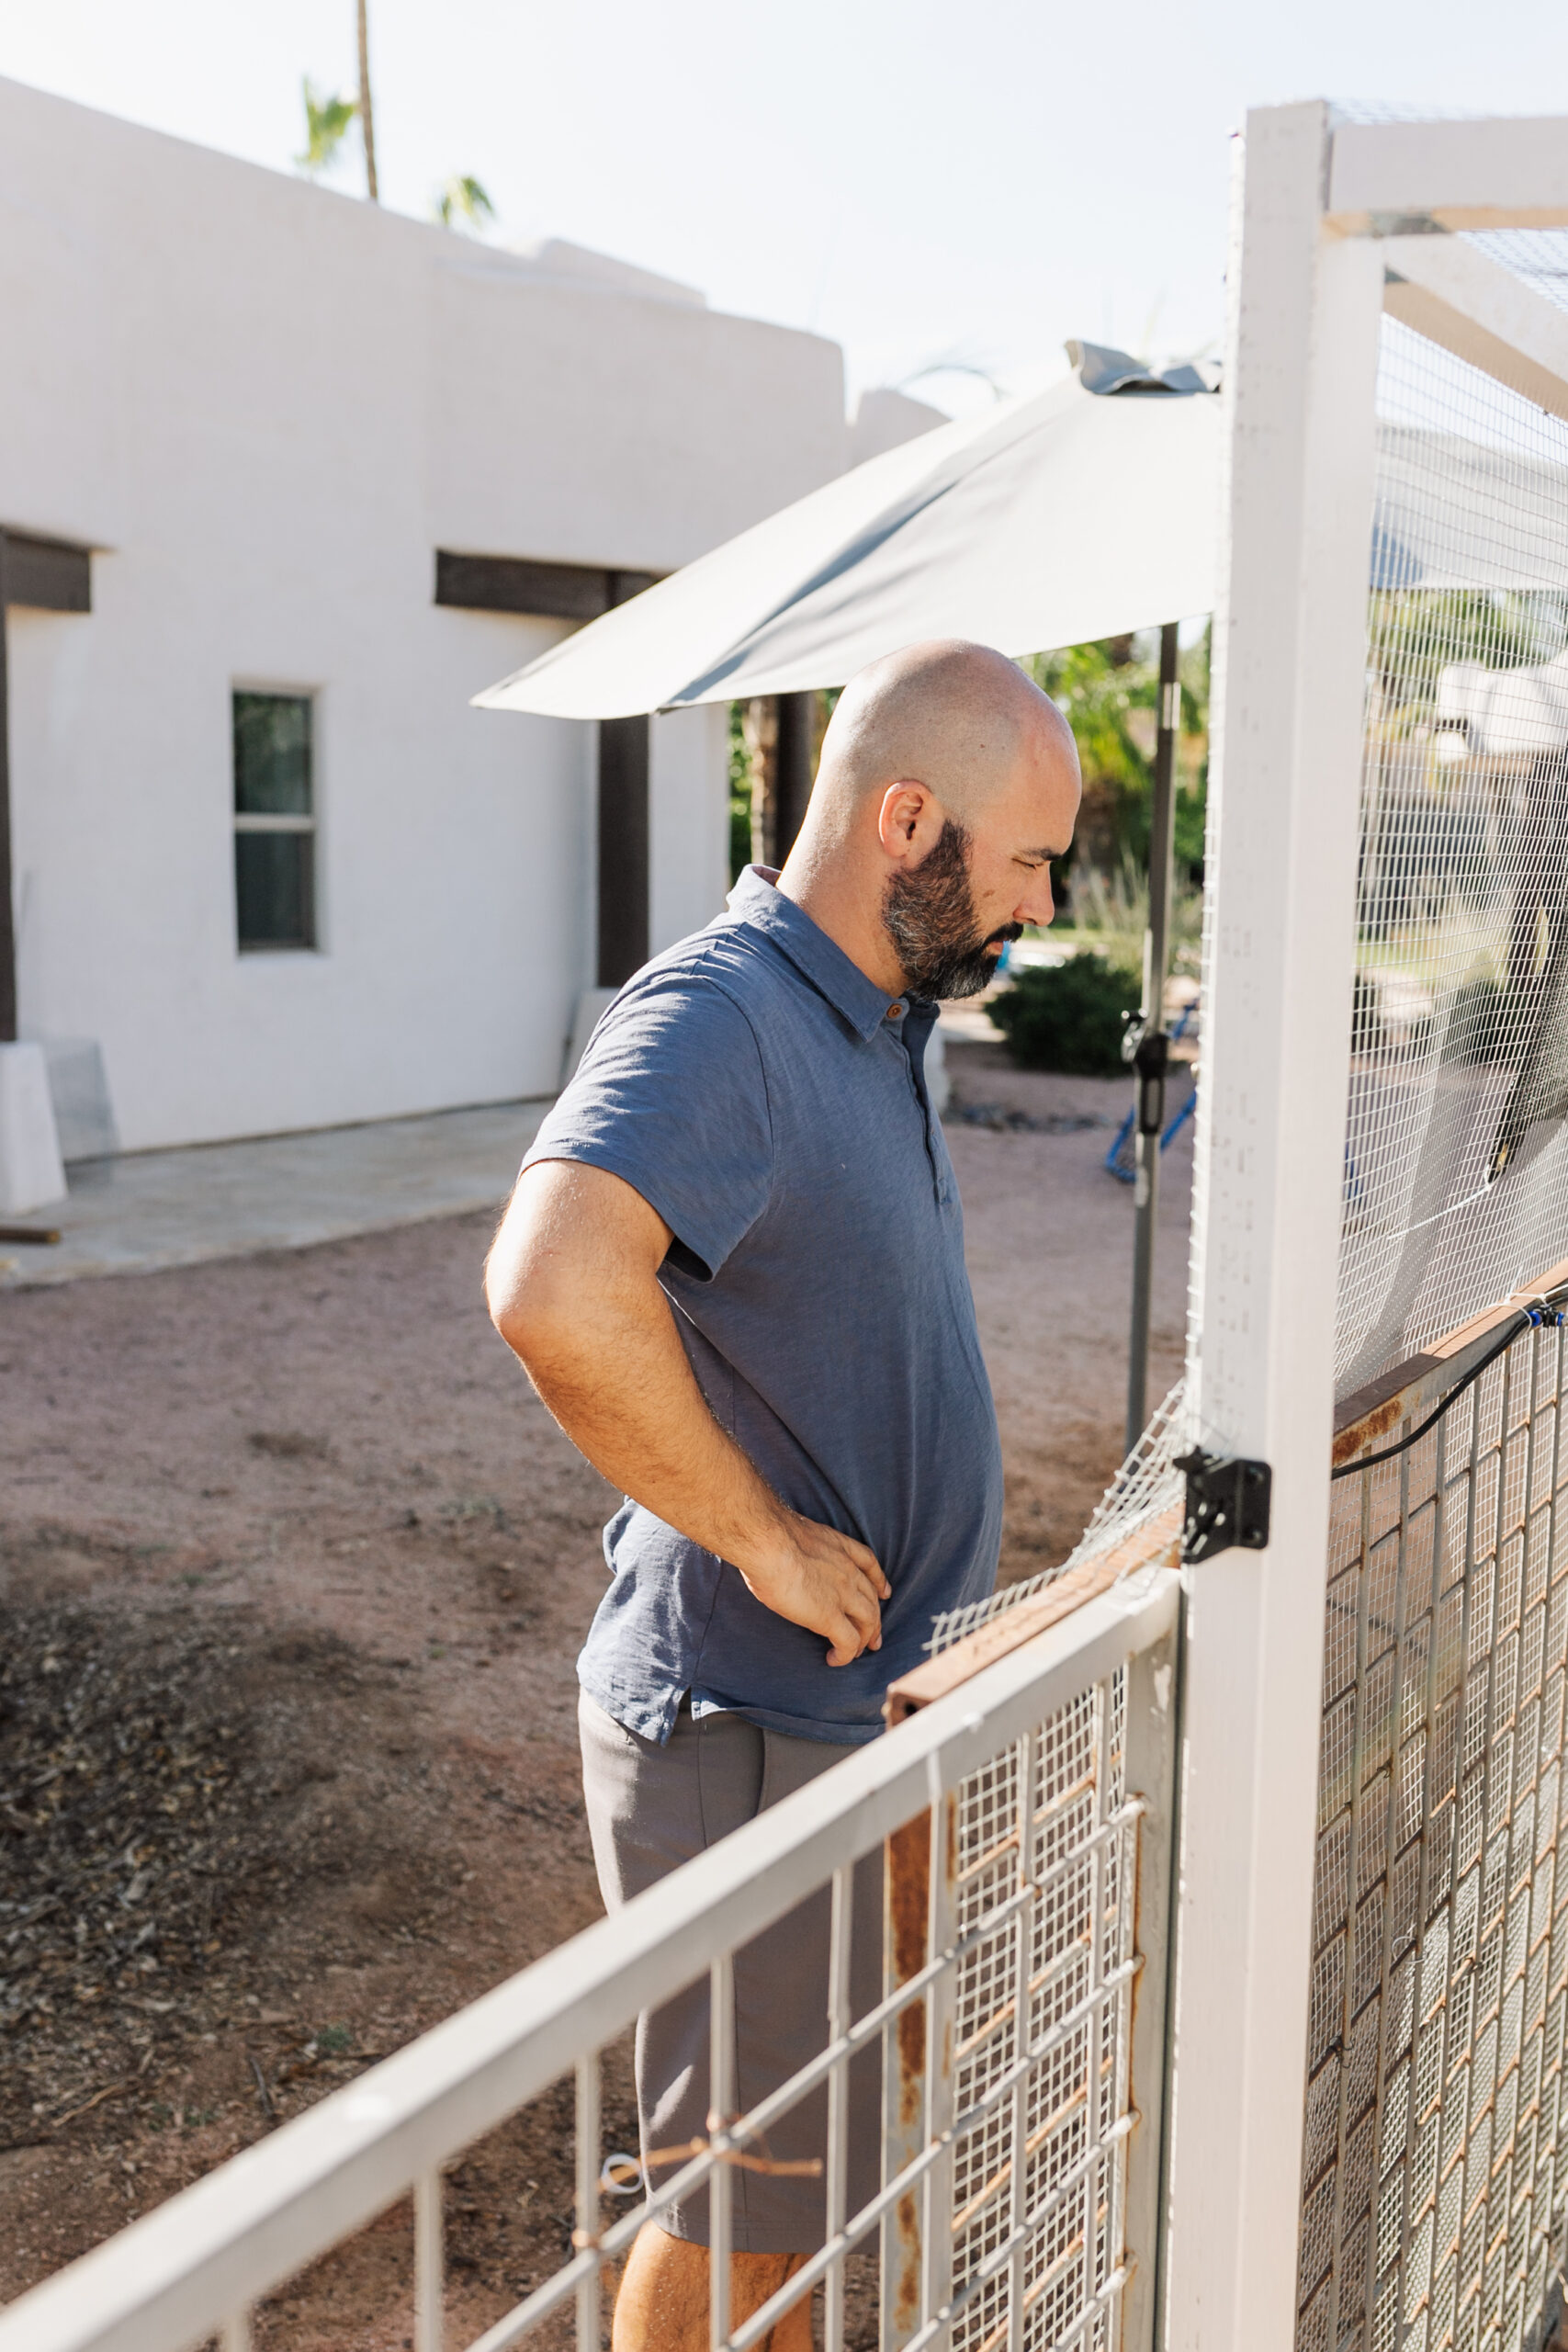
Once we finally felt the coop was finished, I began to realize I needed to build a predator-proof run. Really, there are predators in every part of the country. But in our neighborhood specifically, there are coyotes, hawks, owls, snakes, and rats (who eat the chicken’s feed). I am ok with free-ranging my girls when we are home, but since we knew we were leaving for a month, it felt too risky to leave them exposed for that entire time.
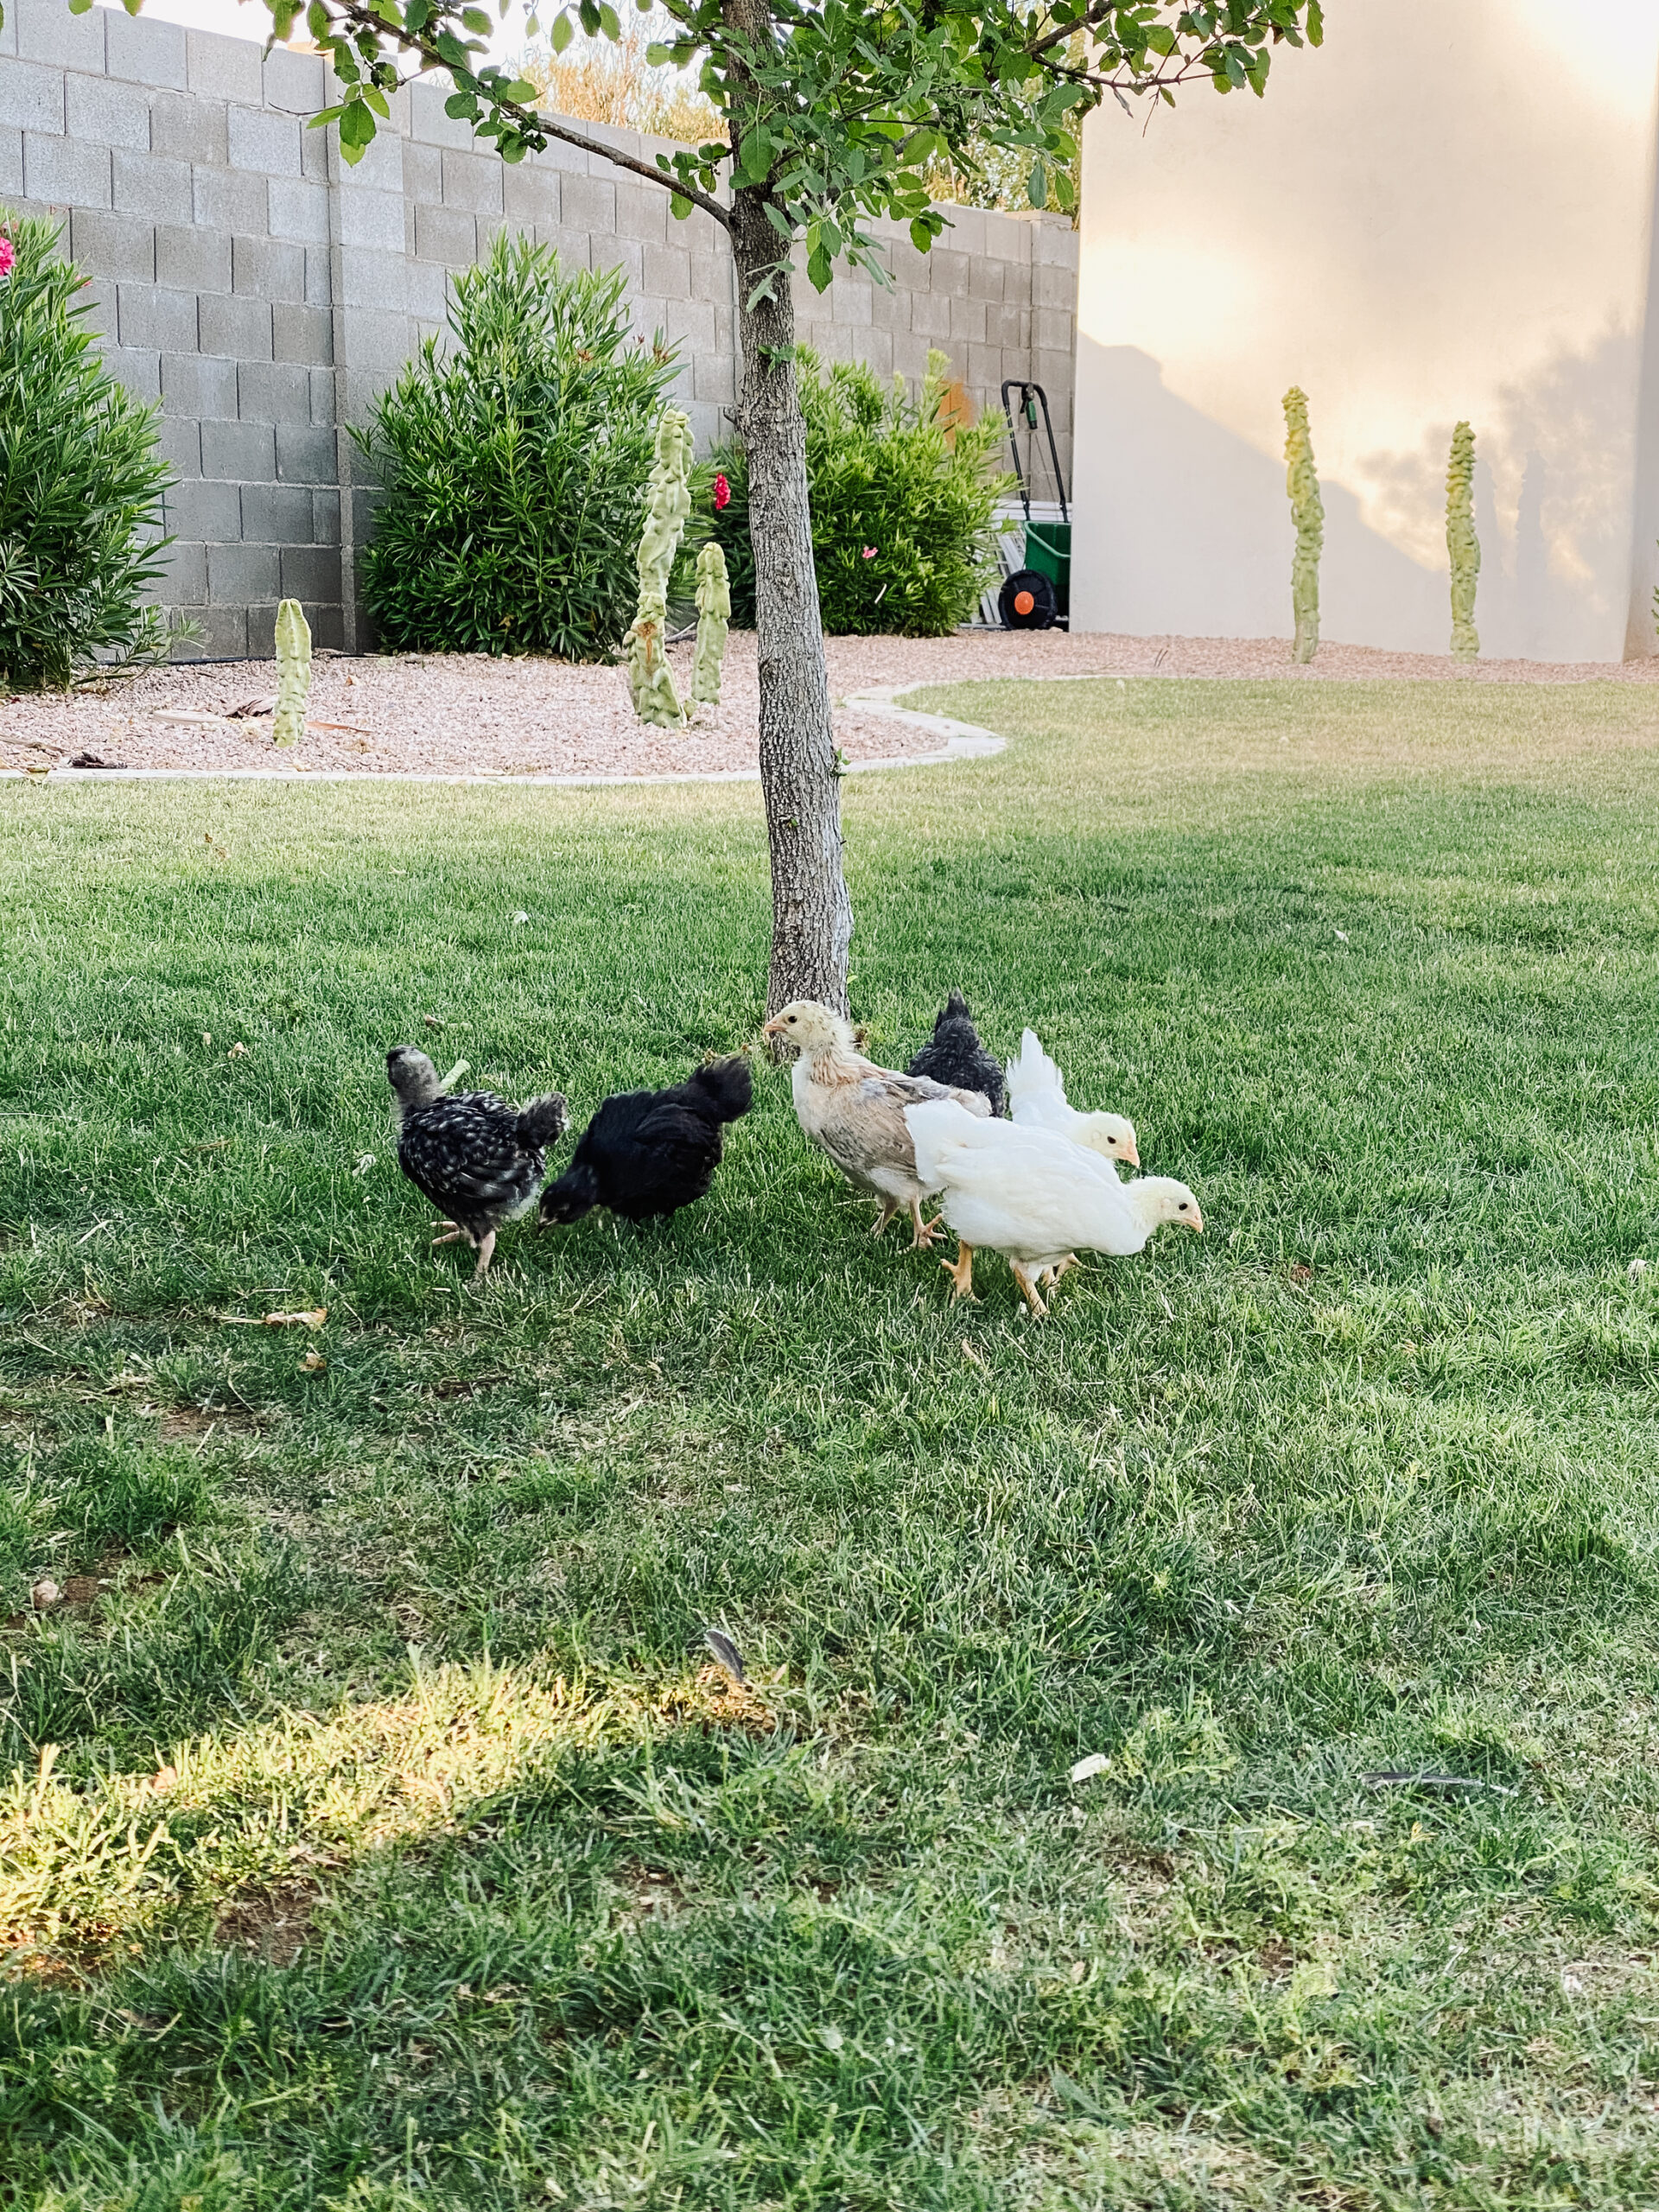
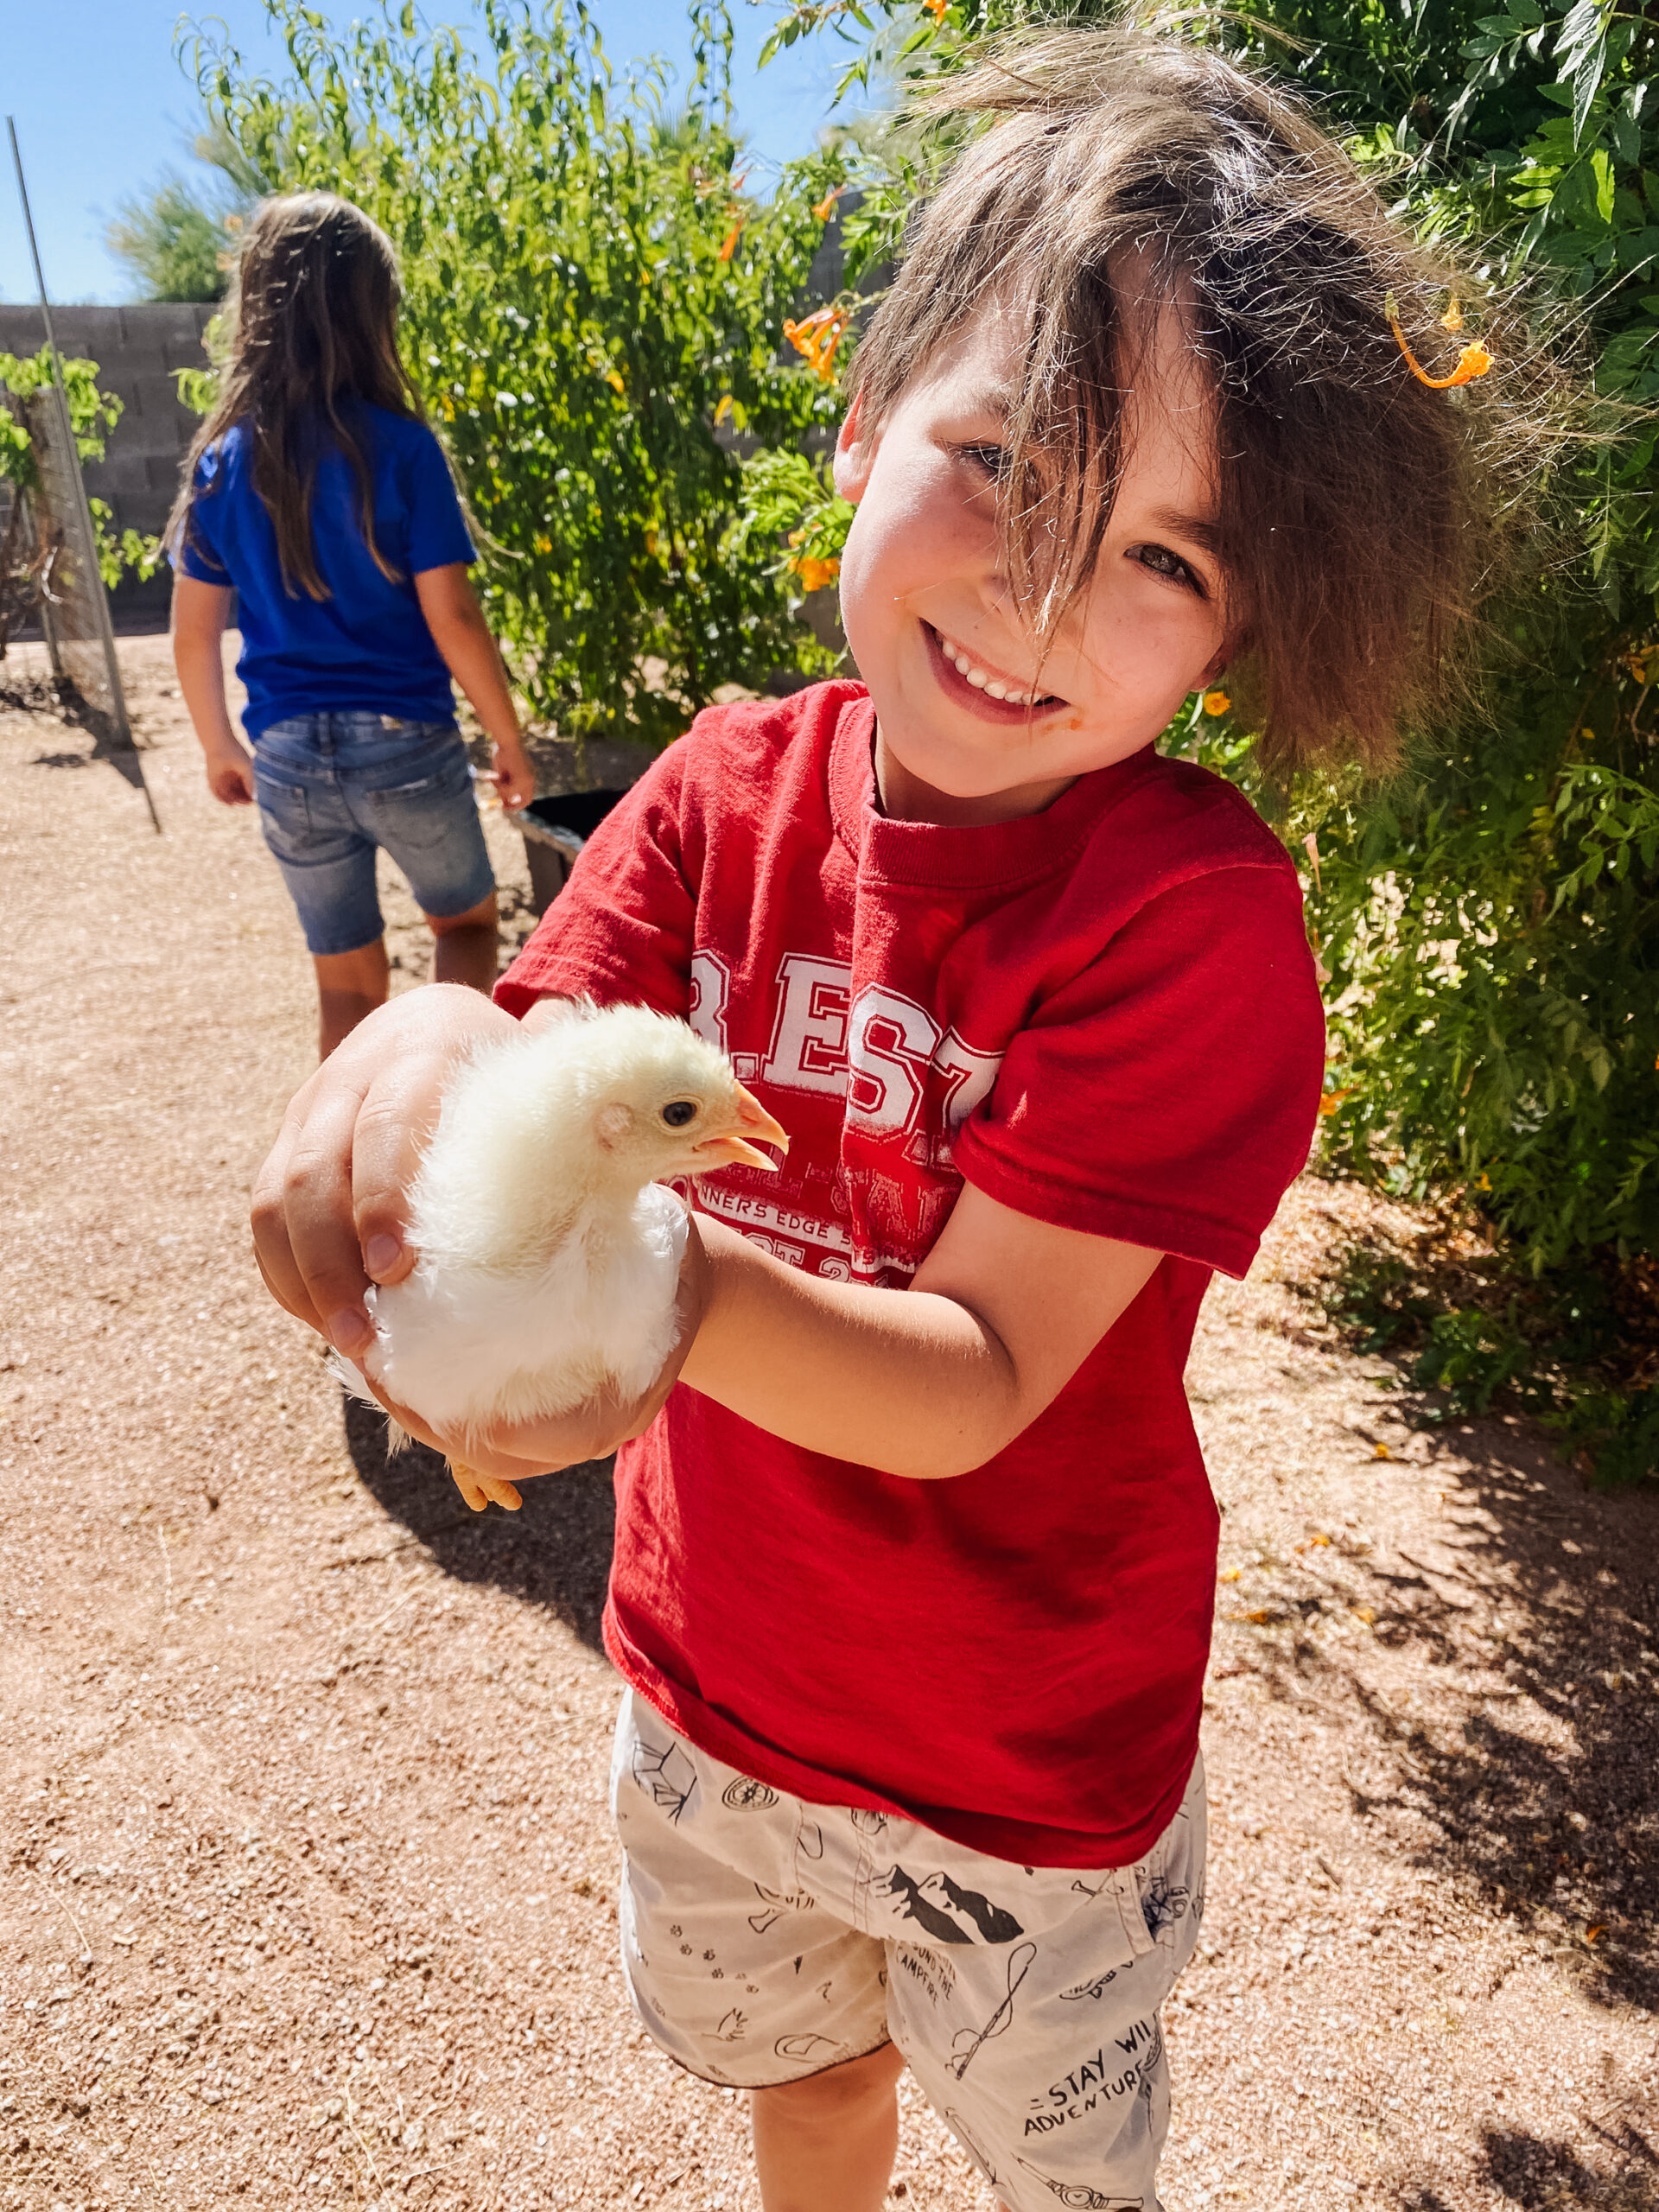
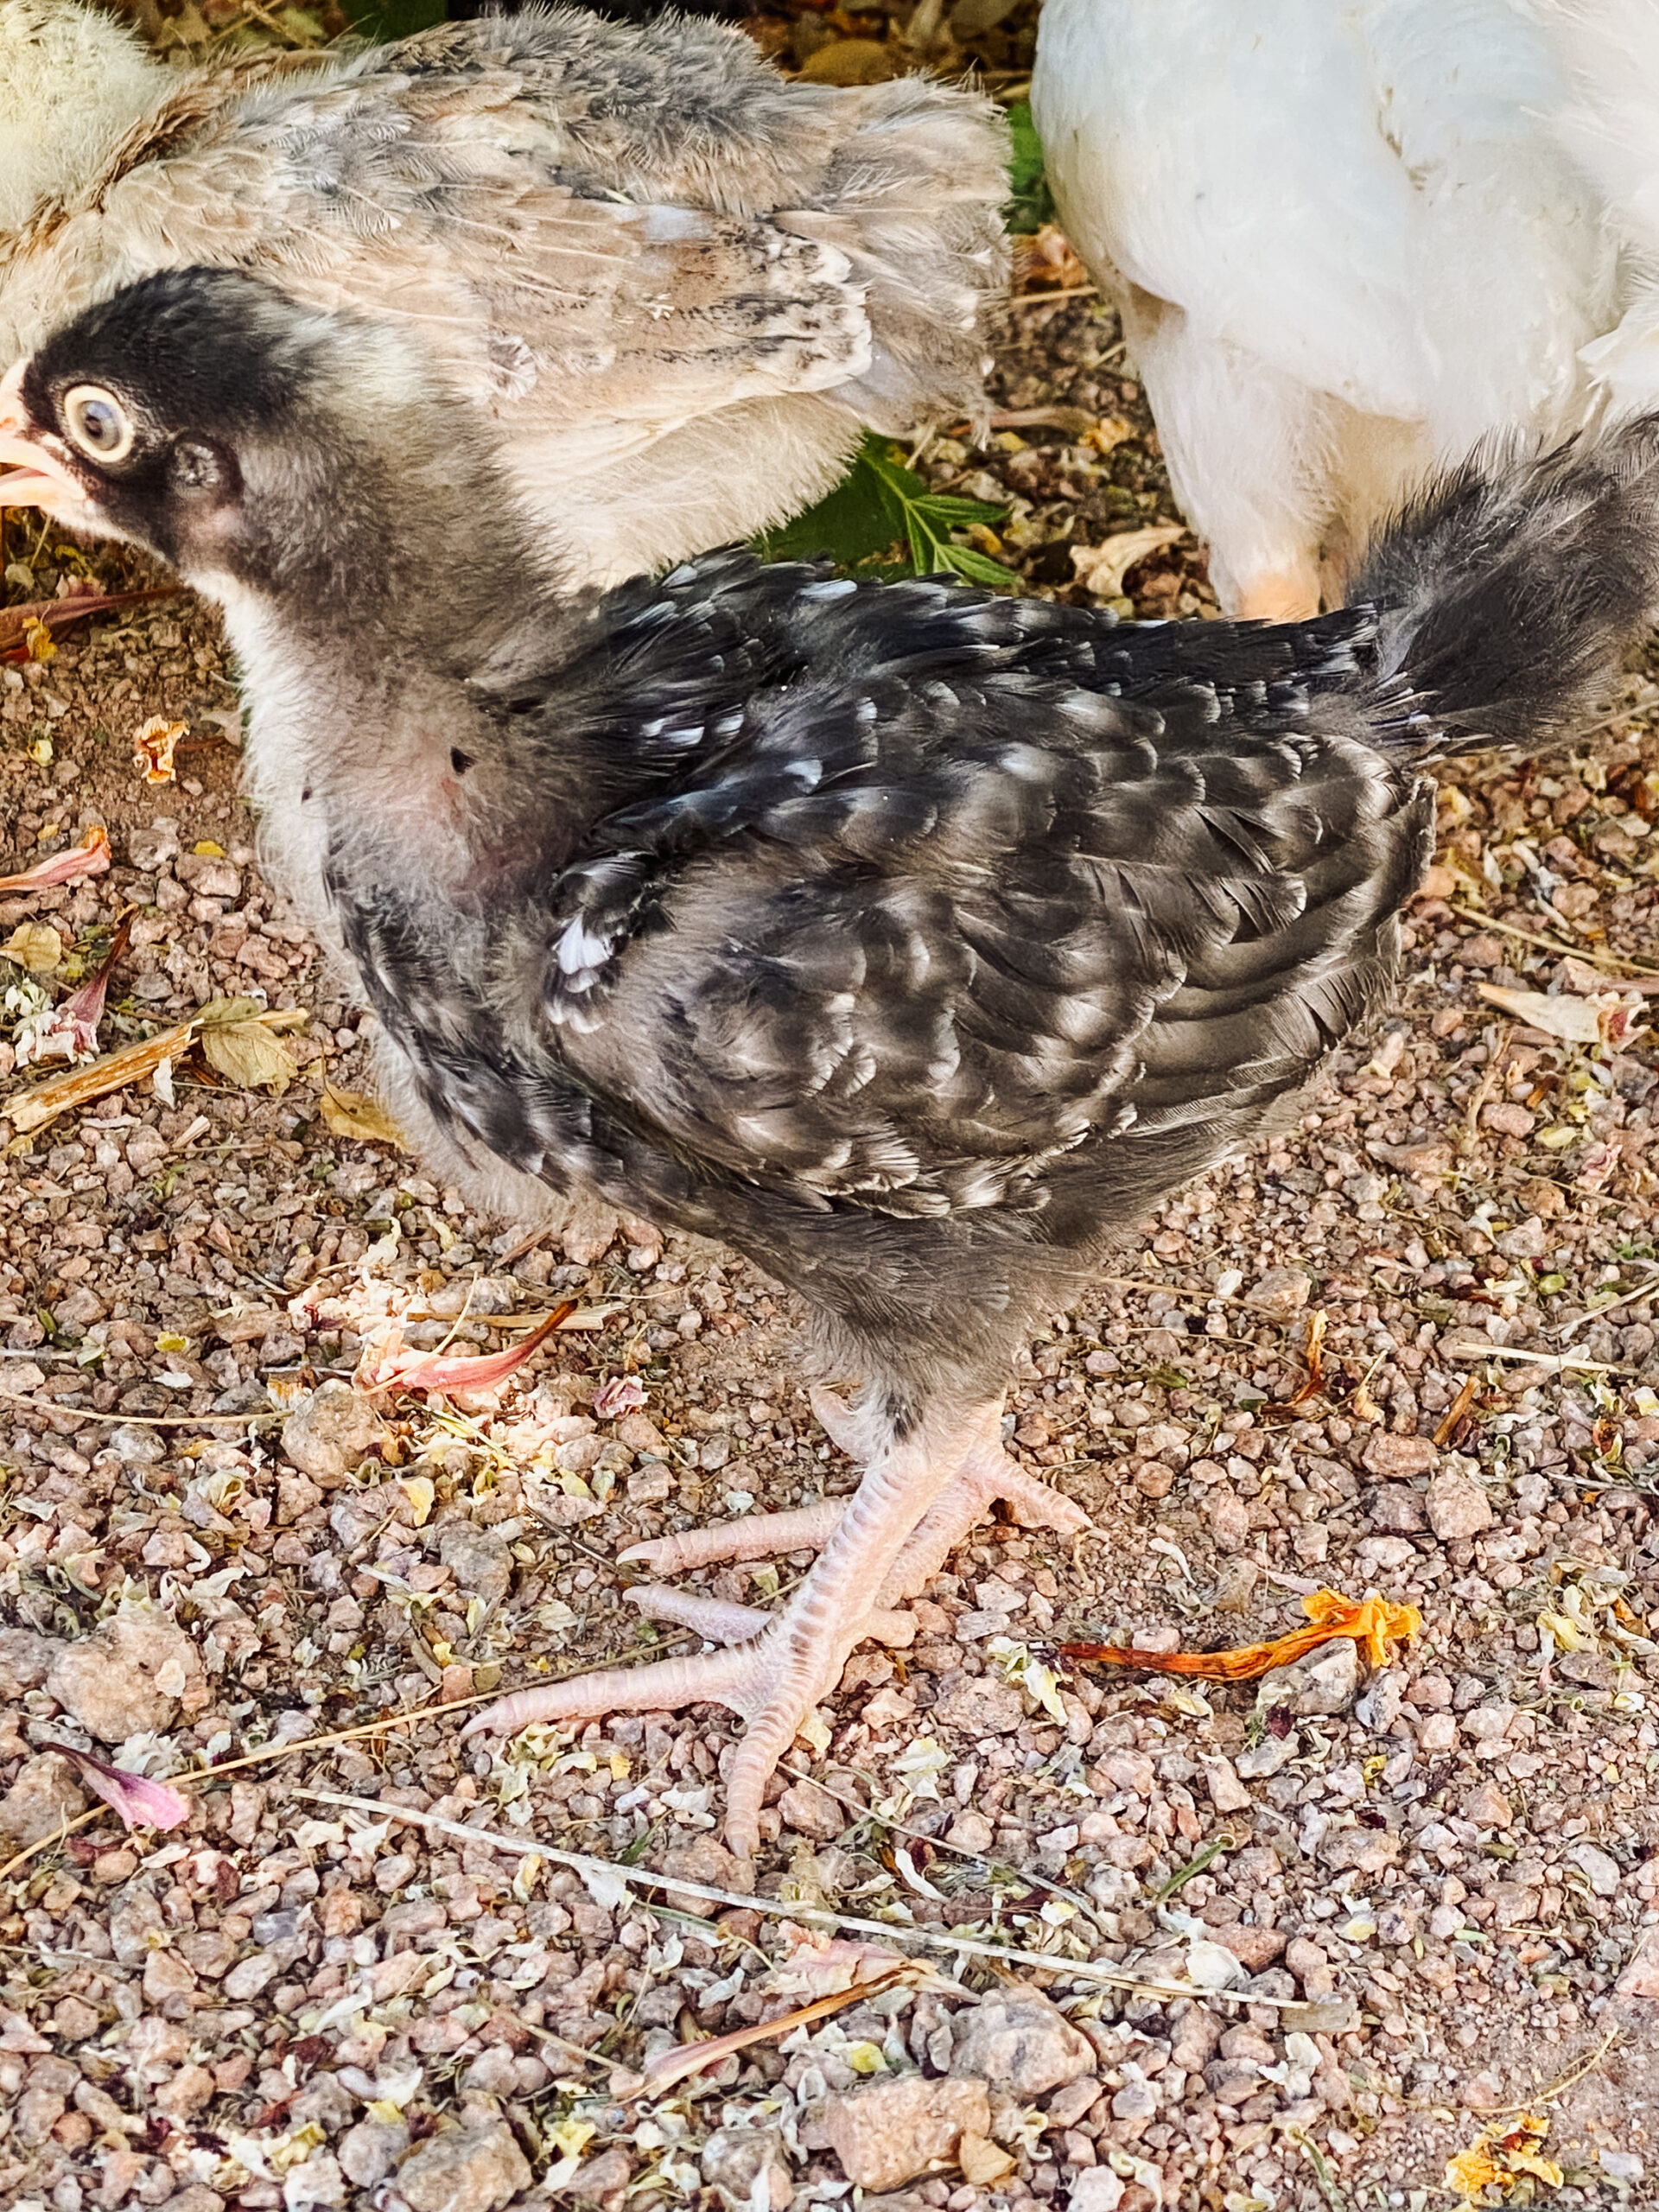
Chickens naturally go to the coop to roost at night, when most predators are on the hunt. So it’s still a mostly-safe option for a lot of chicken-raisers. But again, with us not being around this summer, it just felt like an unnecessary risk.
And so we began on planning a building the predator-proof run. First things first, we had to move the coop. We put it over in this corner, which was by some old trellises that used to support my grapevine that sadly died last summer.
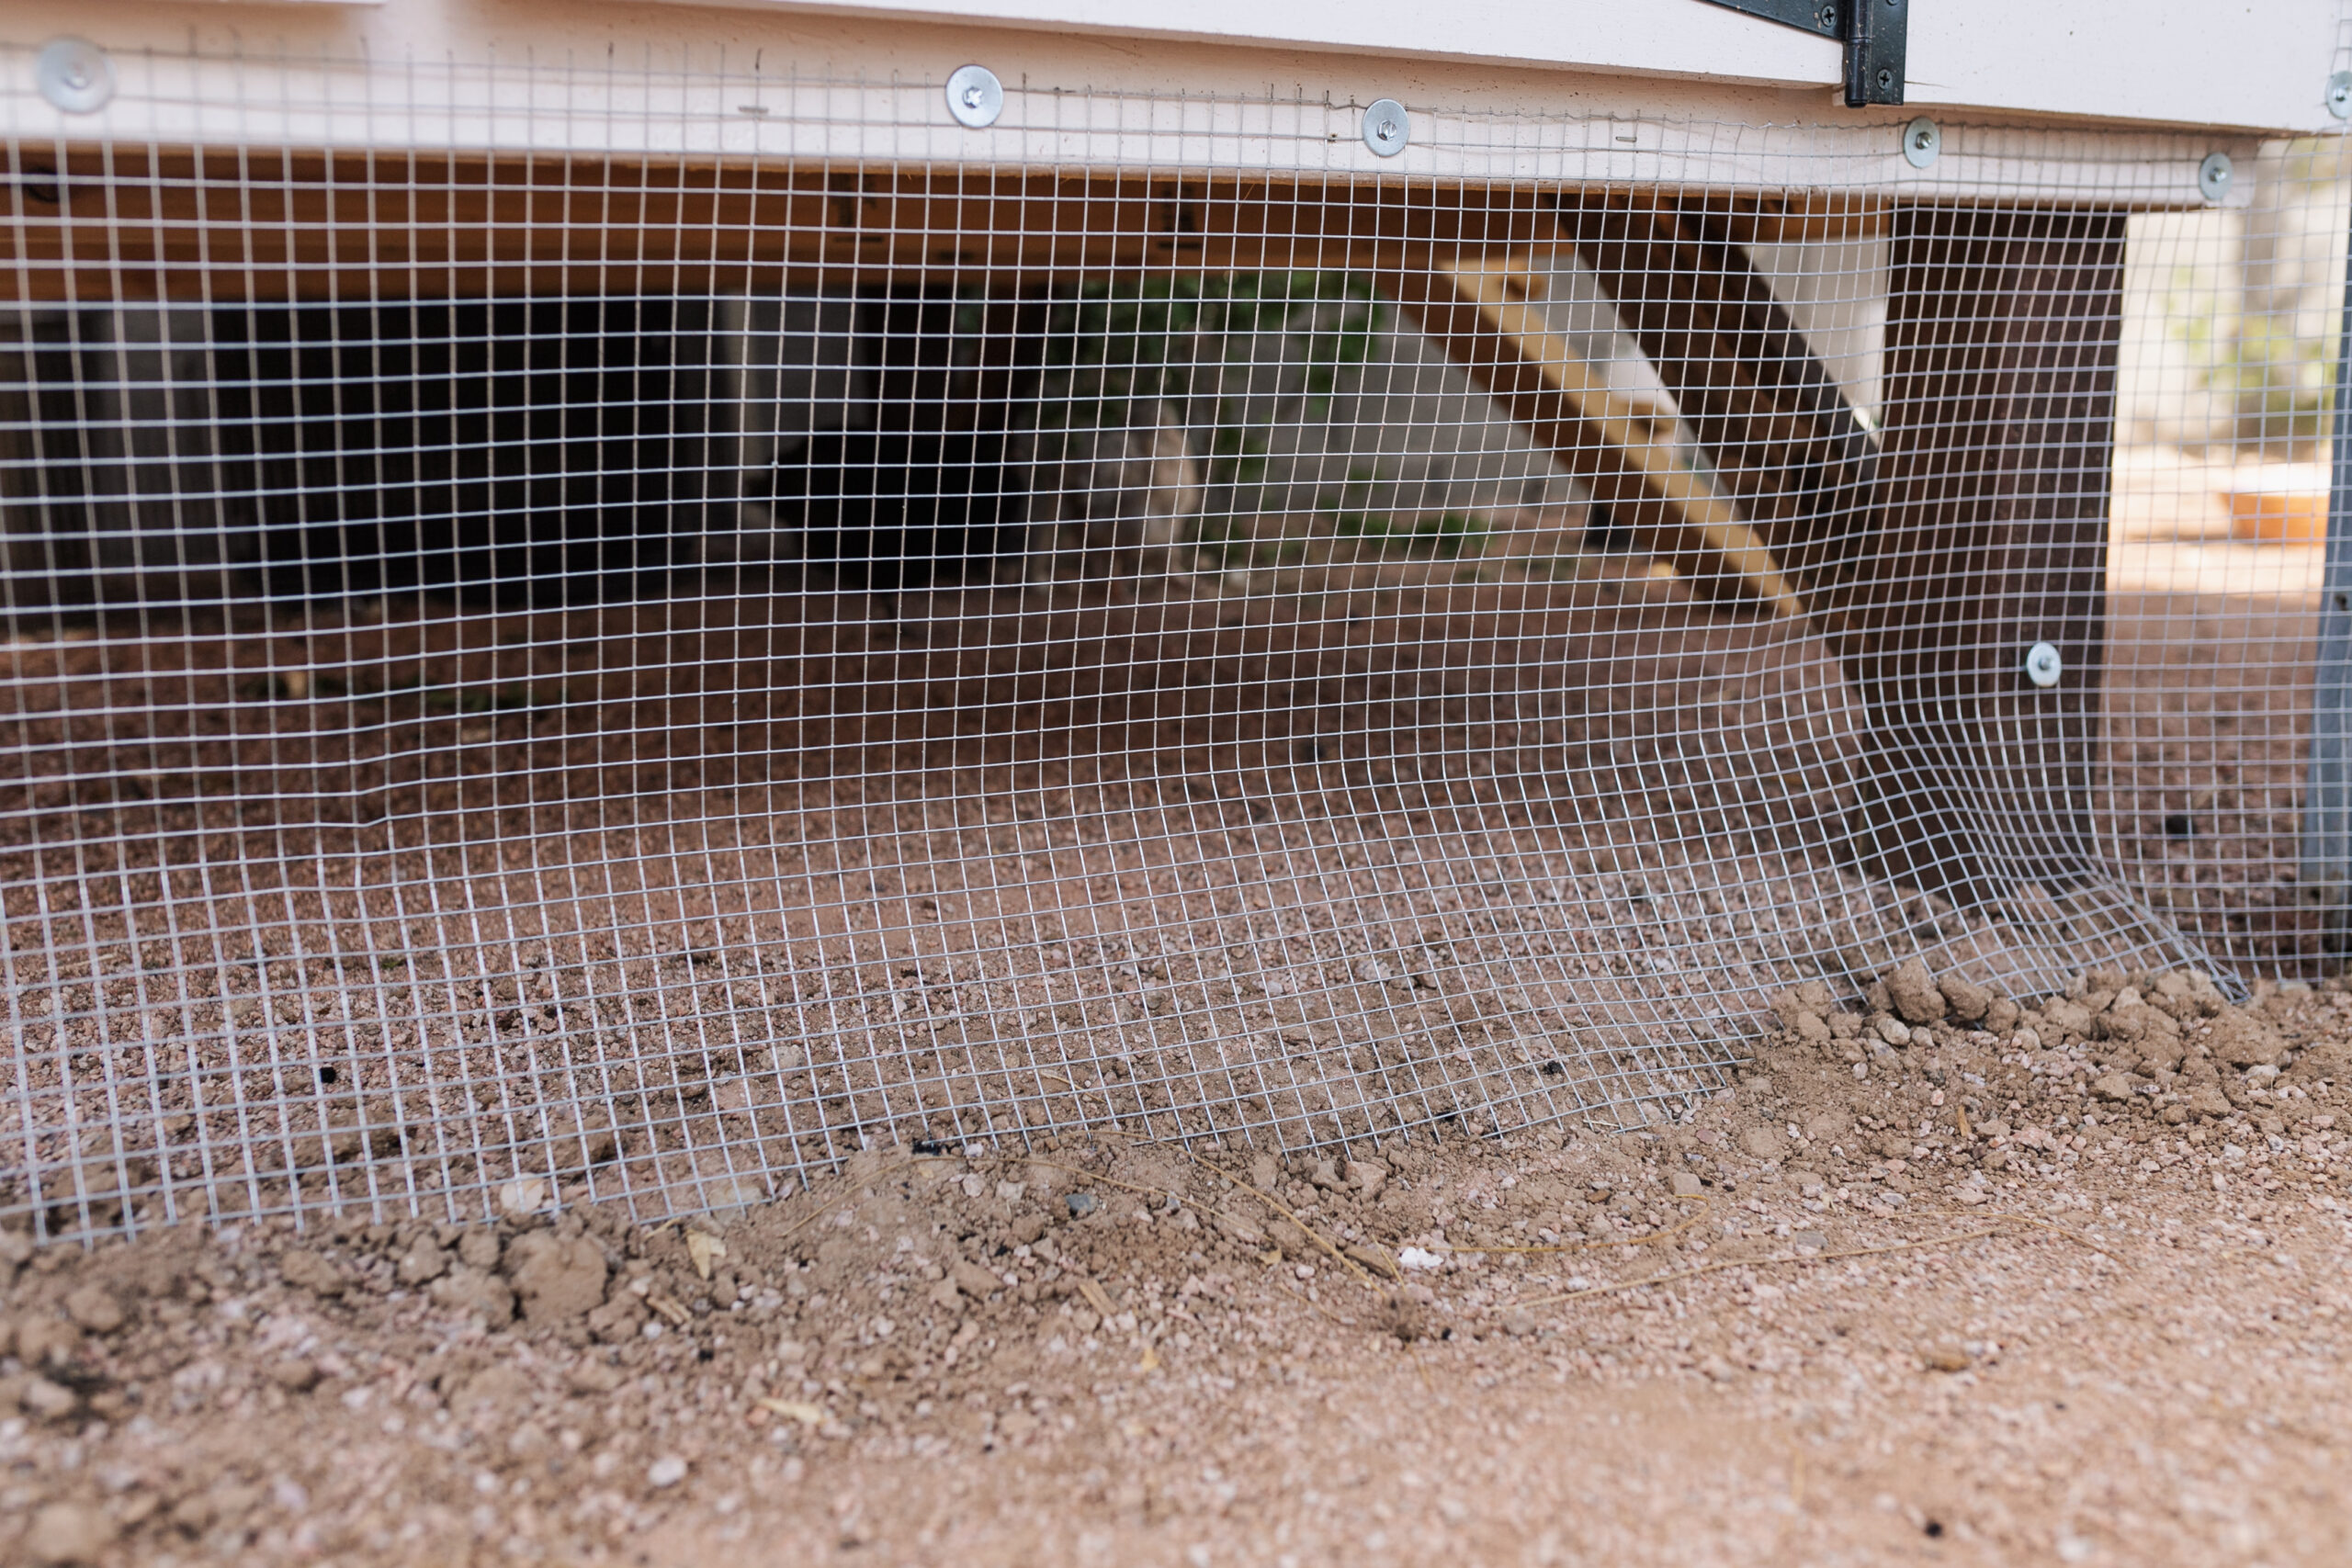
The other thing that became very important to me was making everything predator-proof. On top of the predators I mentioned above, we do have a retriever puppy in the mix right now. As much as I want to train him to cohabitate with these chicks (eventually), I’m not sure I can trust him just yet. This meant that in addition to covering every side and the top (for those hawks and owls), we also needed to dig down to get the hardware cloth underground and detract digging animals like coyotes and yes, dogs.
We (ok fine, mostly Tony) dug a trench all the way around the perimeter about 6-12 inches down and 2 feet out. We have very hard clay soil here in the desert and it was not easy to break it up! I had read some suggestions to go at least a foot down, but this was just the best we could manage – between a pick ax and multiple shovels and lots of sweating and swearing, haha.
I’ve also seen some “predator aprons” where they don’t go down underground at all, just on the surface level and all the way around. But since we have kids who play out here, burying it seemed like the safer option. Again, so thankful for my helpful husband! I was the one who cut, placed, and drilled in all that hardware cloth in though. 😉
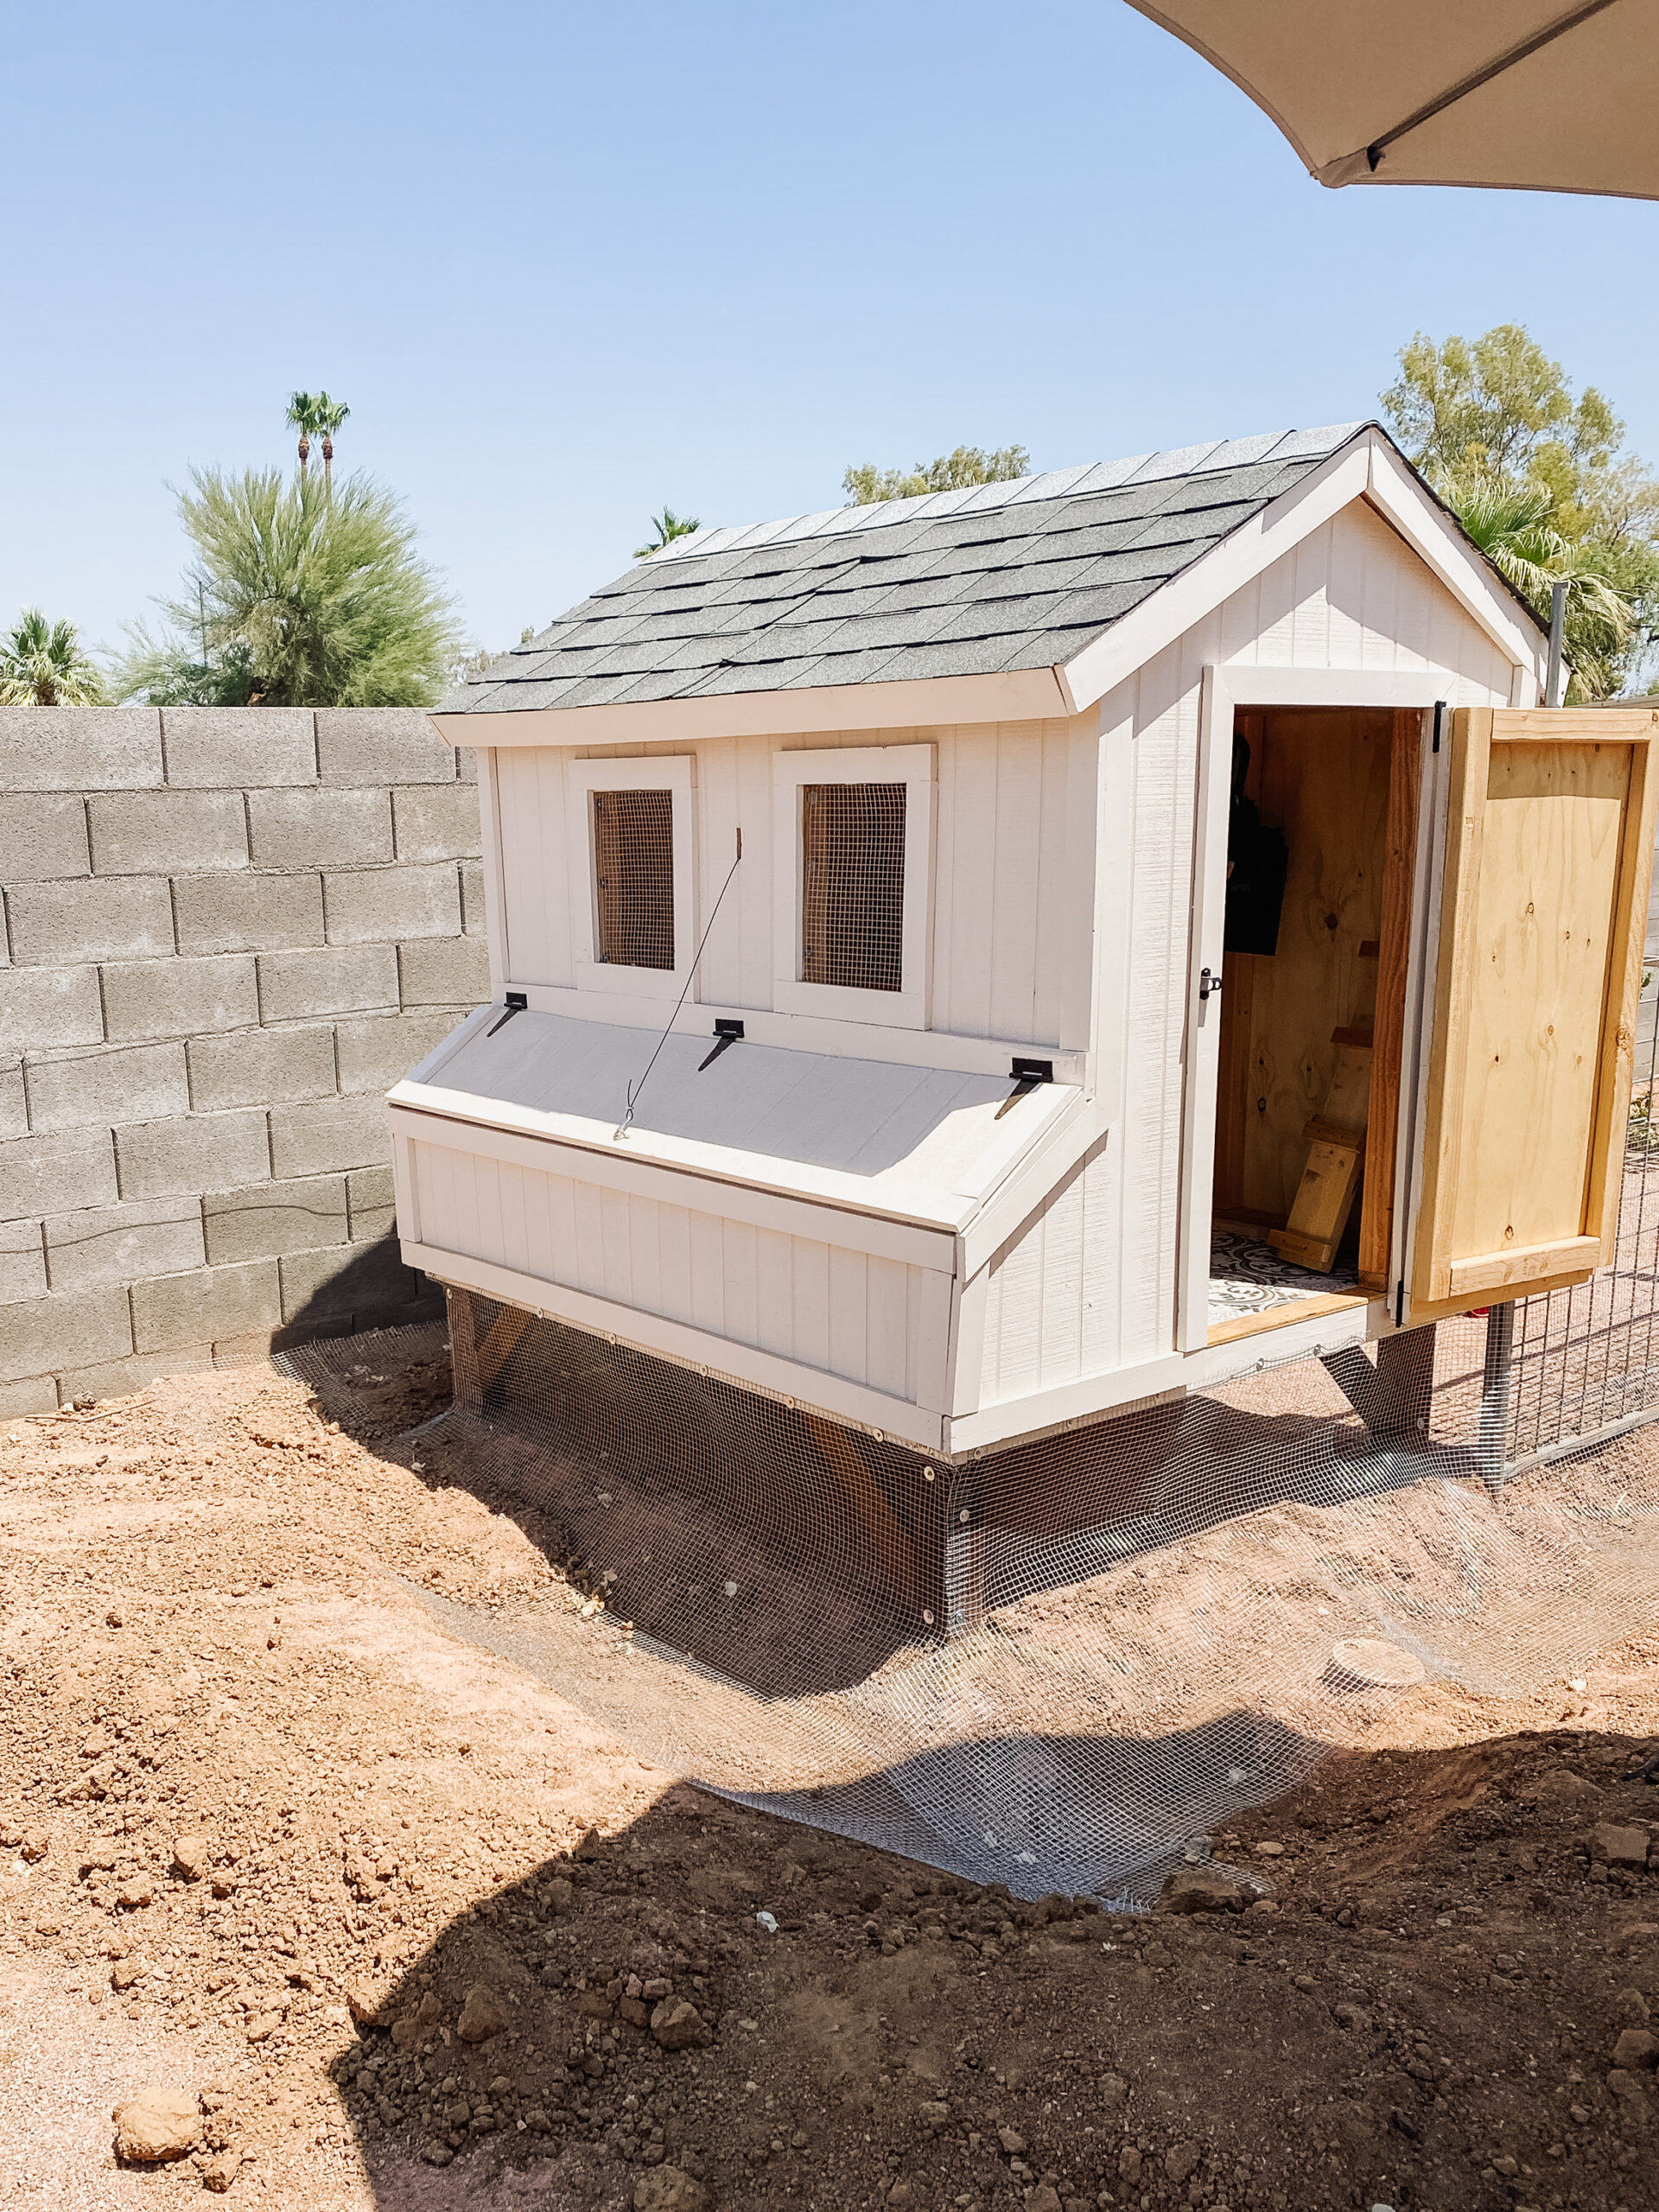
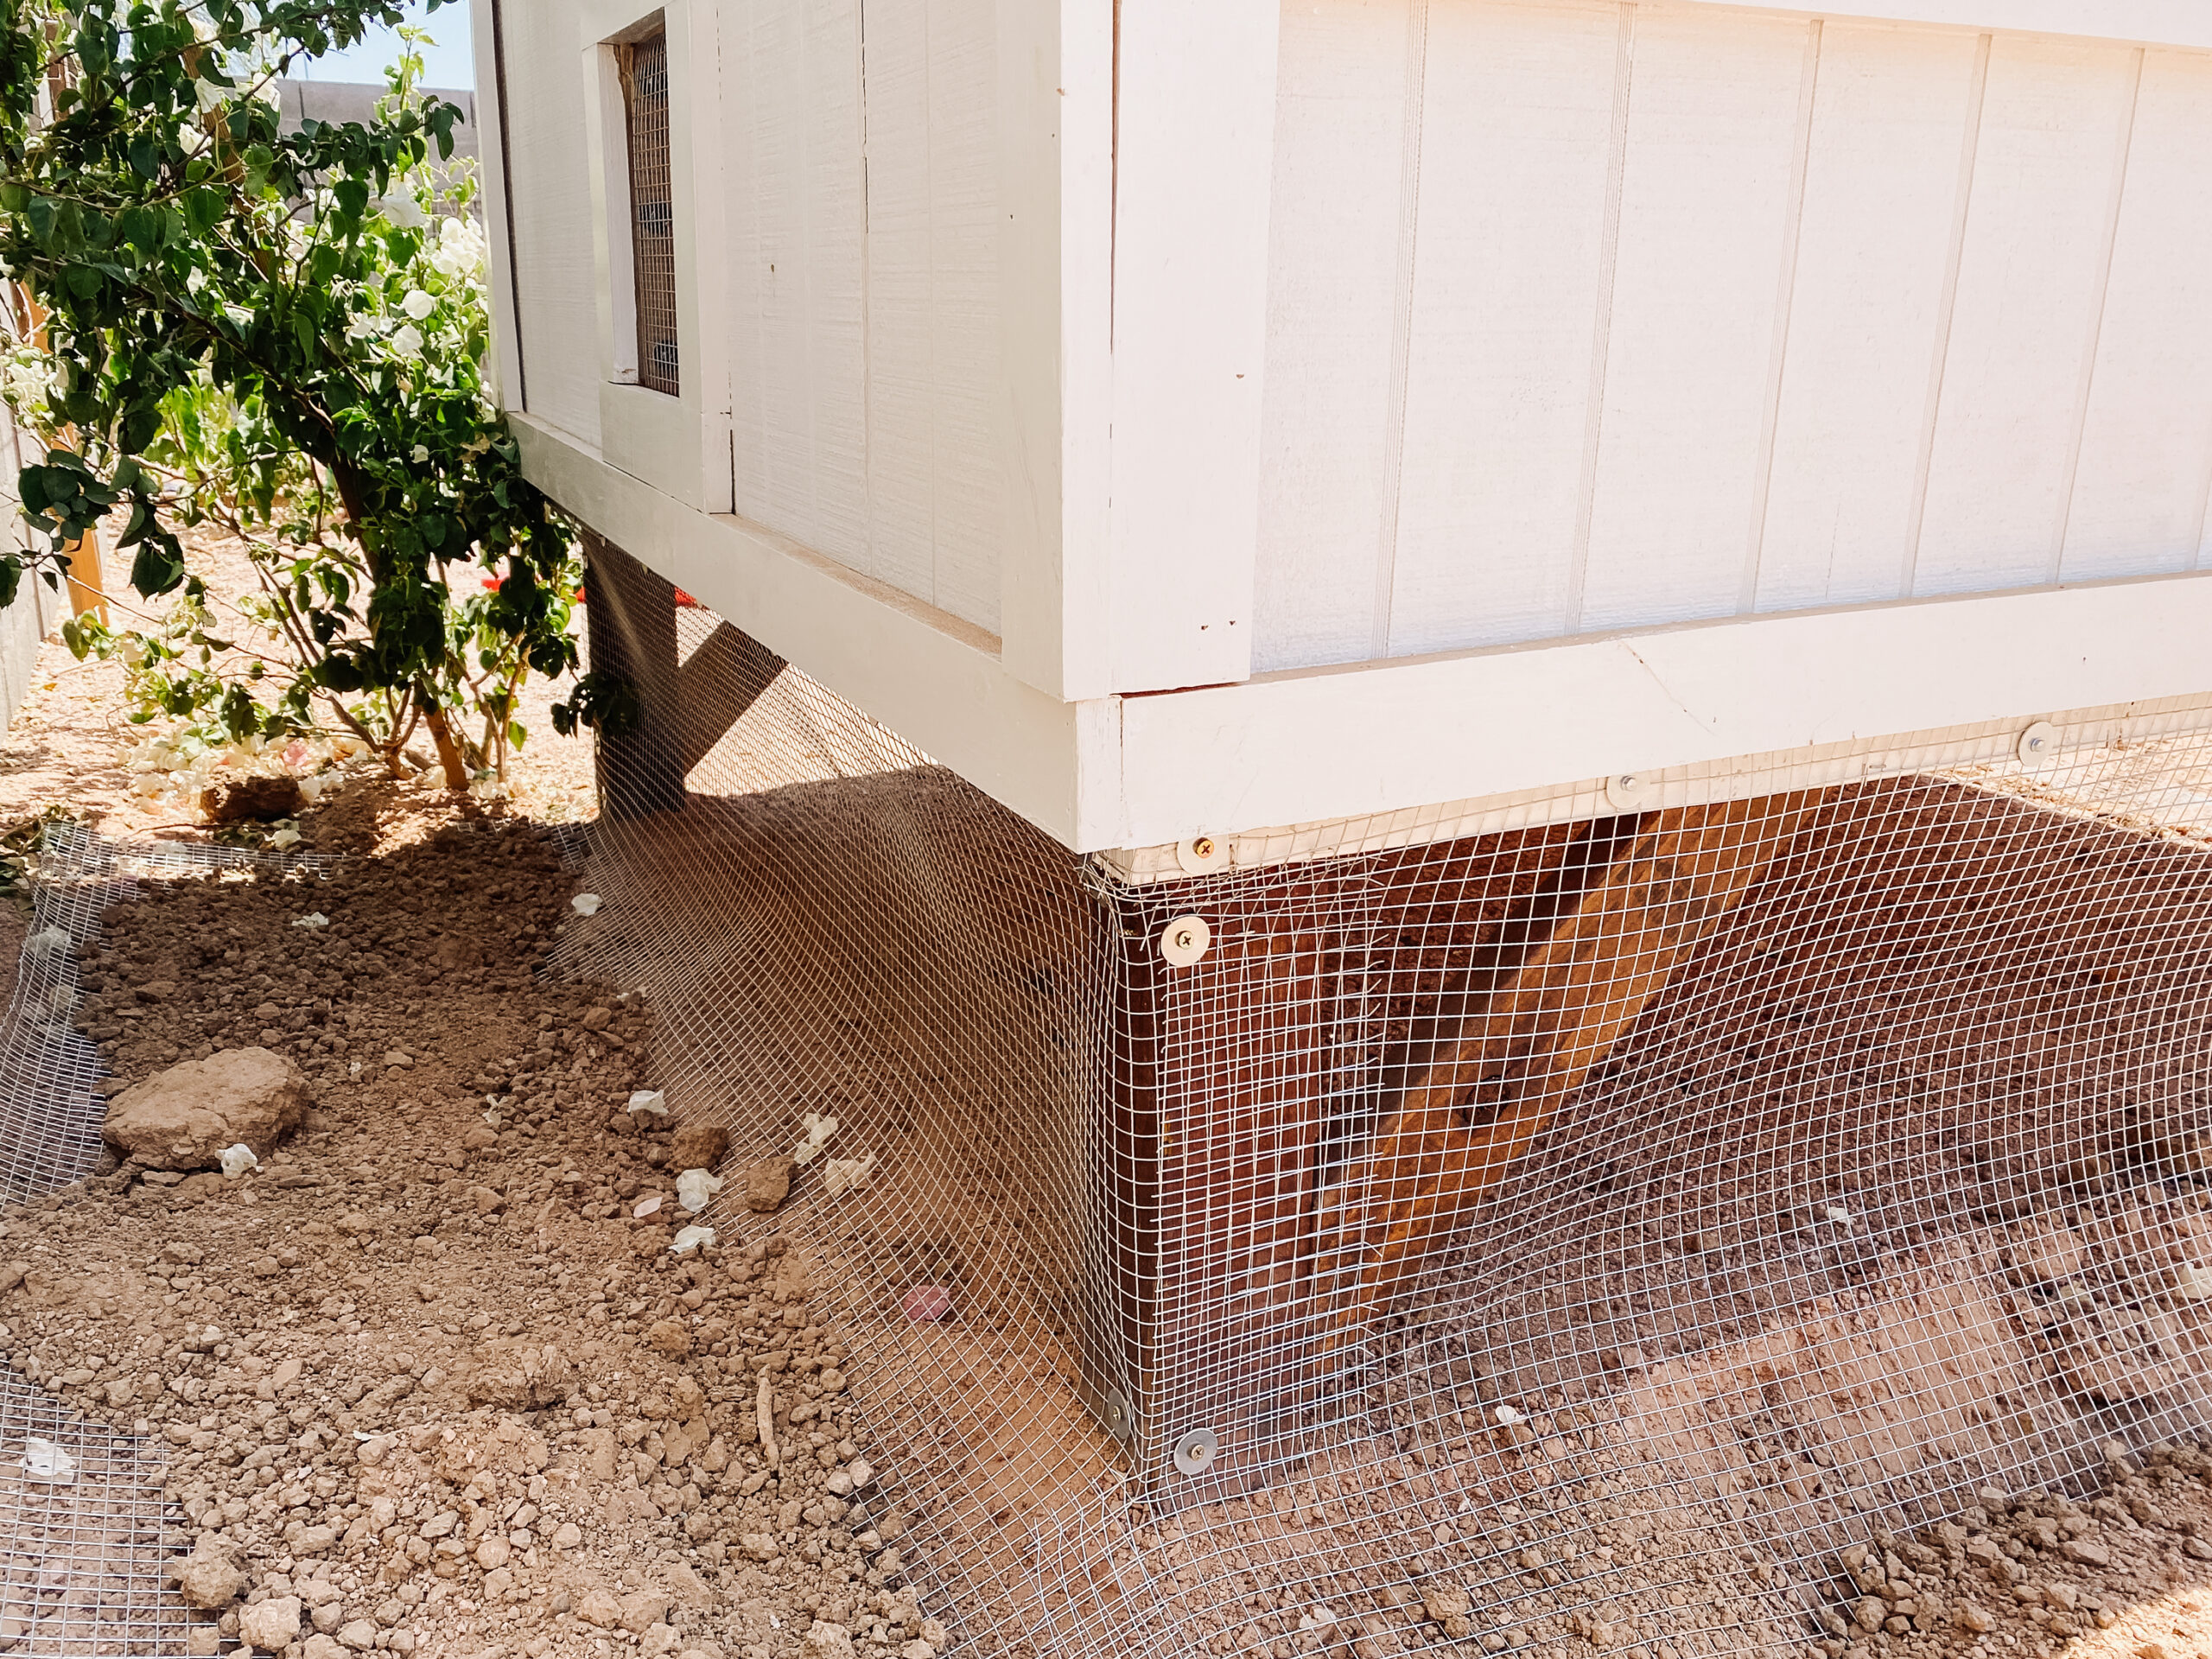
And yes, we used 1/2″ galvanized steel hardware cloth everywhere! Tops, sides, buried underground, and on the windows. This stuff is not easy to work with, but hopefully will be worth it in the long run. Fun Fact #2: chicken wire is good for keeping chickens and small animals out of say, a garden, but it is NOT predator-proof. The wire gage is thinner and more pliable on chicken wire and the spacing between is wider, making it easy for predators to bust right through and grab those chickens for dinner.
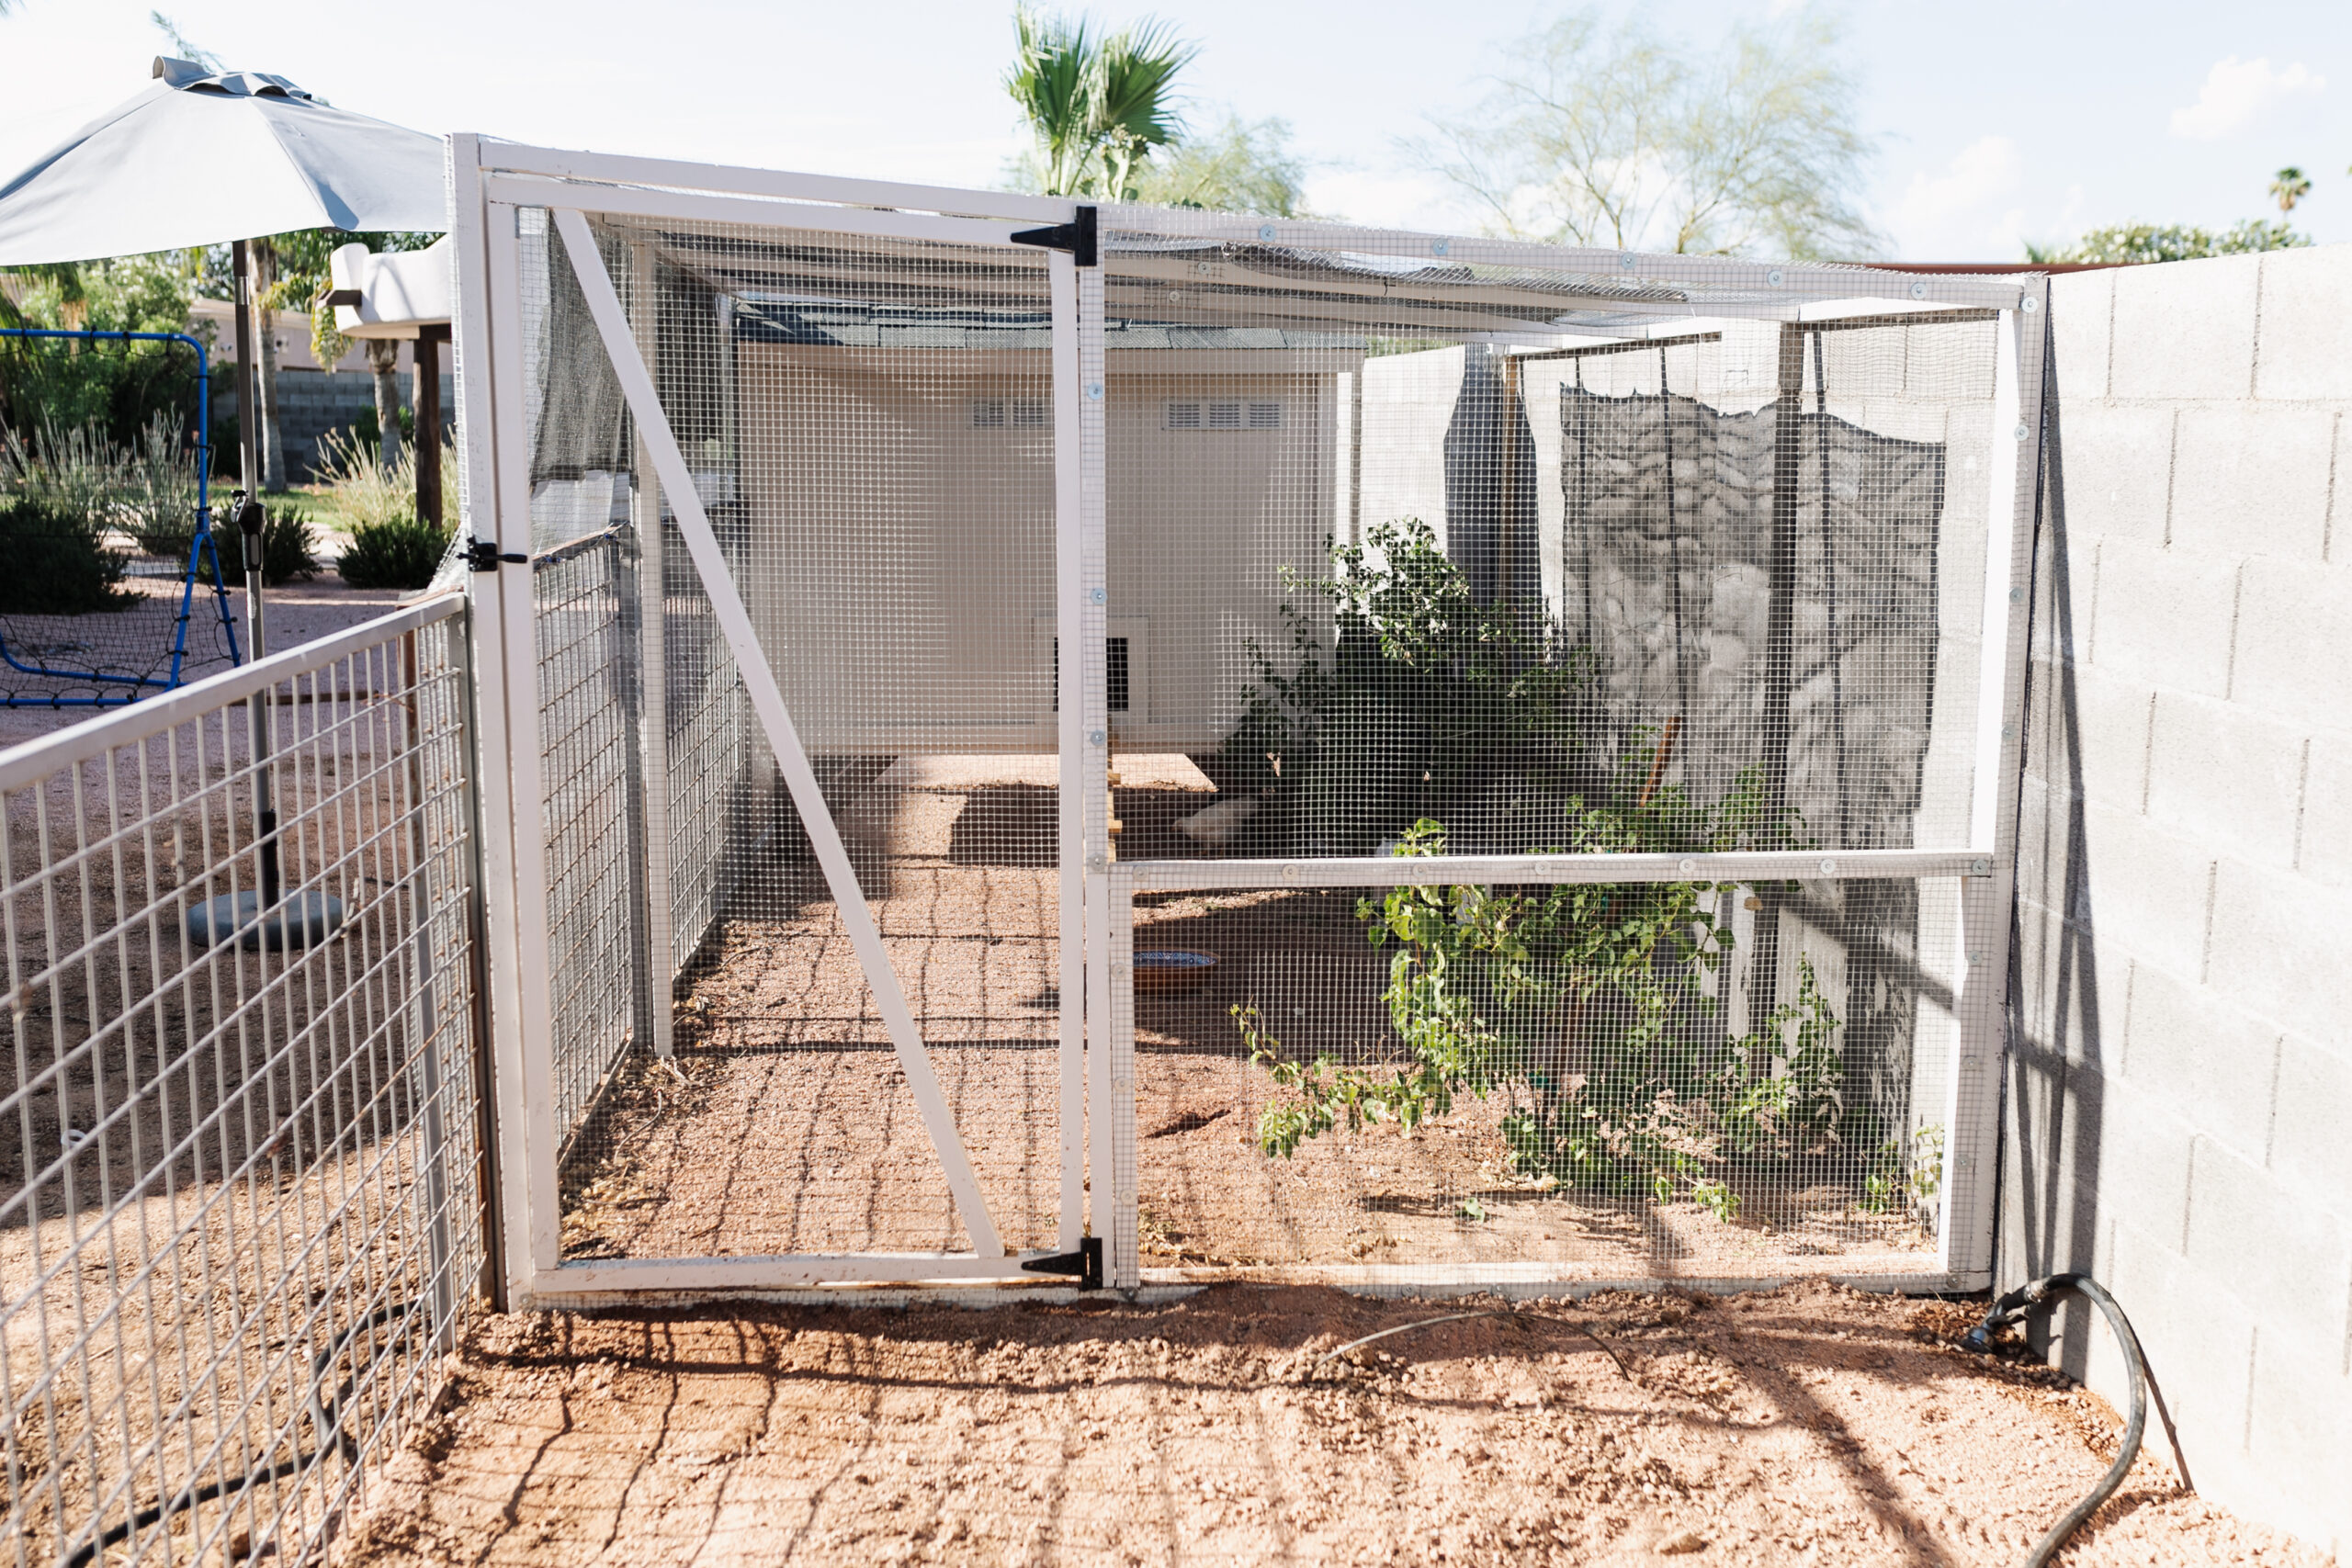
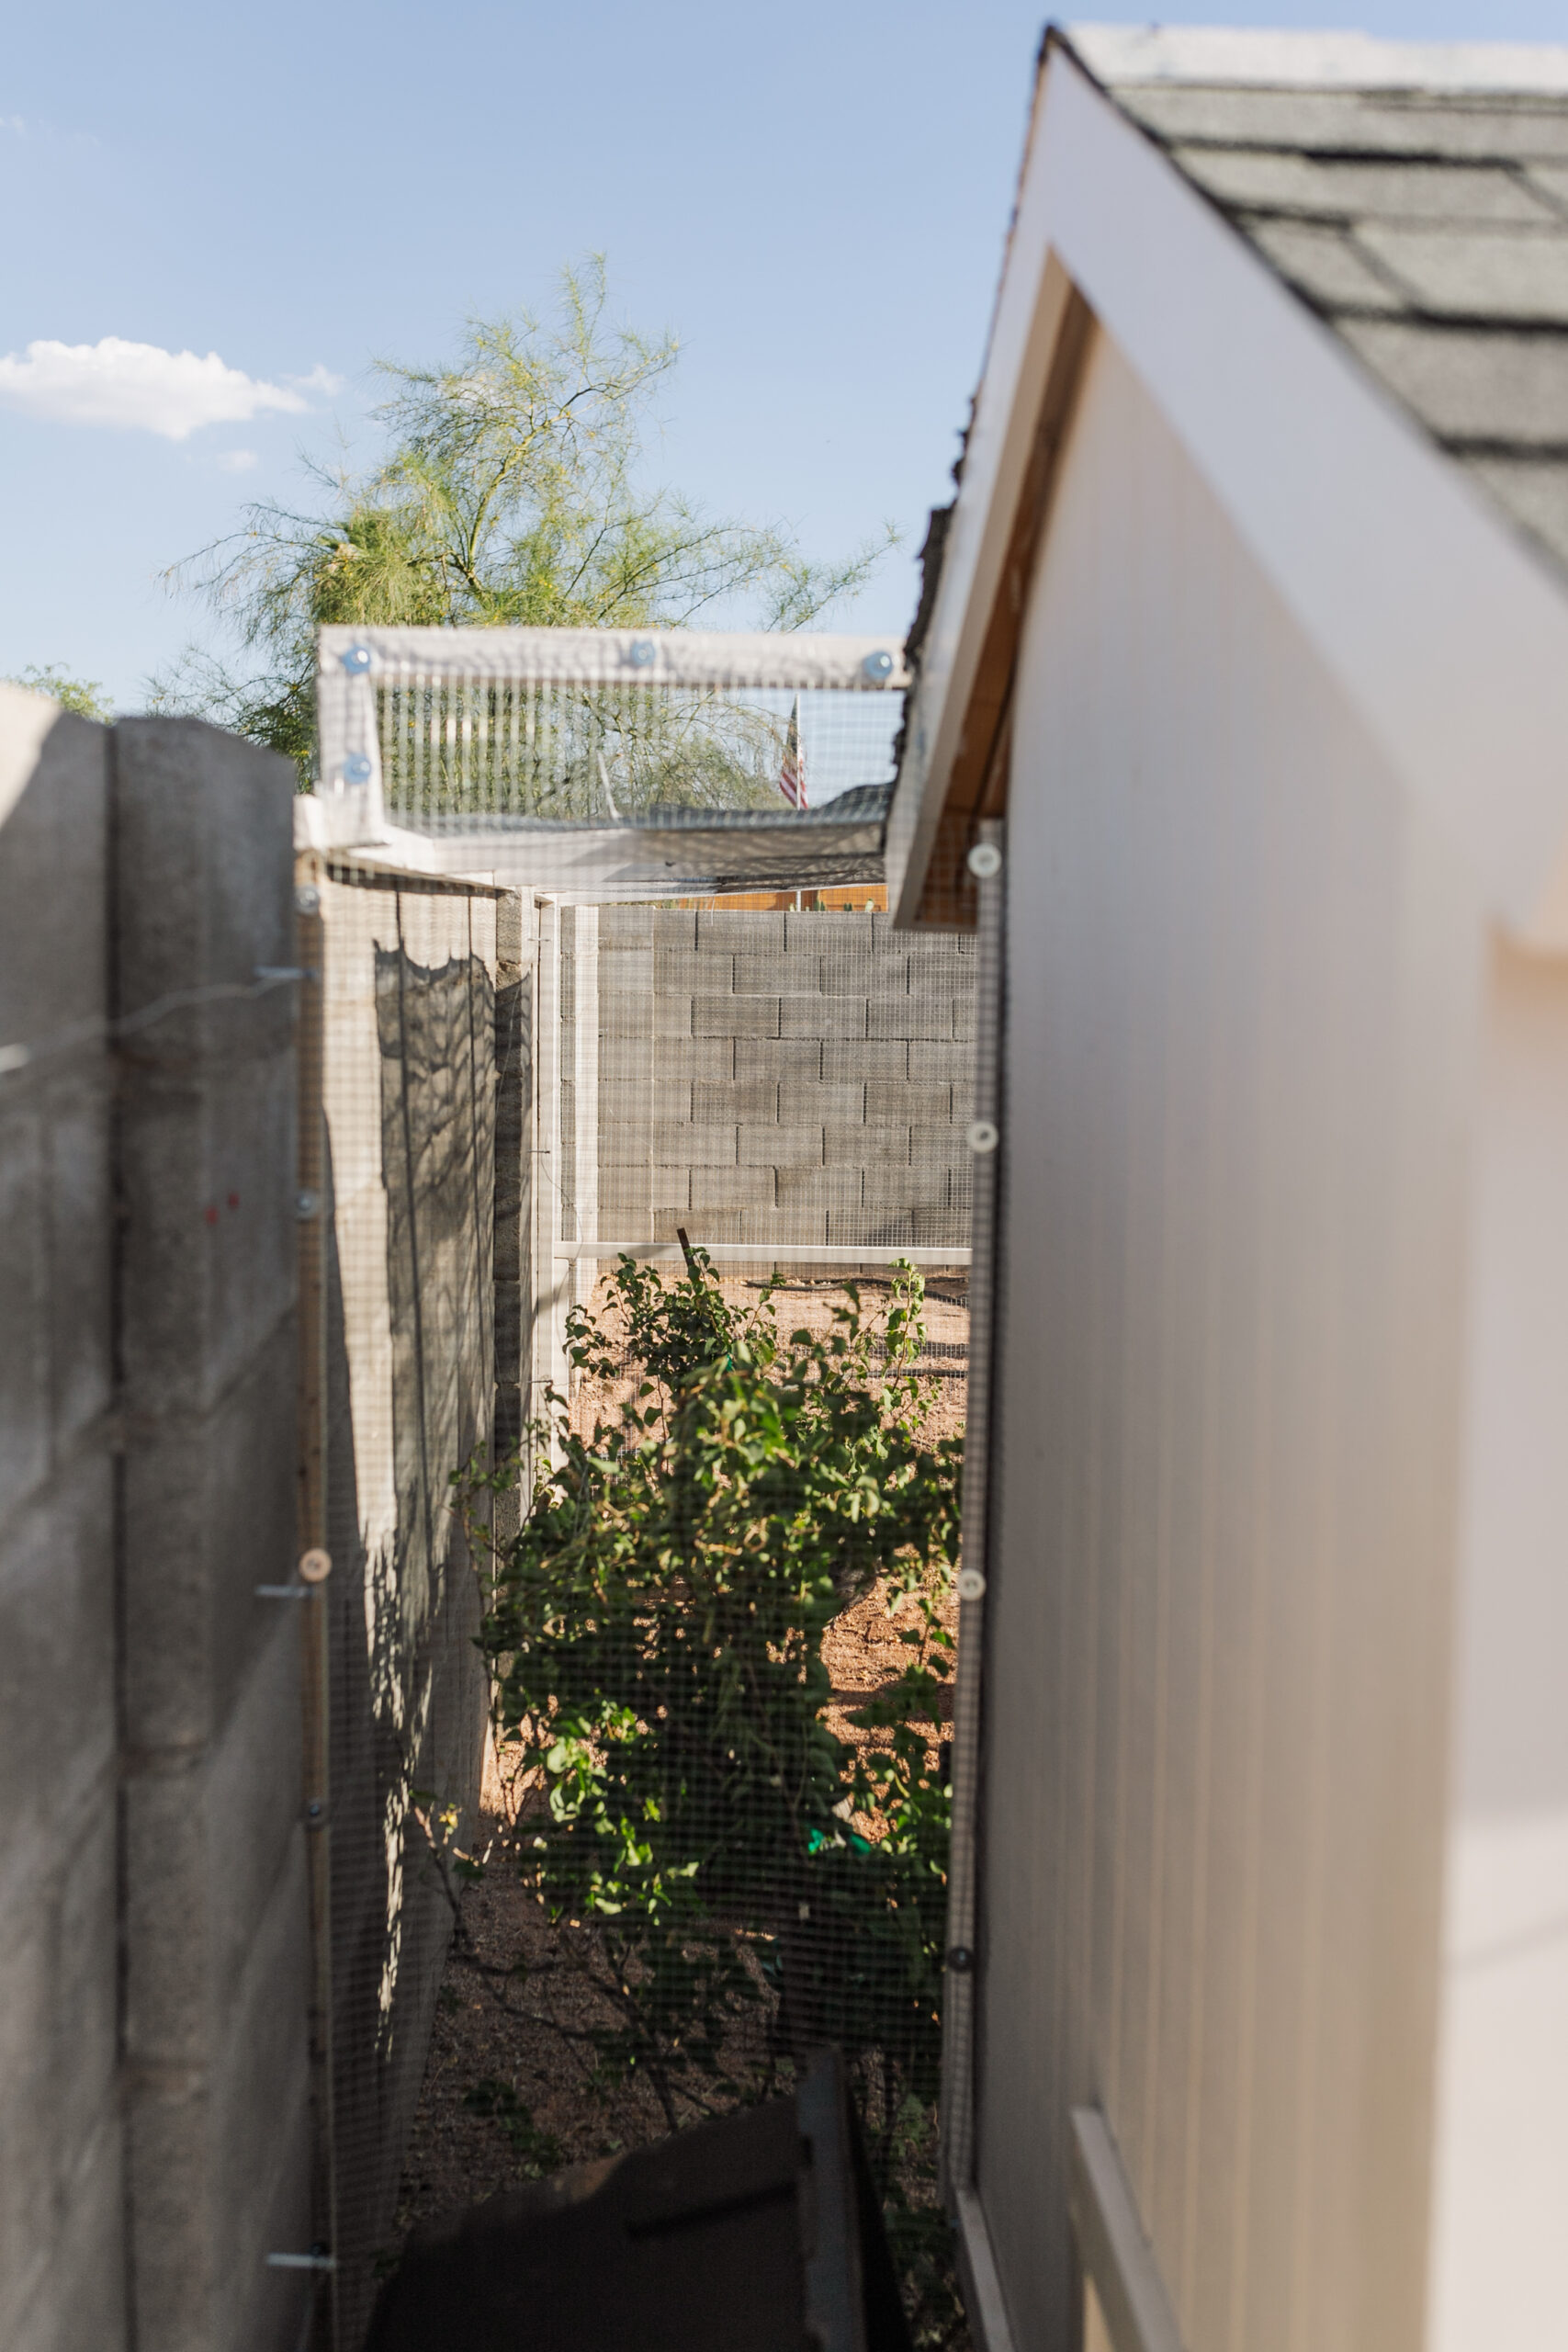
As I mentioned above, we chose this space because we already had the metal trellises to work off of, and then we also used our existing cinderblock wall to work off of as well. From here, we decided to use 2x2s rather than 2x4s because hello…. have you seen the price of lumber lately!? And we mapped out the rest of the space our girls would need. We actually have additional space in this run (based on the general rule of thumb of 8-10 square feet per bird) shoooould we ever want to expand our flock. Just sayin’. 😉
This pitch of the “roof” or I guess top of the run, in this case, made for a bit of a tricky hang with the gate door, but we eventually got it. I think I might eventually want to add some sort of solid roof to the run for added solid shade space for the chickens, but for now, I wanted to keep the airflow as open as possible for the desert summer heat.
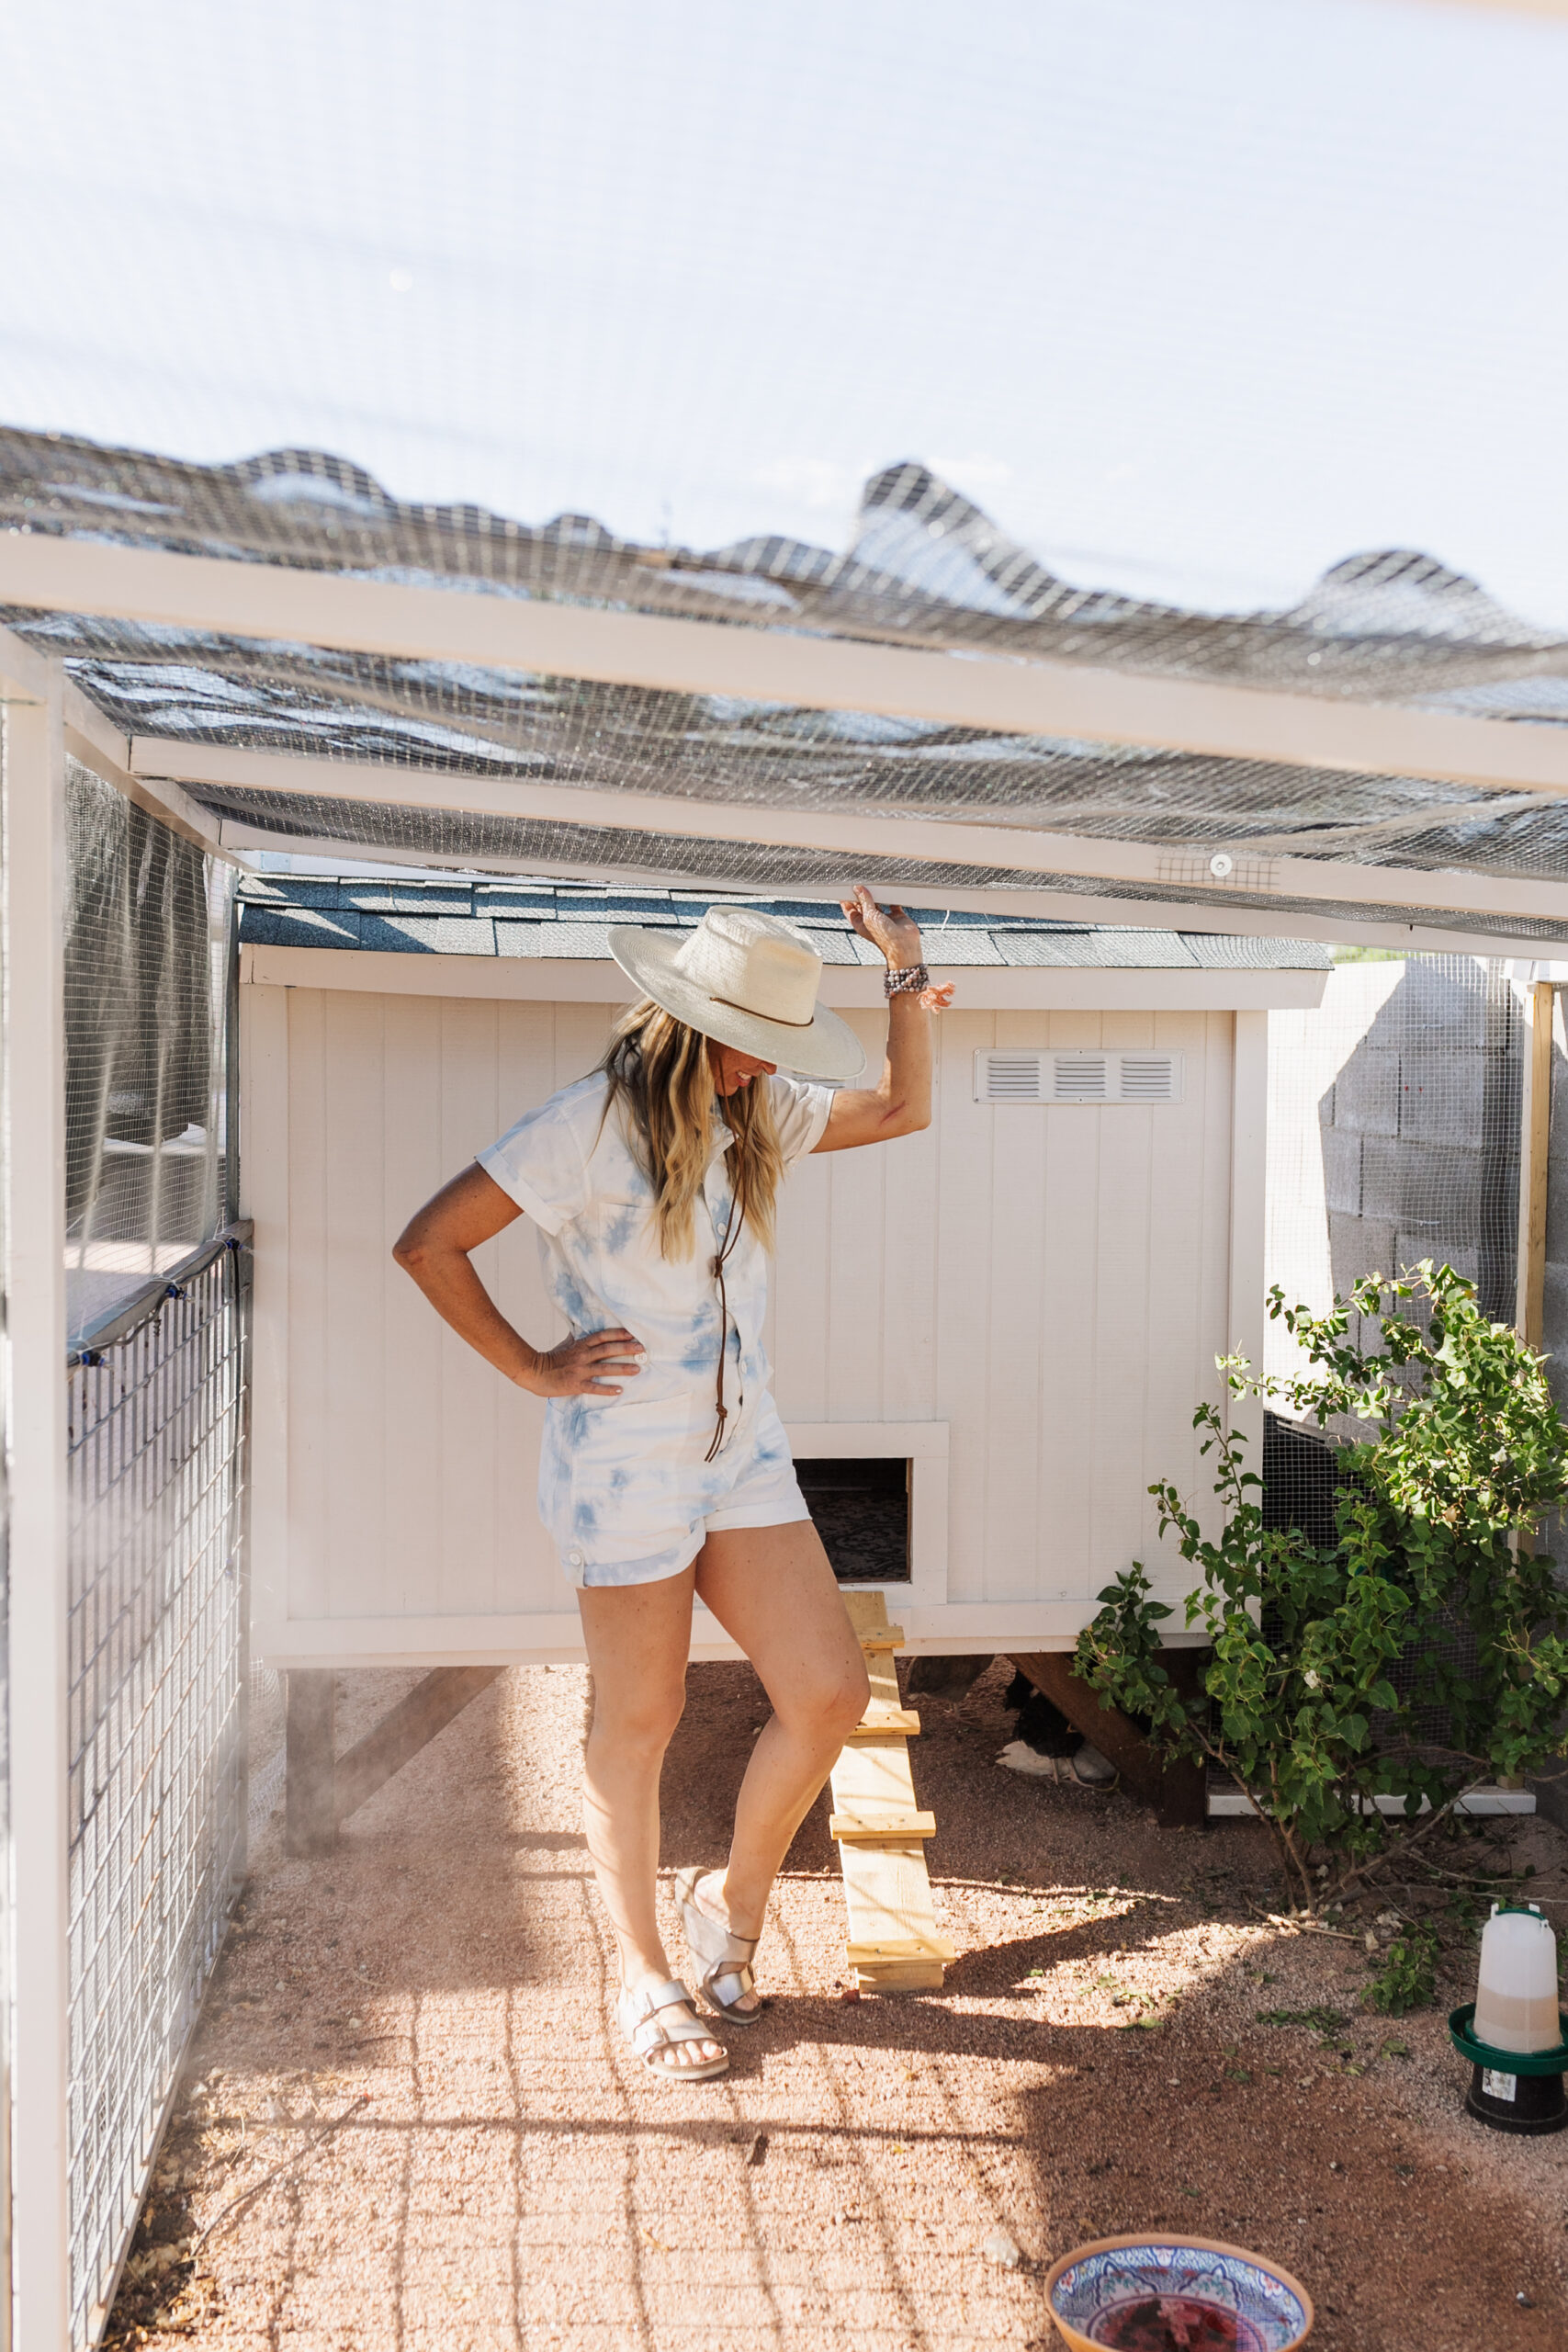
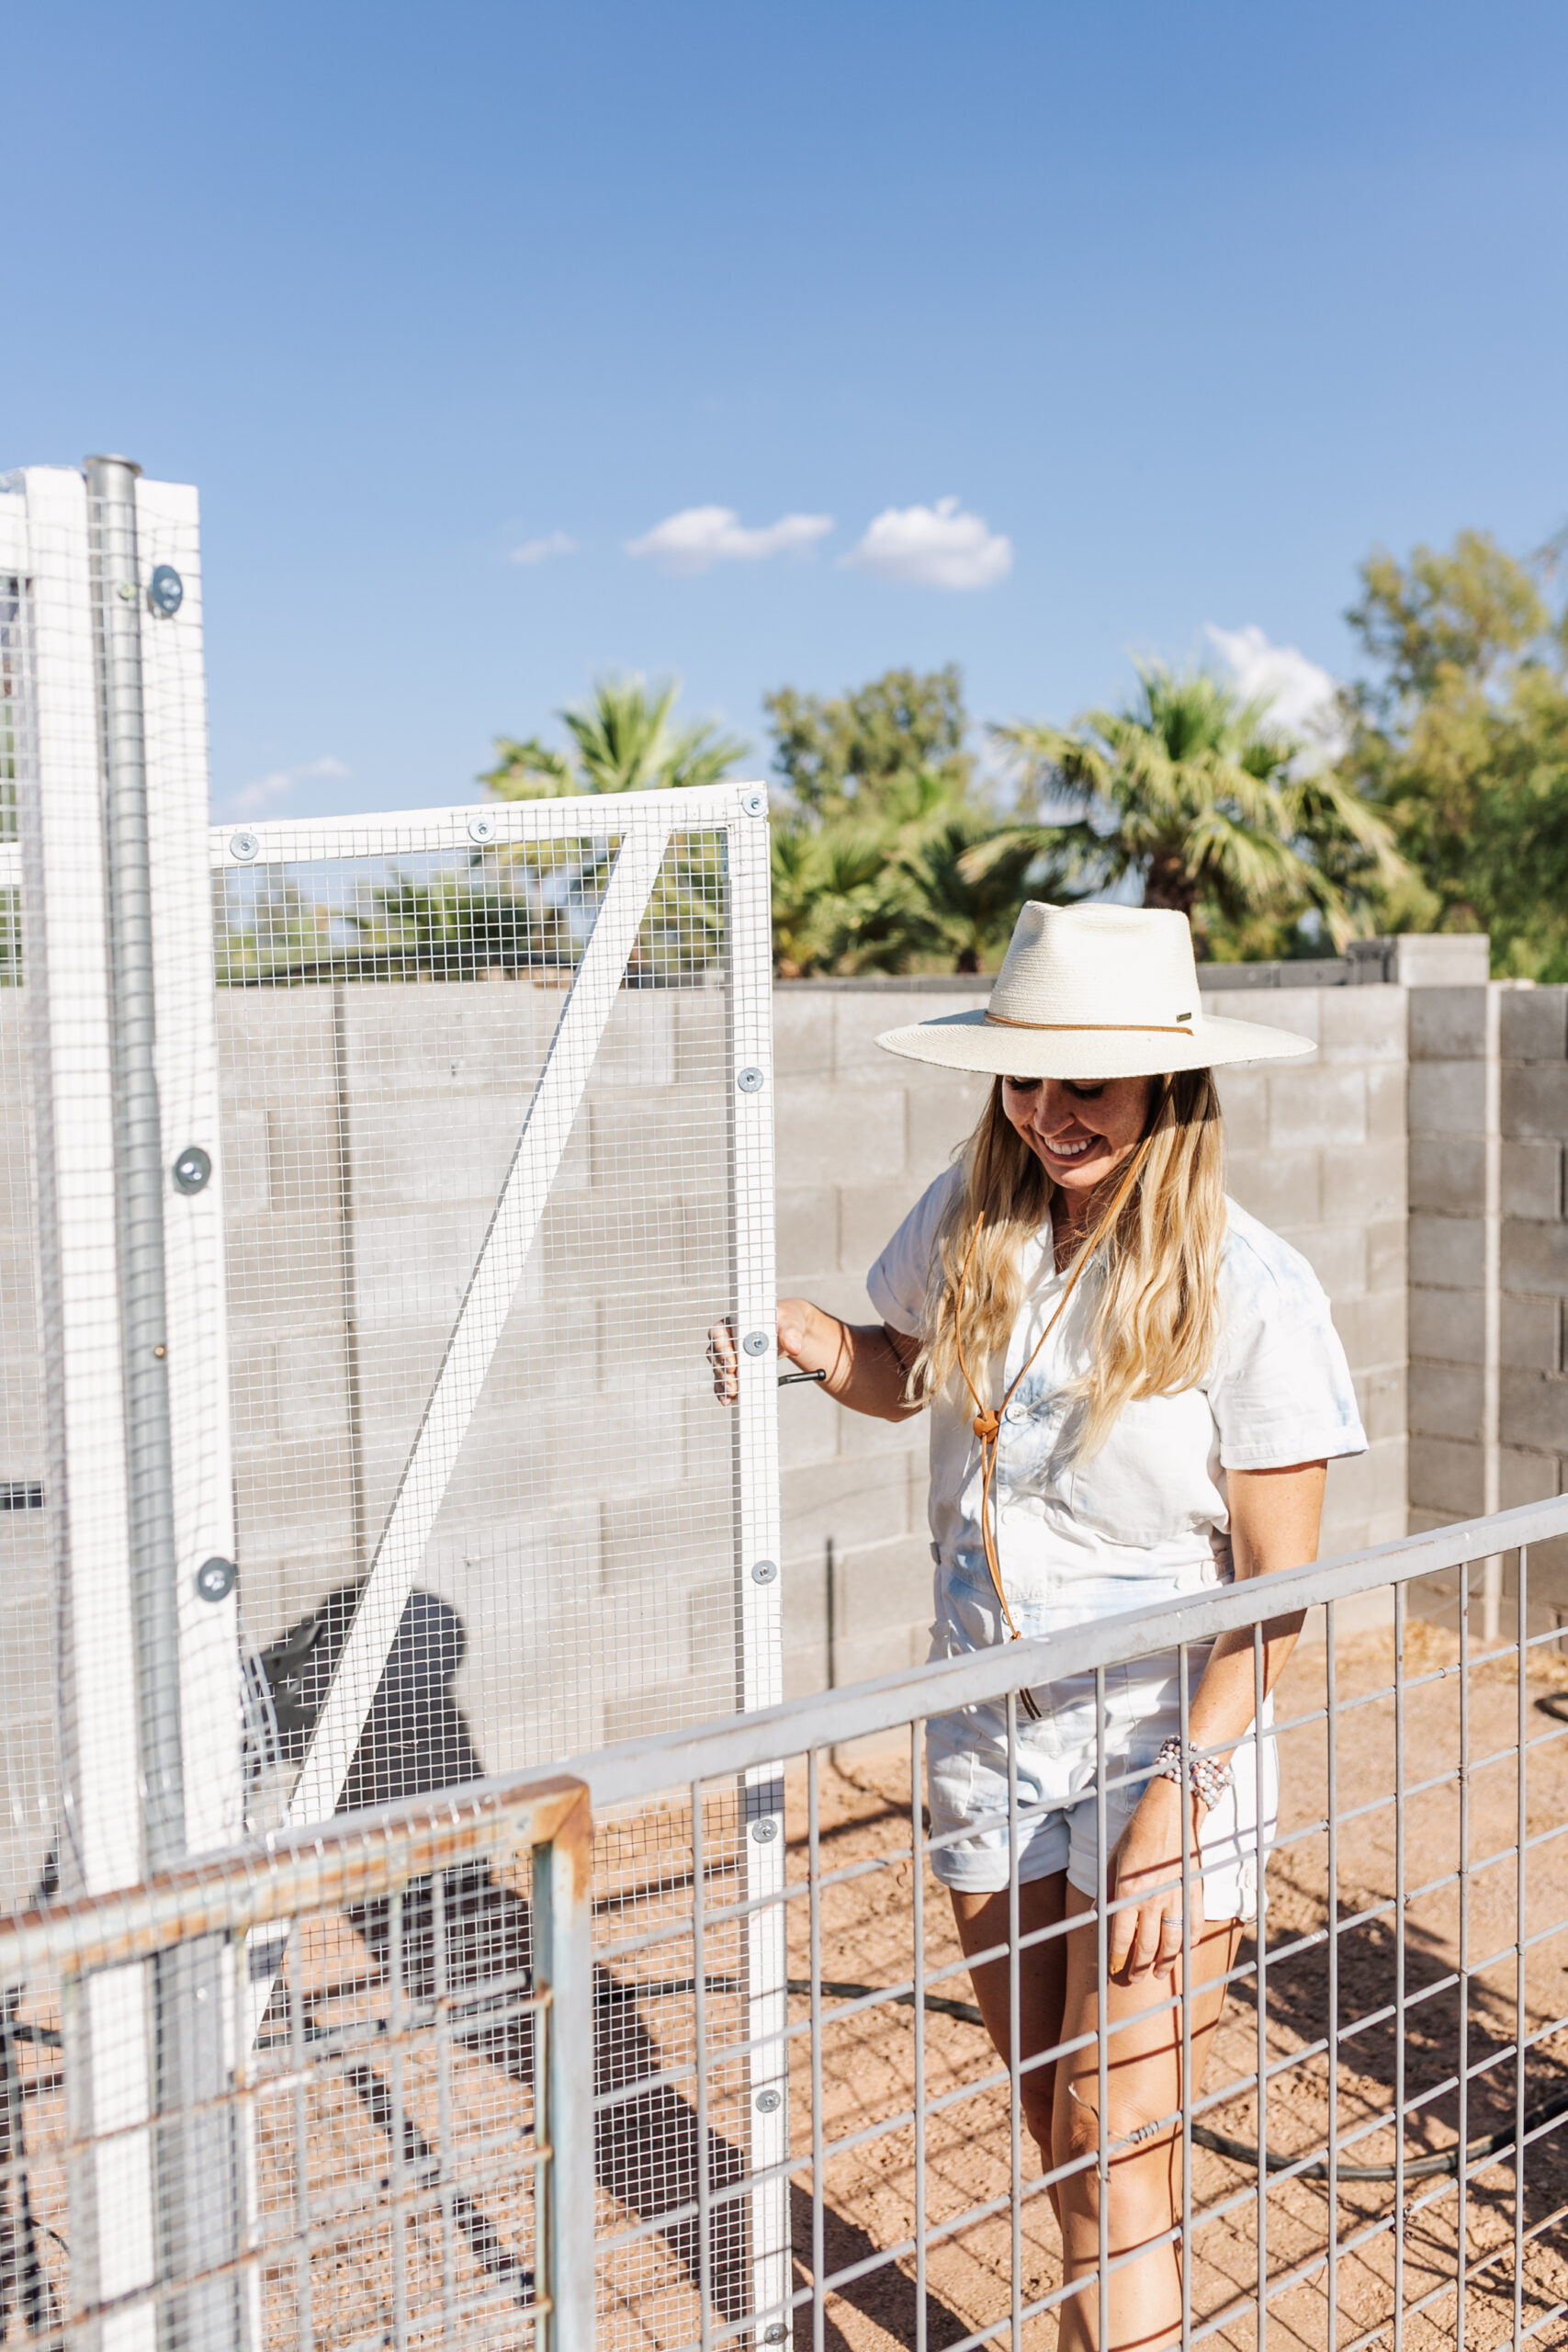
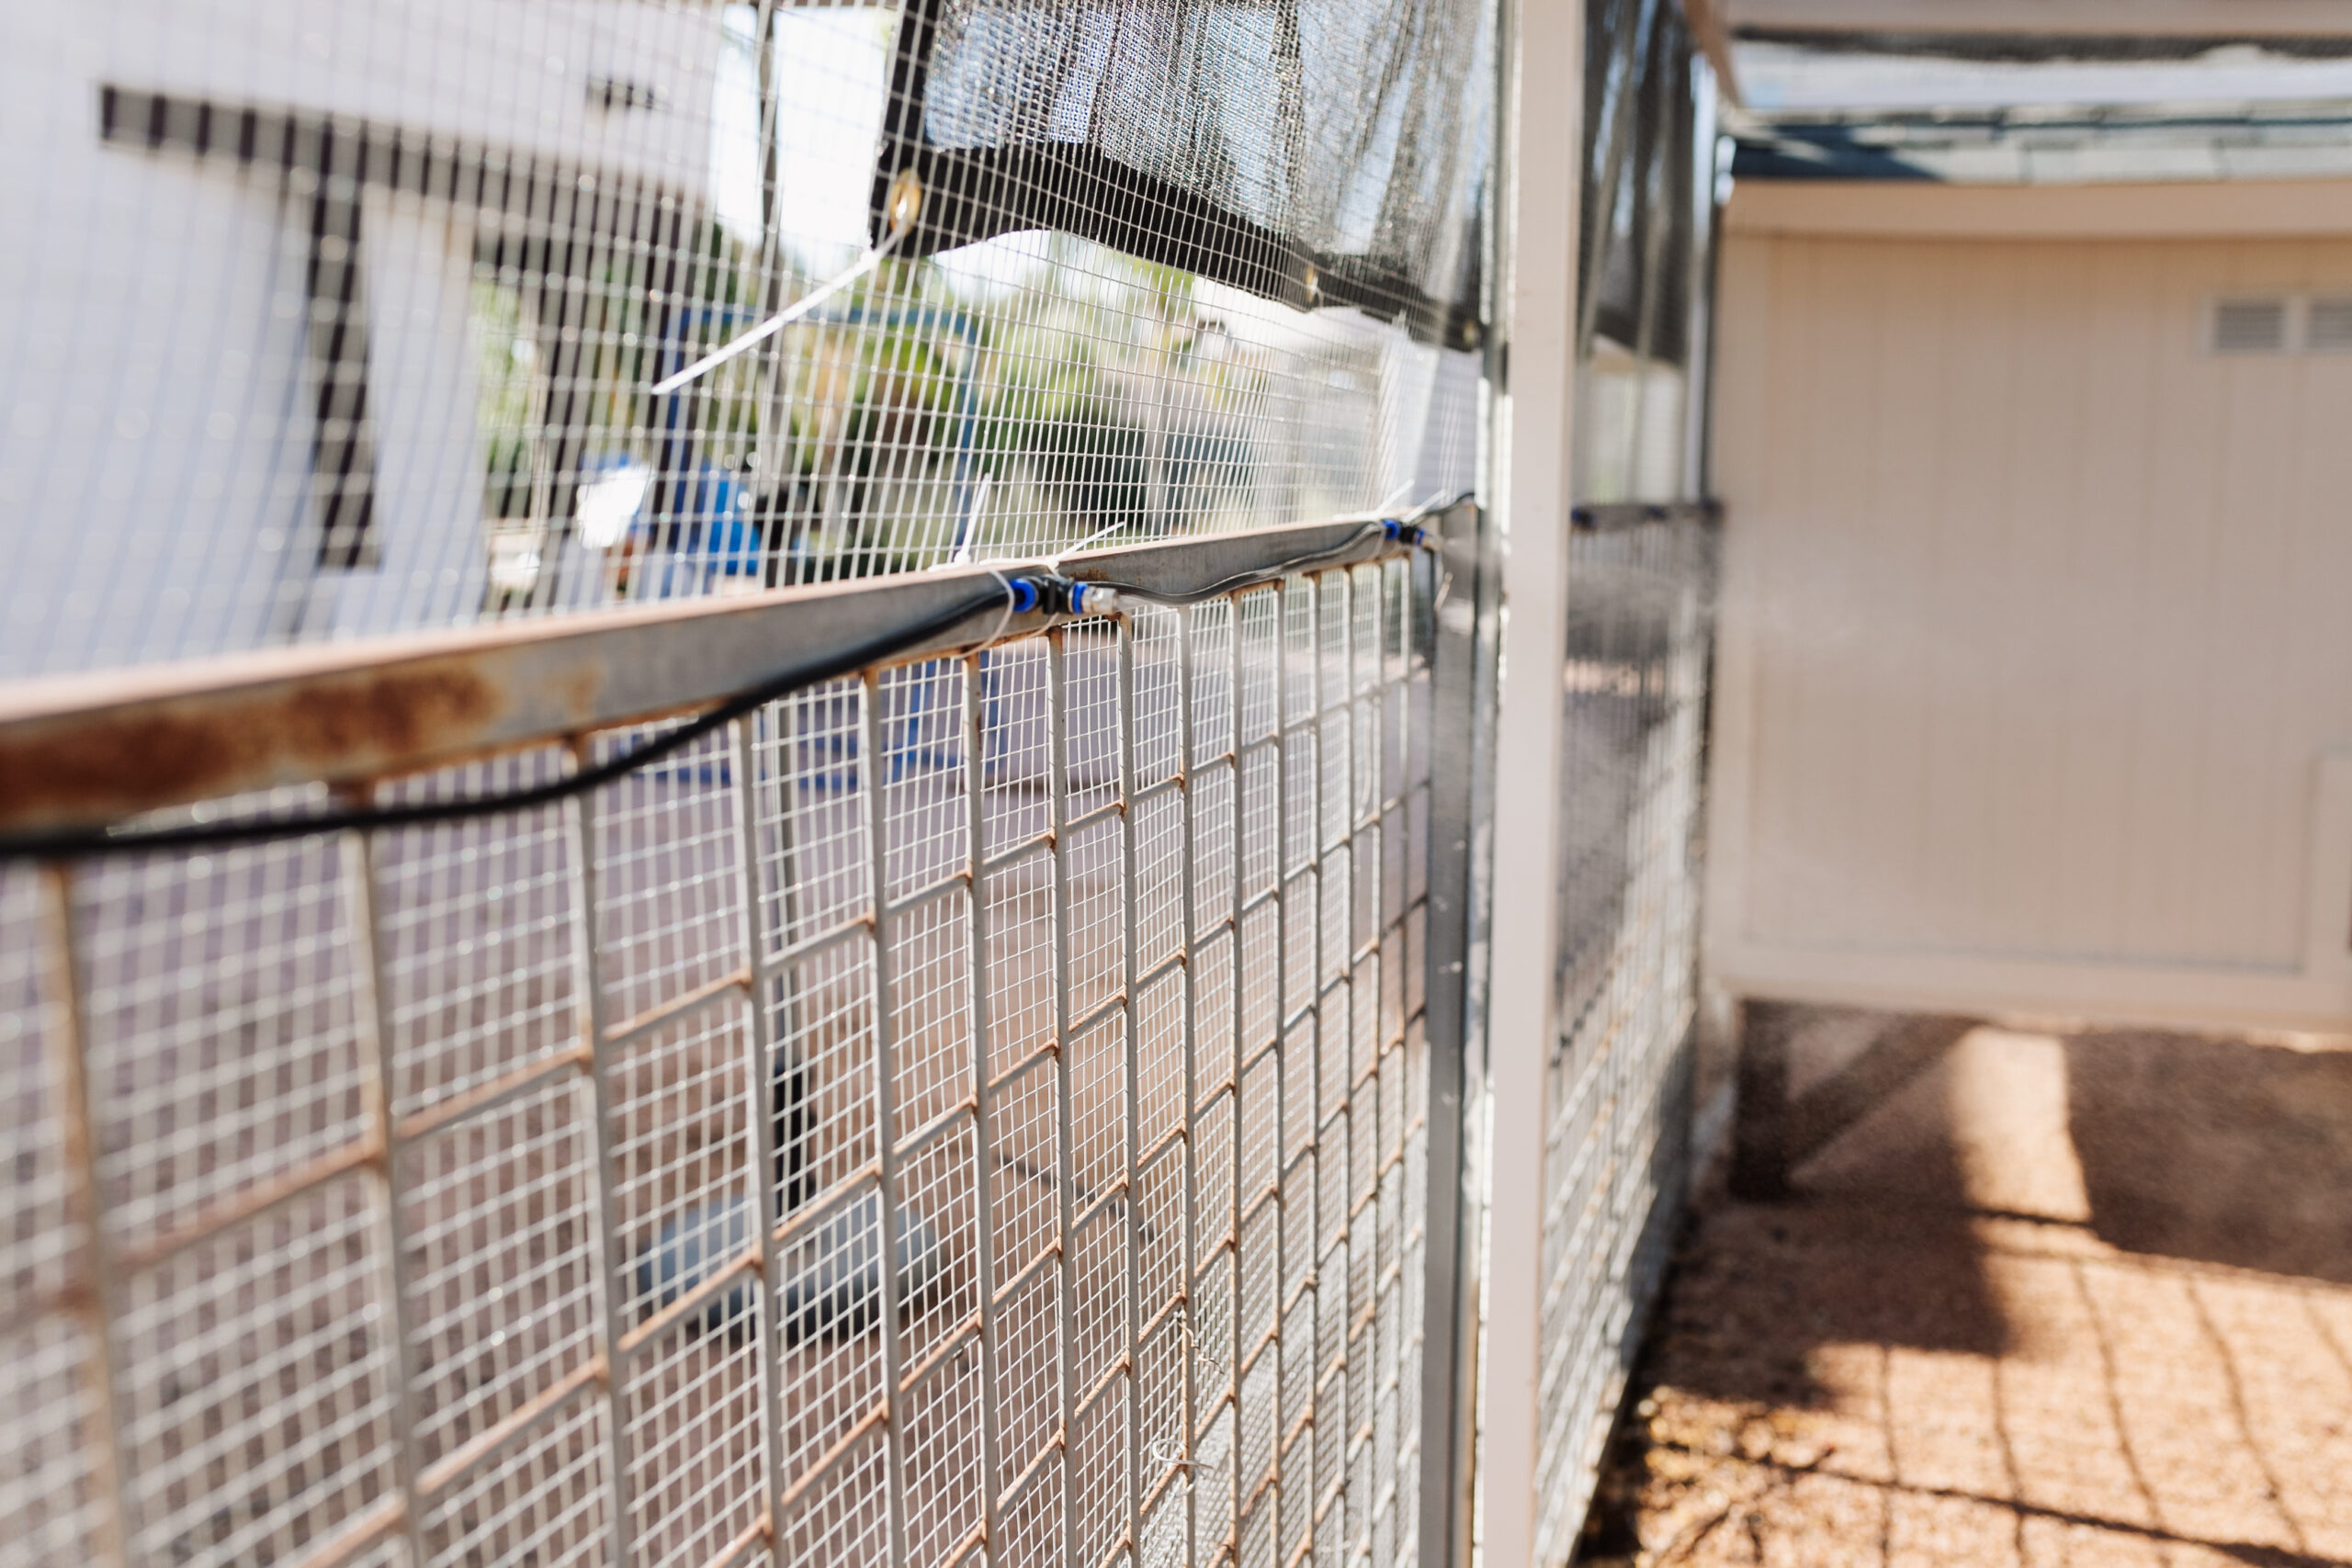
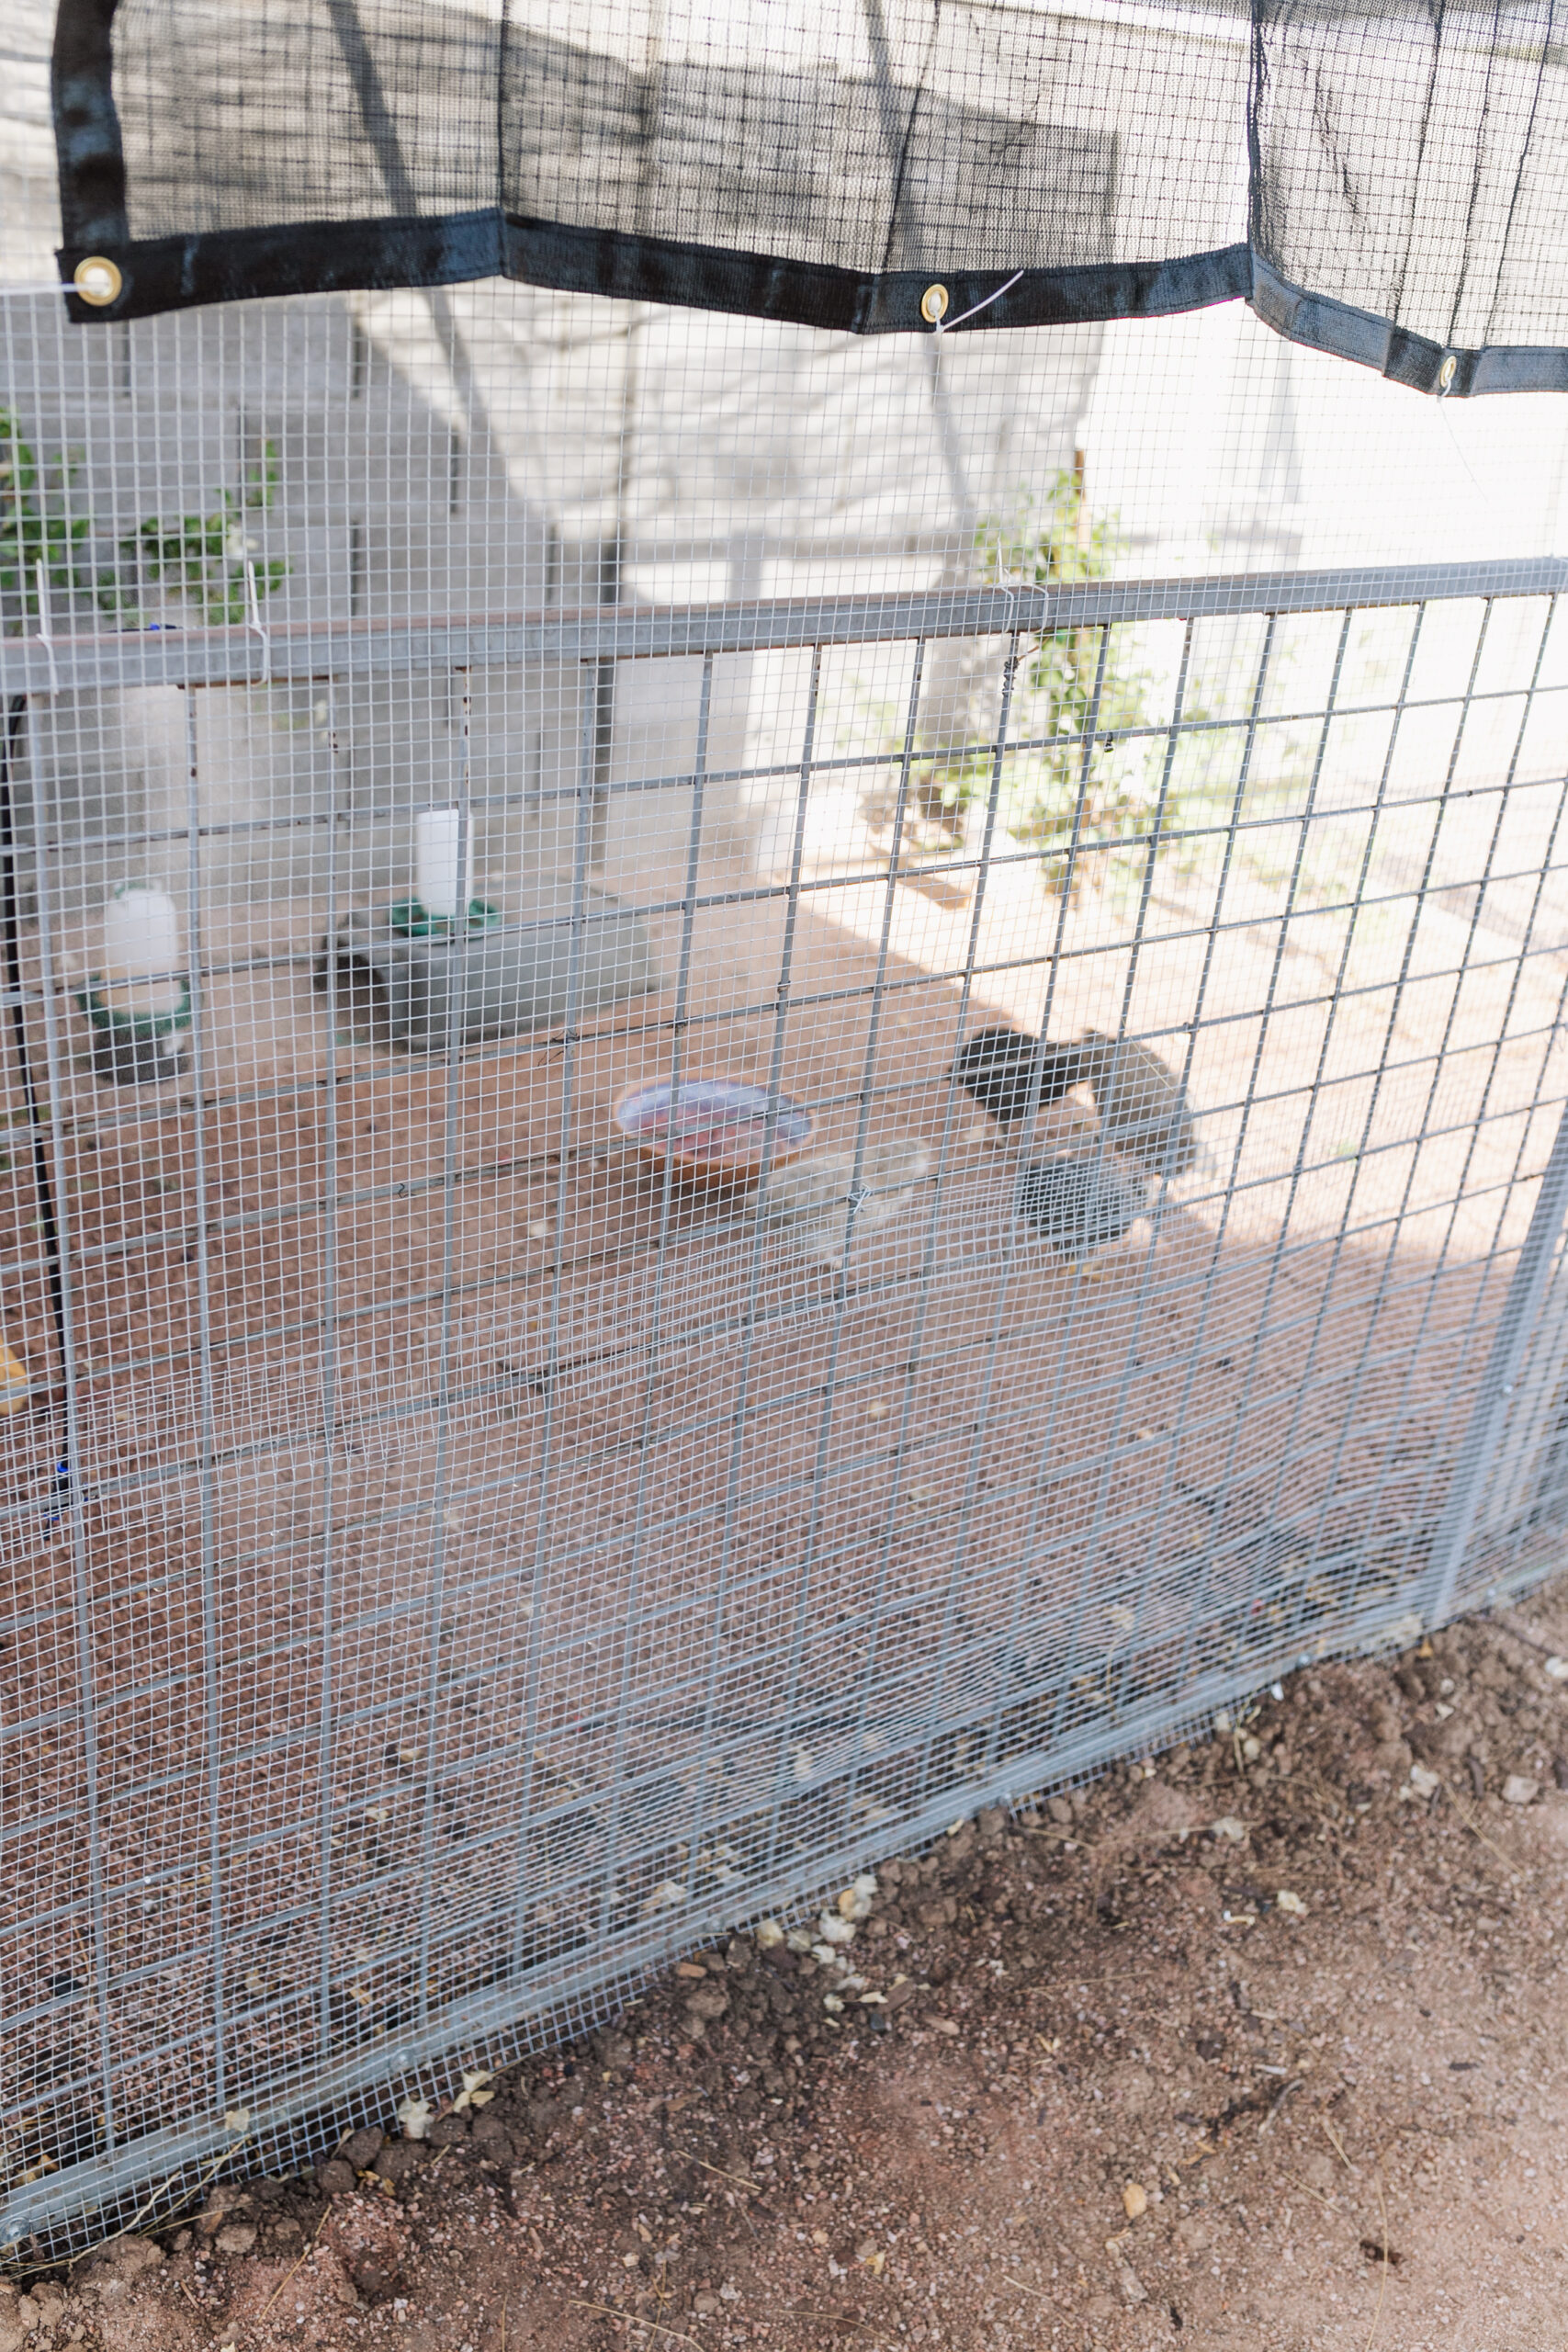
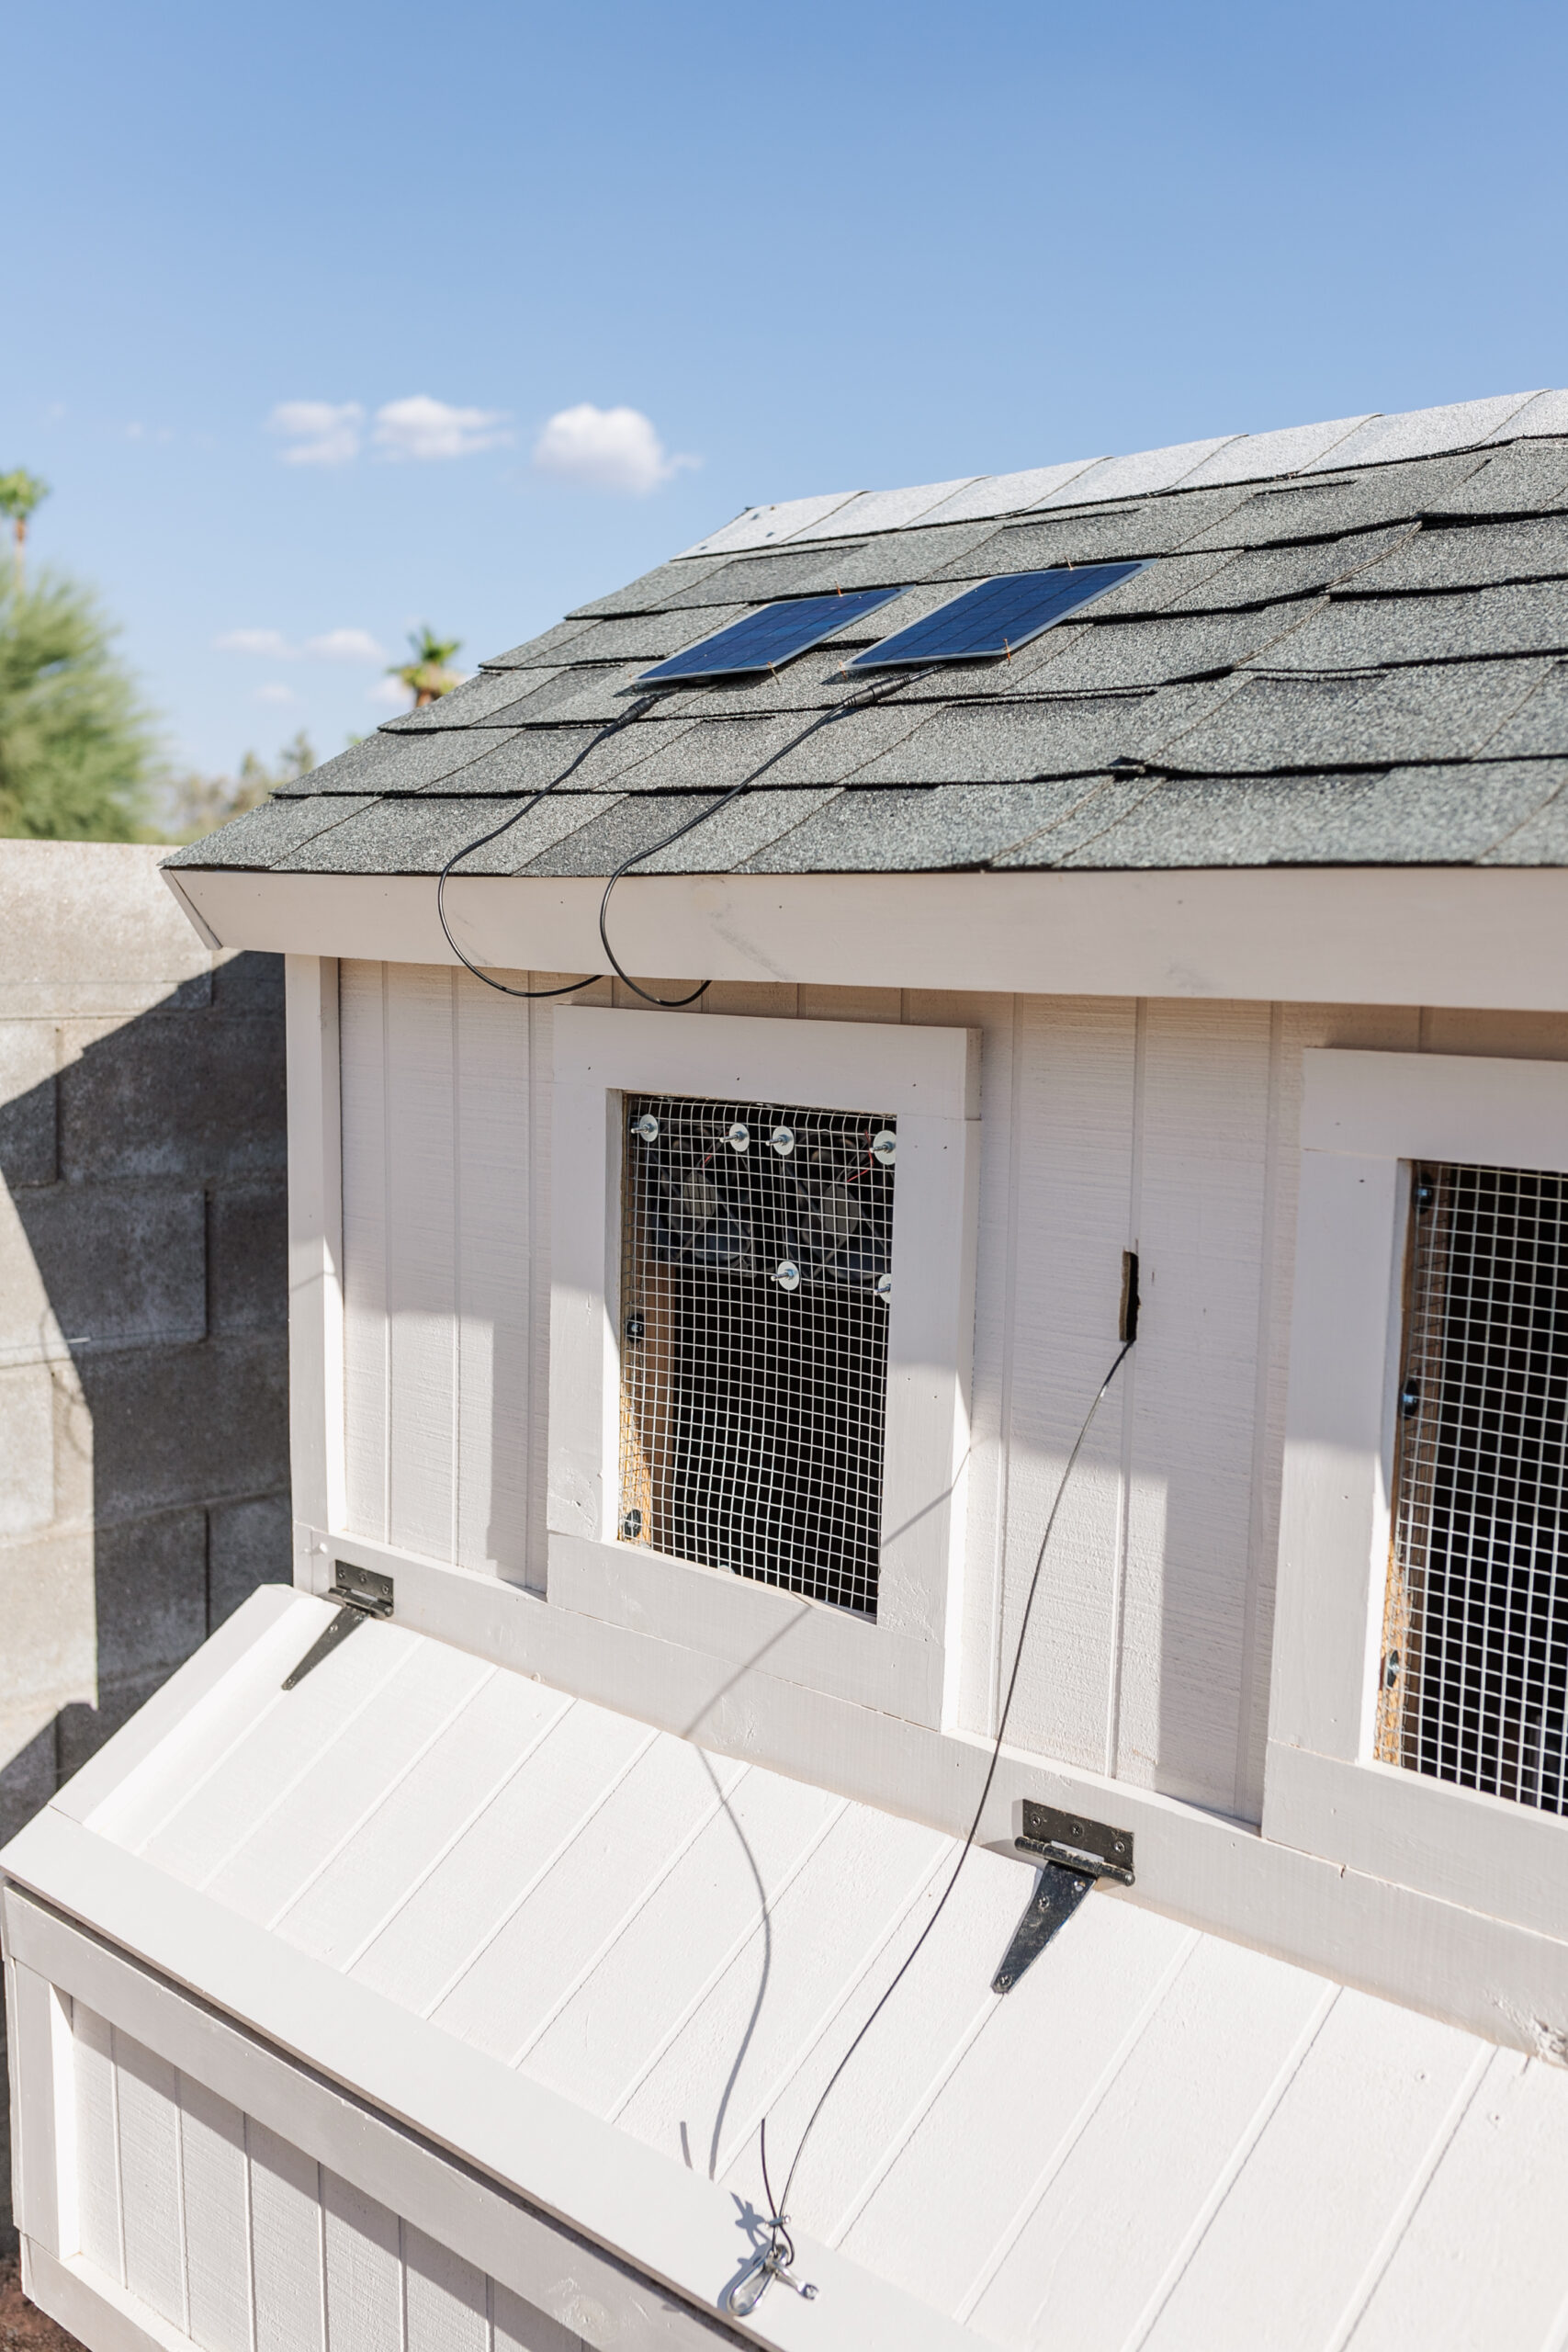
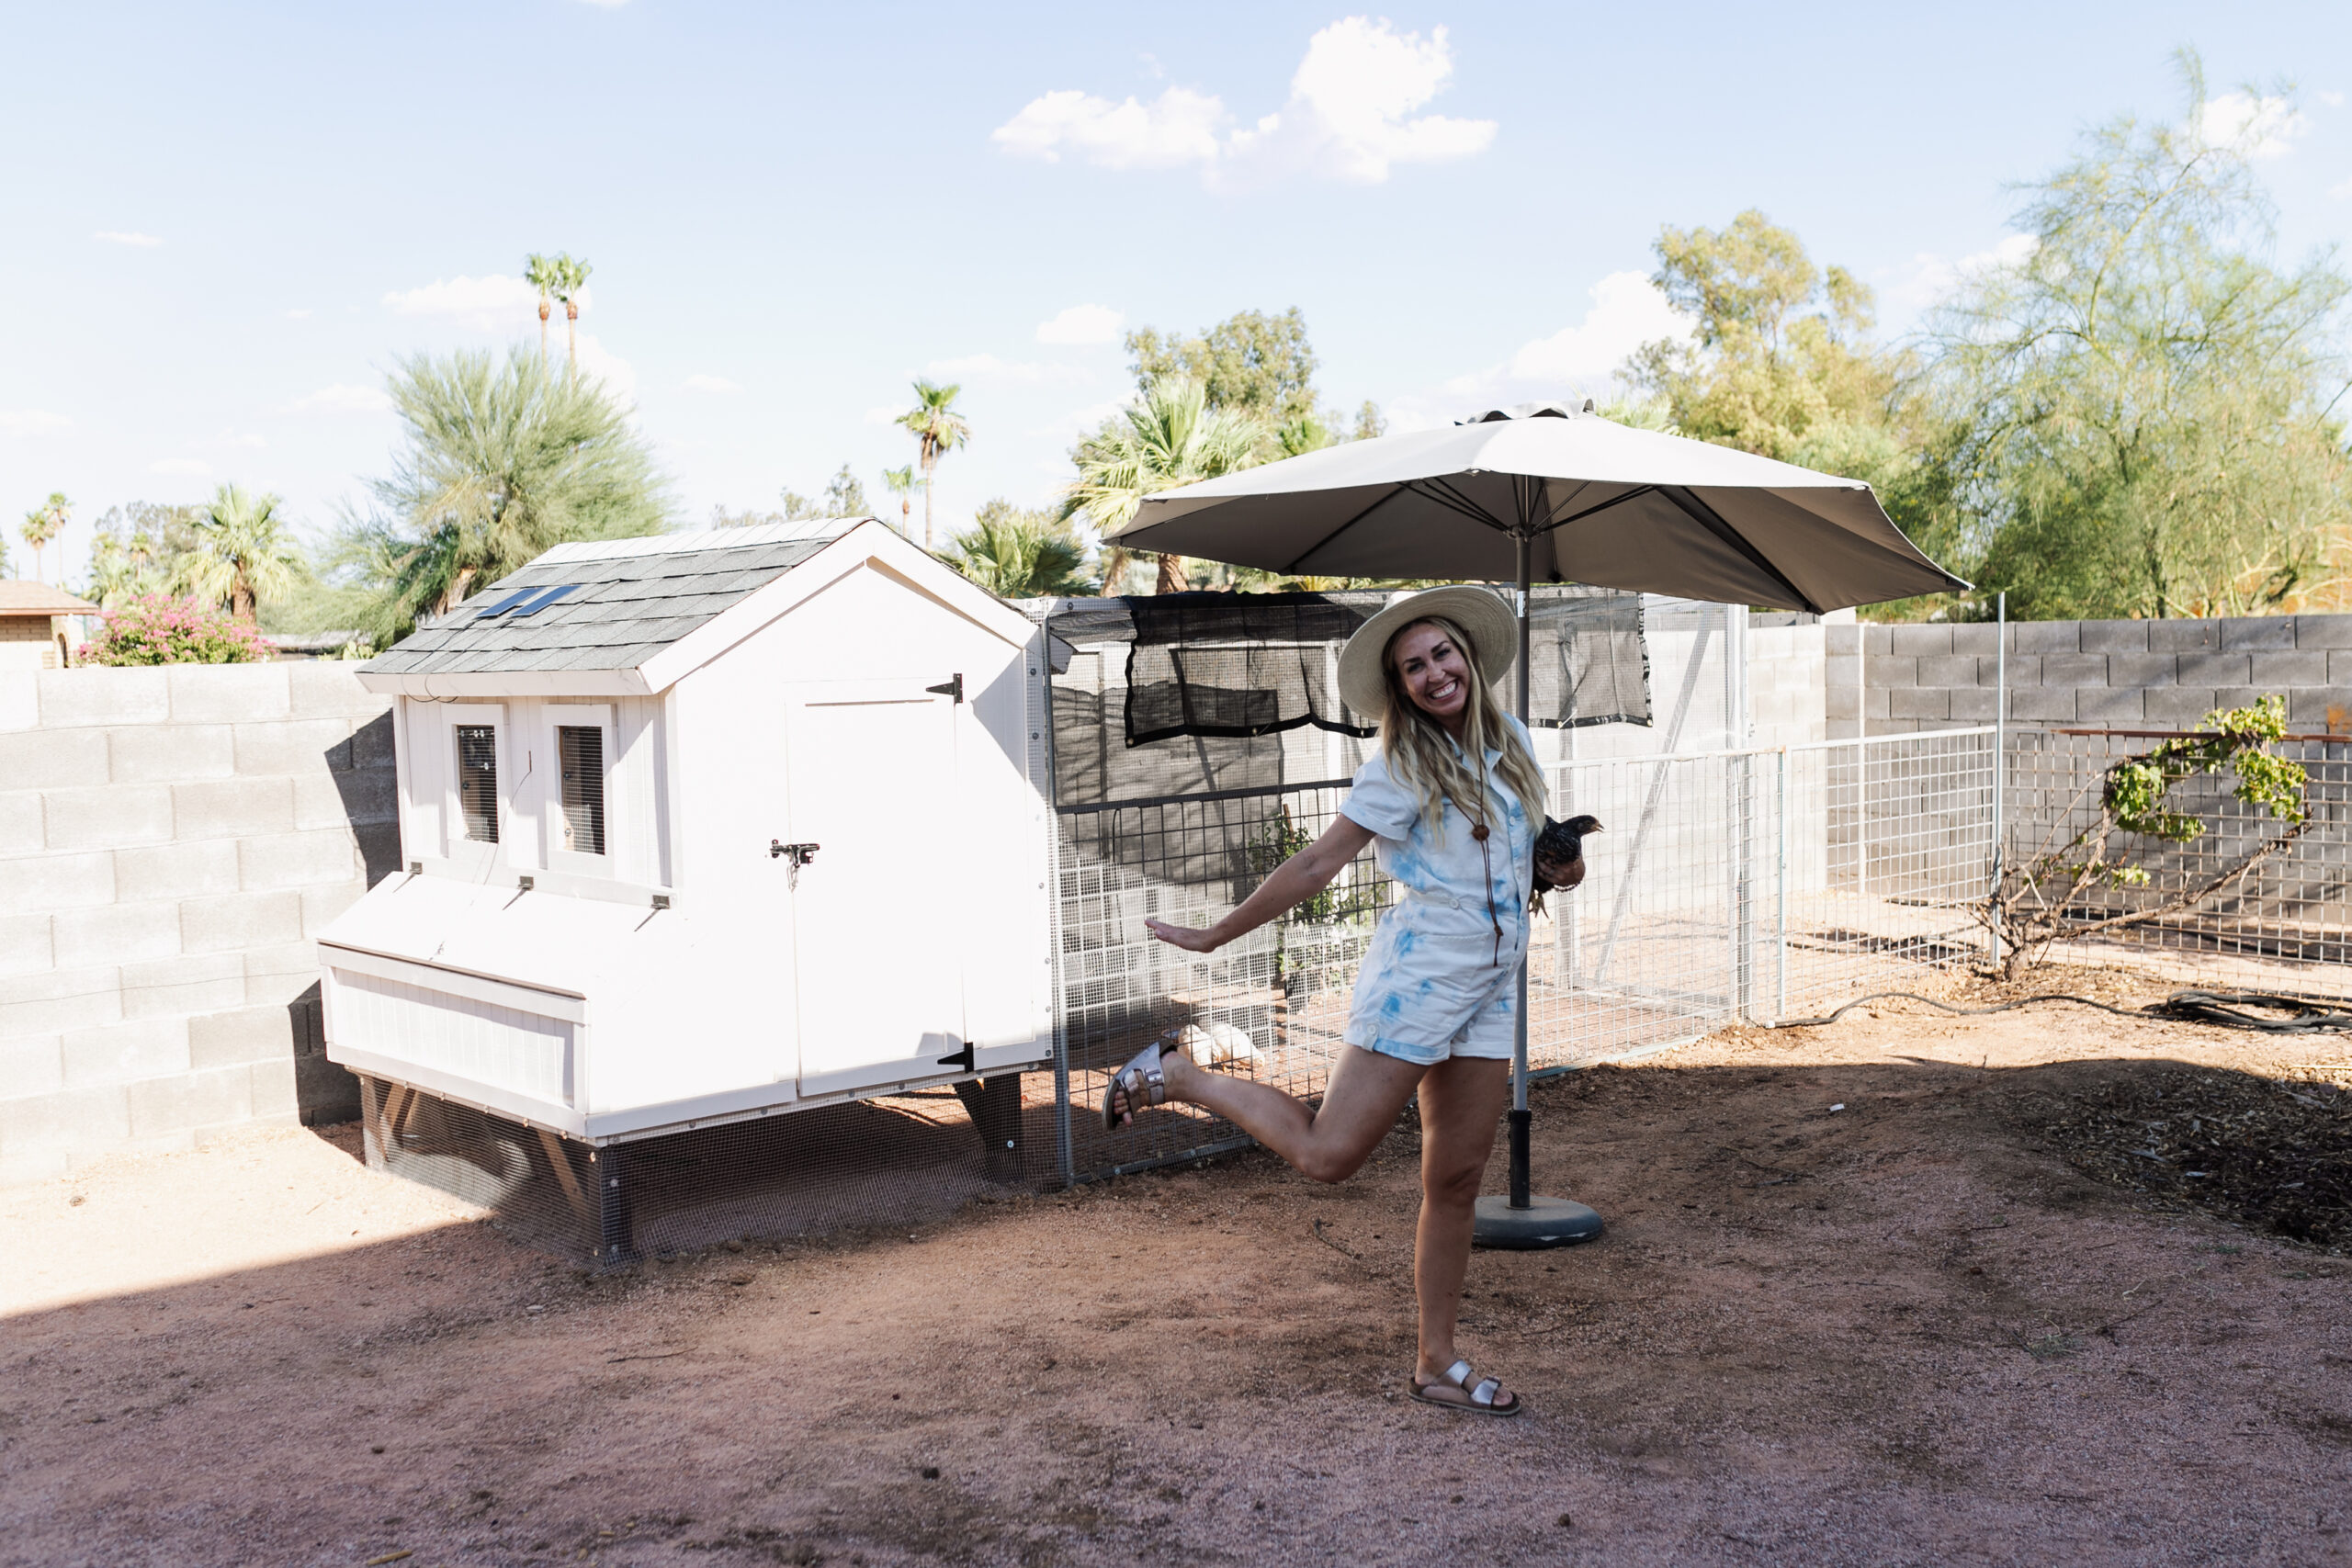
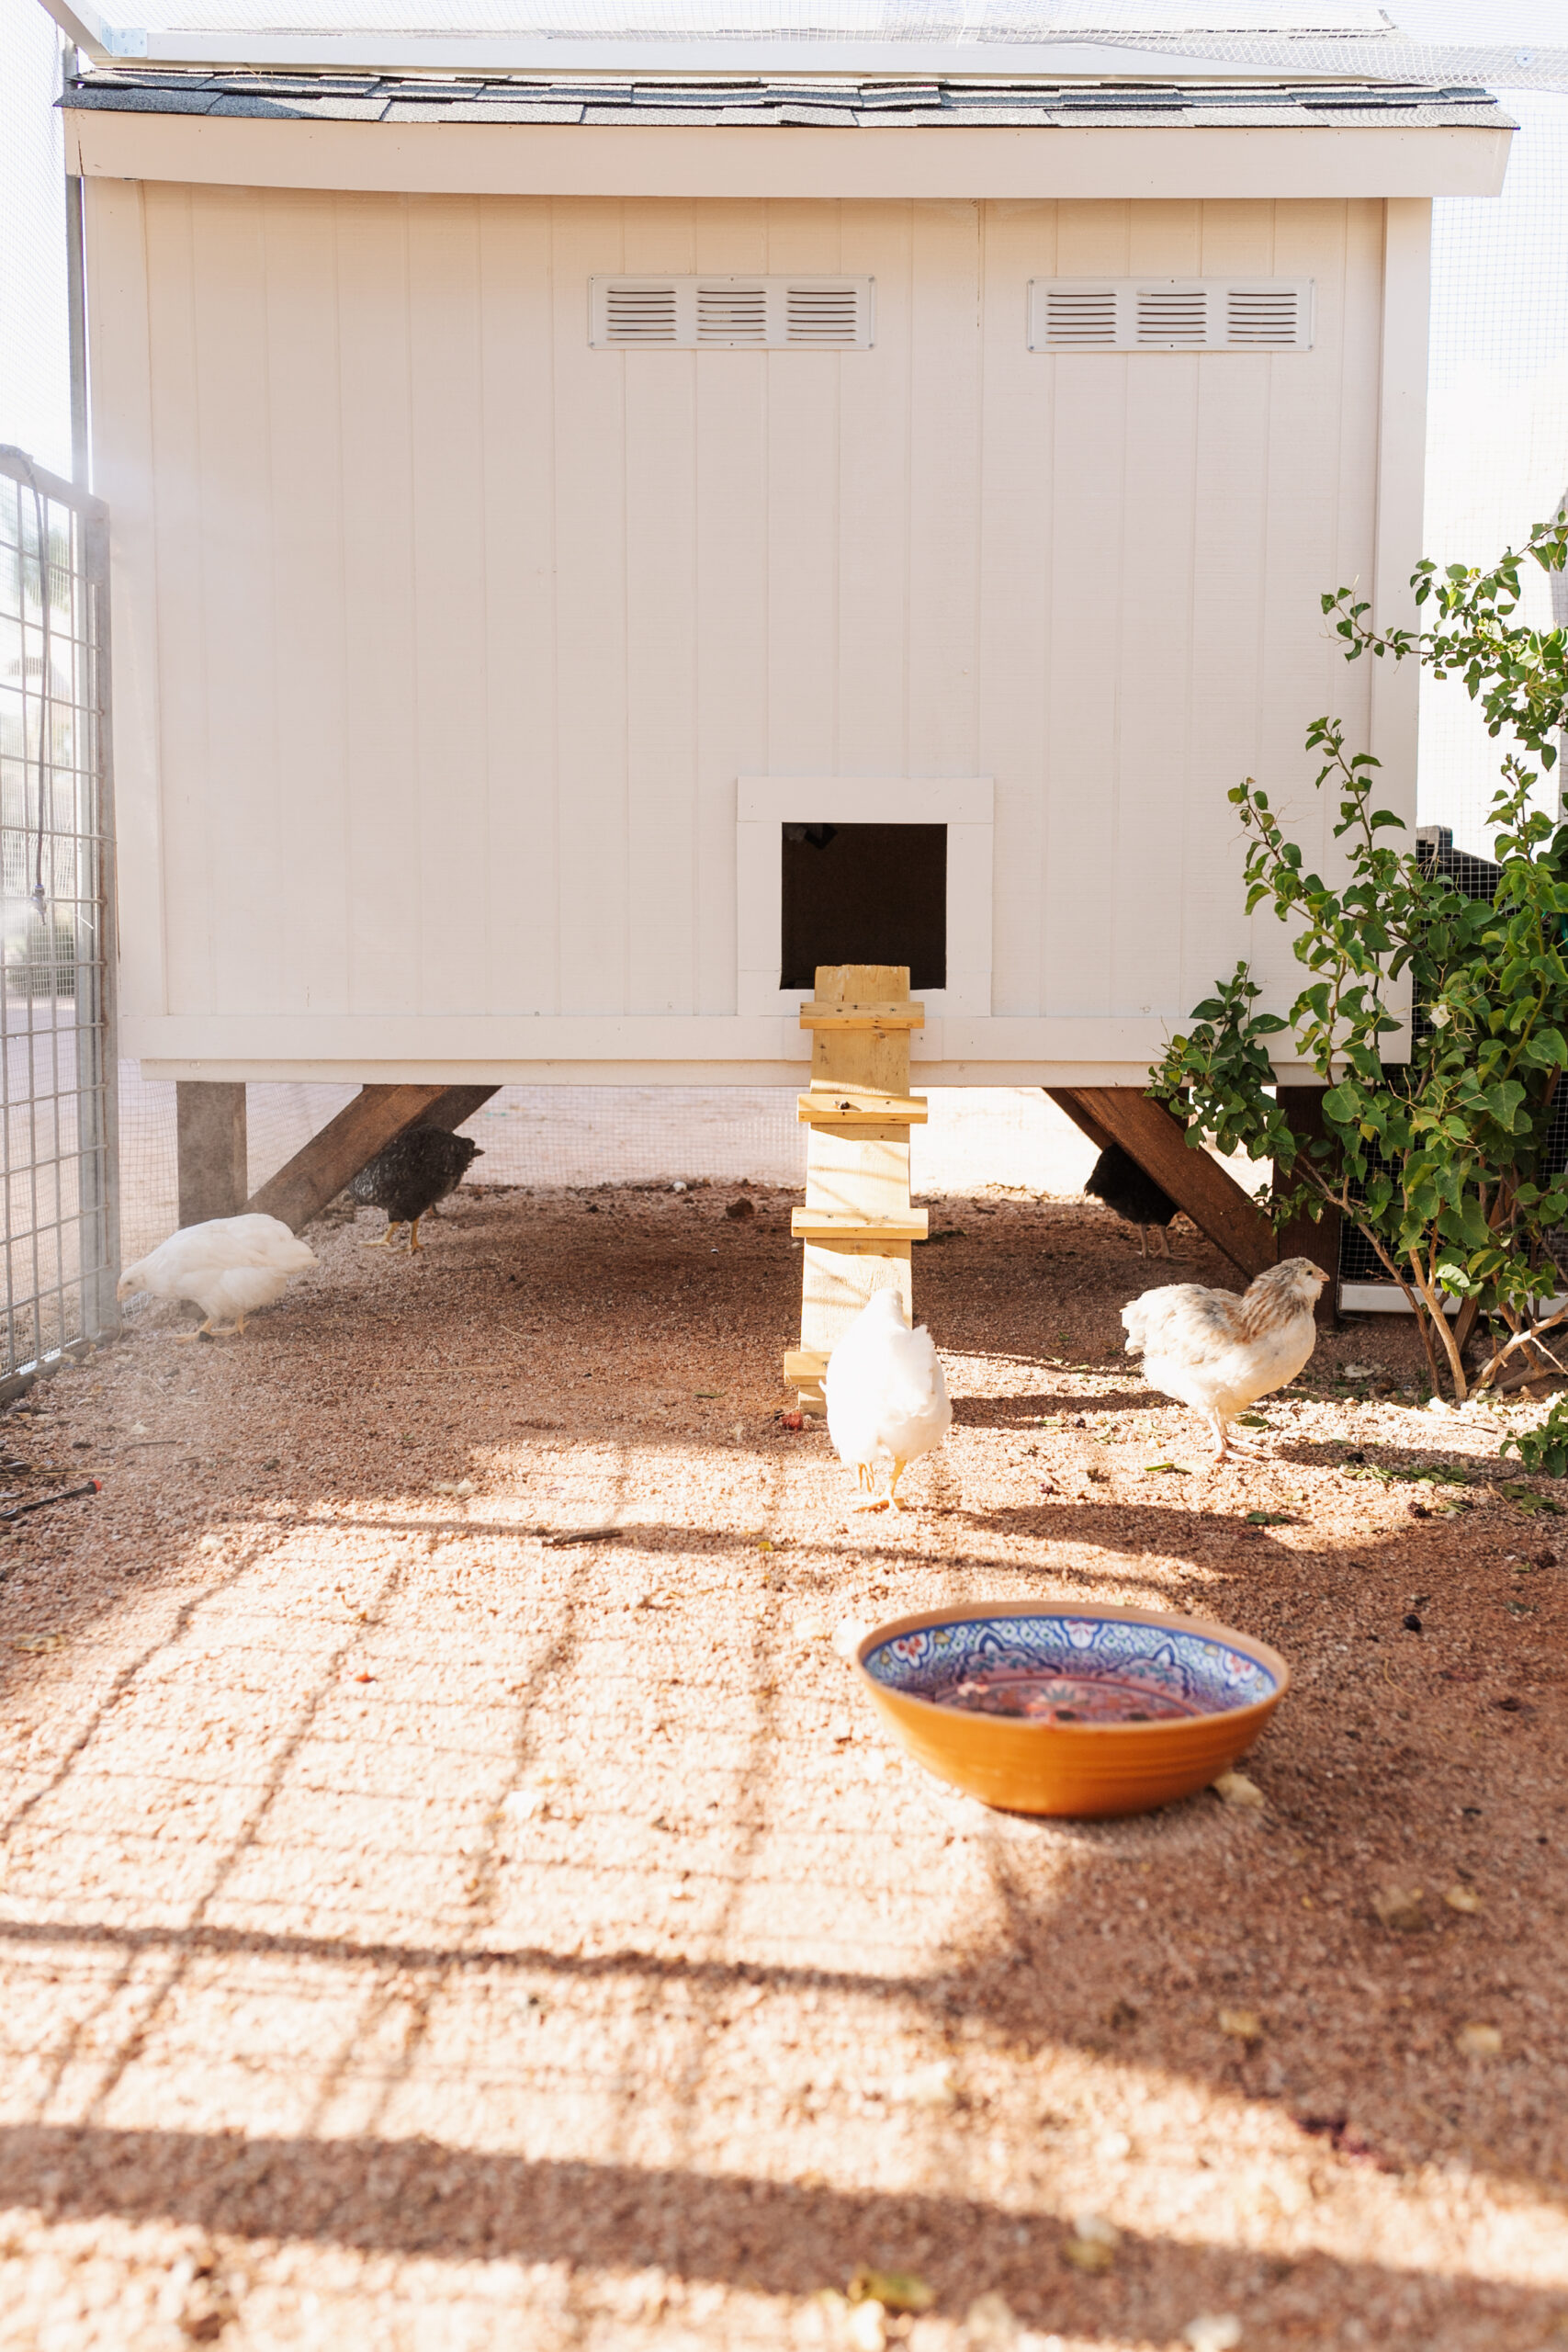
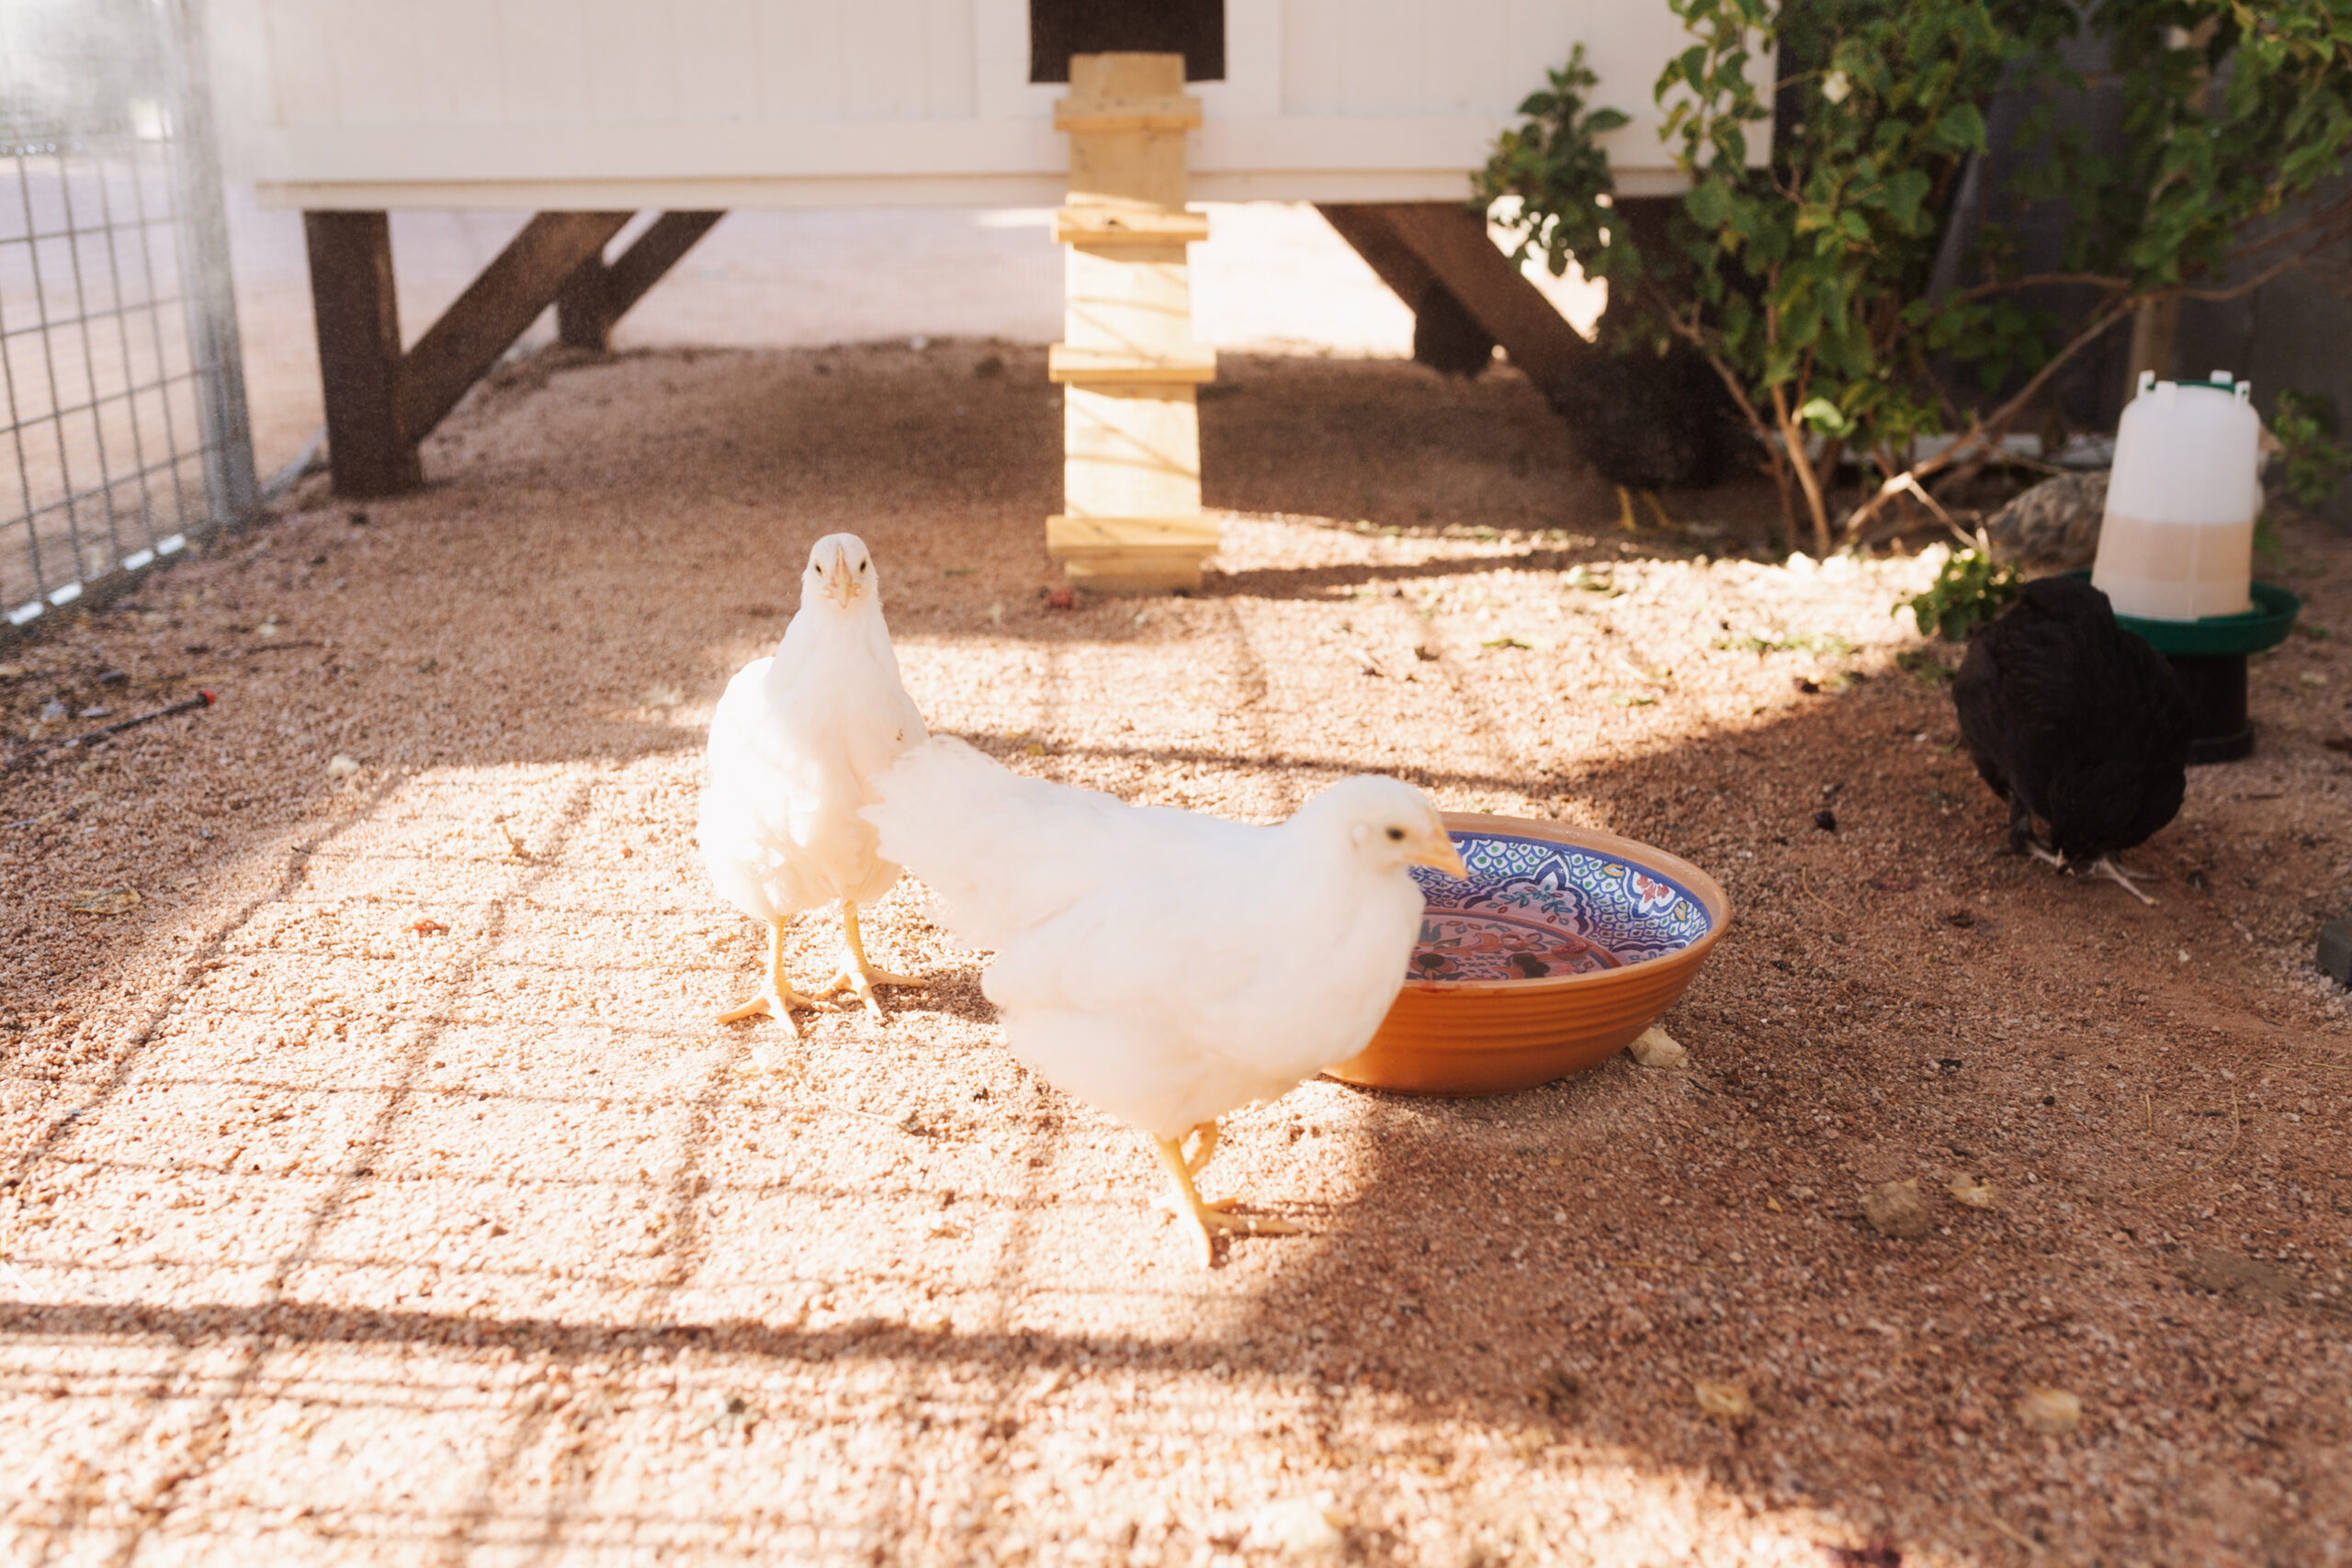
A couple of other features I wanted to point out that are specific for our desert heat are that we added these misters, a shade cloth for overhead, and a couple of small solar-powered exhaust fans to keep the airflow in the coop moving. The solar fans don’t do much in the way of cooling, but they do keep the airflow moving, which helps keep the smell down inside the coop in the long run. We also have this spare patio umbrella that I was bringing over on extra hot days for more shade. But the chicks so far have mostly loved hanging out under their coop, which was designed that way for them to have access to shade all day!
The last little feature I wanted to share with you is the nesting boxes and the door system I rigged up. As of now, I blocked off the egg boxes with some cardboard, since our chicks are not old enough to lay yet. Chickens start laying eggs around 6 months of age.
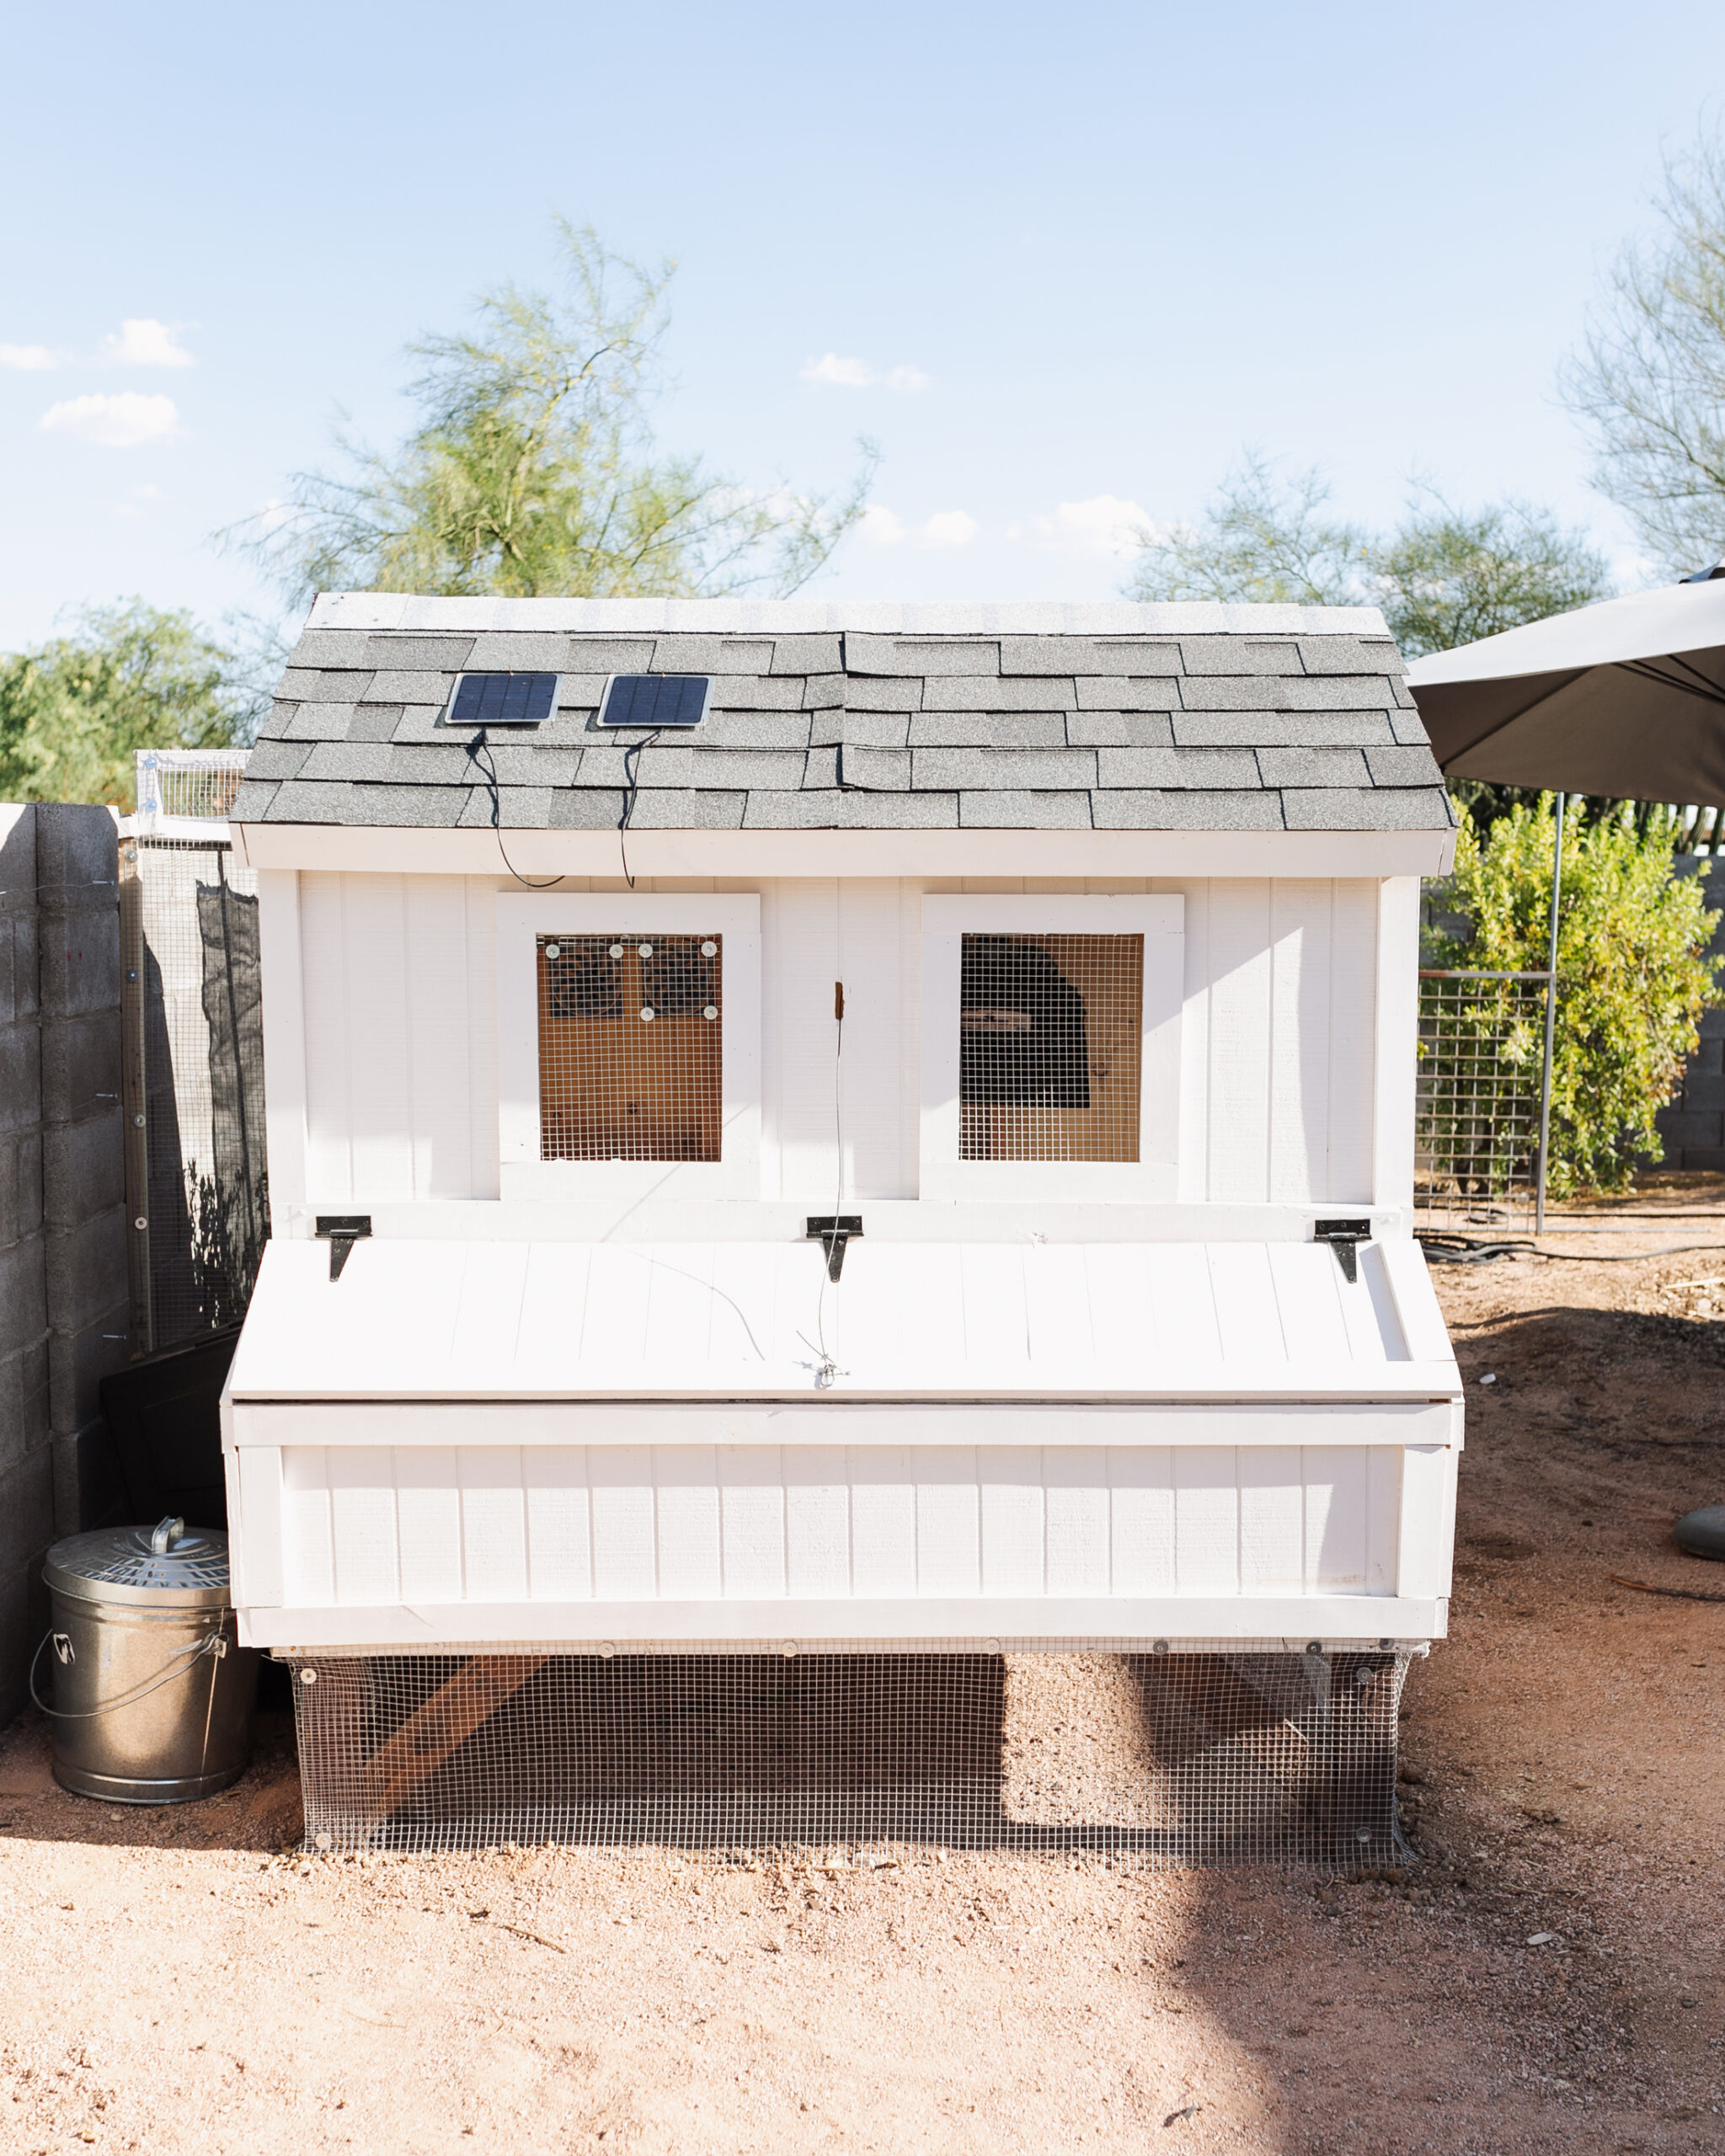
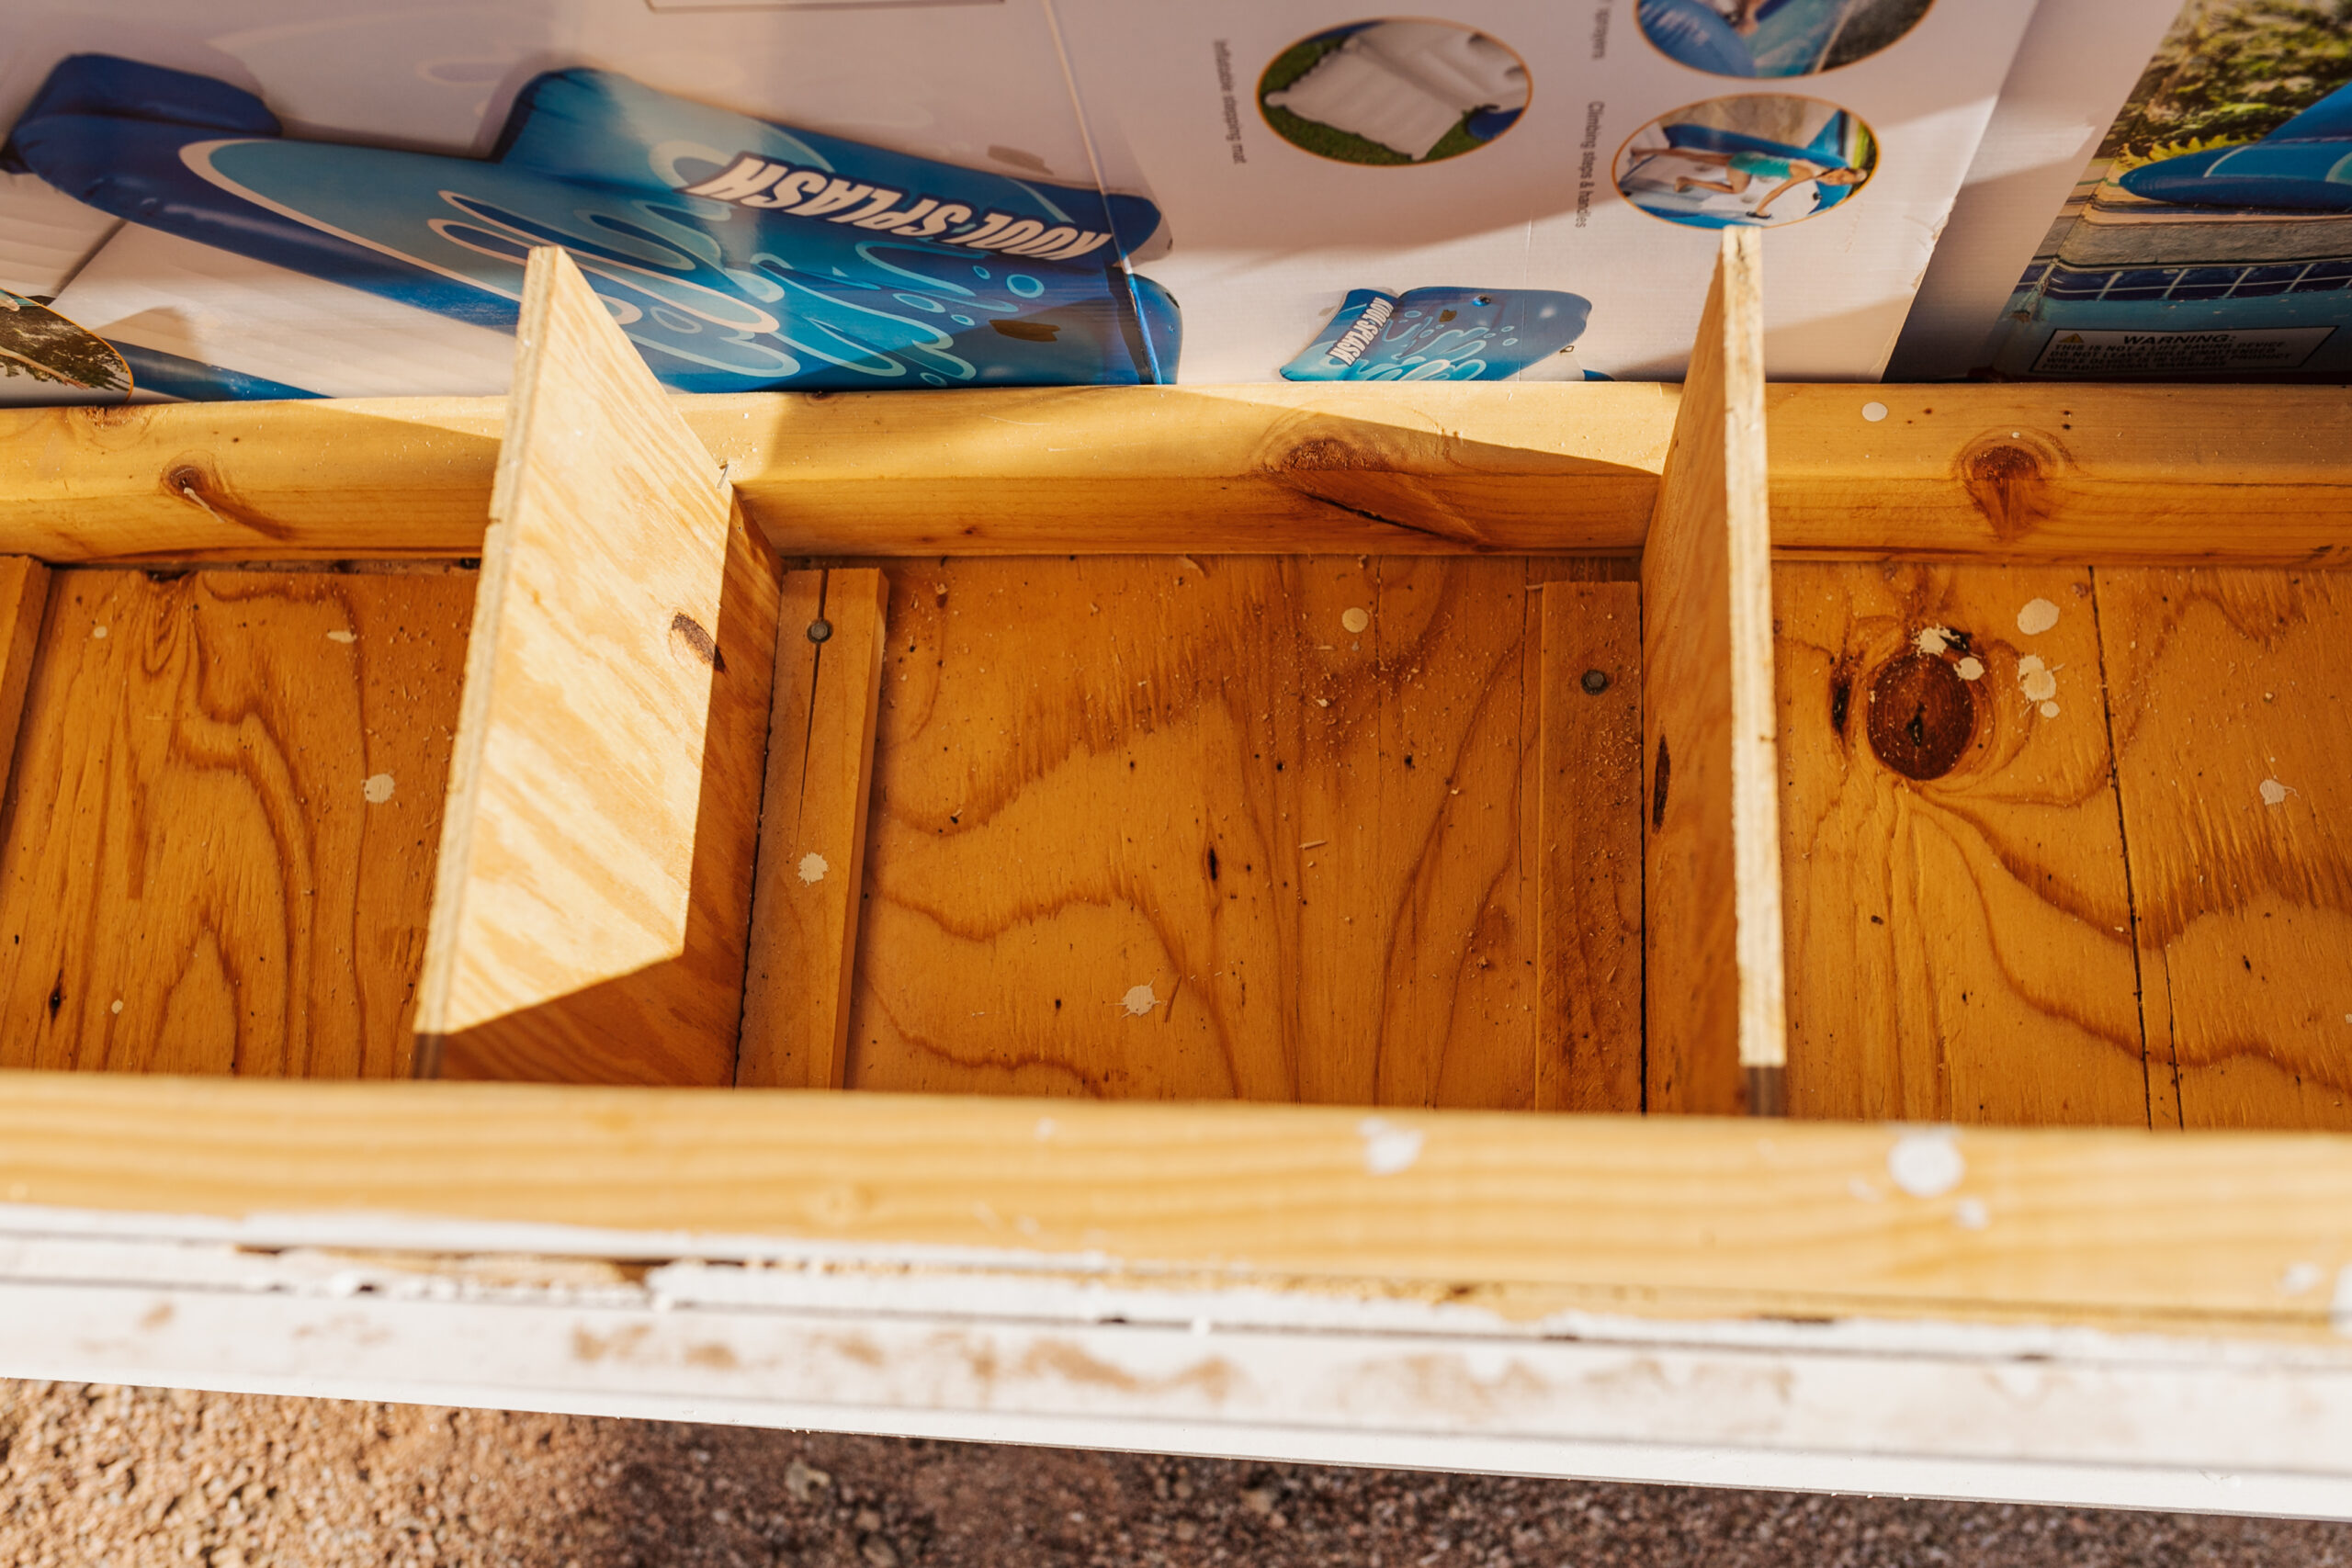
The door to the nesting boxes became very heavy after we added the trim. And I know my kiddos will be out there collecting eggs one day, and I don’t want any tiny fingers getting slammed. So, I found a video on YouTube where this guy created a counterweight system for his nesting box lid, and I wanted to do the same! The counterweight I ordered on amazon didn’t come in time before we left, so I will update you with better photos once I get it all set up.
Well, I think that about covers it! I am pretty proud of myself after all of the planning and hard labor that went into this project. Truly a labor of love that involved real blood, sweat, and tears. All the cliches, but all true! And again so grateful for the support of my husband and friend Brandi, without whom I could not have pulled this off in time.
To recap, if you are considering a DIY build like this, be sure to factor in:
- Cost of lumber: our total material cost was around $2,000. This did not include labor since we did it all ourselves! It did include lumber, hardware cloth, hardware, singles, vinyl sheeting, paint, etc.
- Time: If you’re thinking of getting baby chicks, you should start planning and building your coop/run before you bring them home. Even if you’re pretty handy (my husband and my friend who helped both are!), you need to consider work schedules, weekend schedules, and learning new skills you may never have done before. We built all of this between all of the helpful hands over the course of 4 intense weeks of working on it mostly nights and very hot weekends. My suggestion would be however much time you think it will take you, double that and that’s about how much time it will actually take you. 😉
- Consider your climate: Obviously we live in an extreme heat environment, especially in the summer. Chickens rarely, if ever get too cold, but it’s pretty common for them to overheat and die of heat exhaustion. I’ve already had many local chicken-keeping friends lose some of their girls this summer, and it’s so sad!
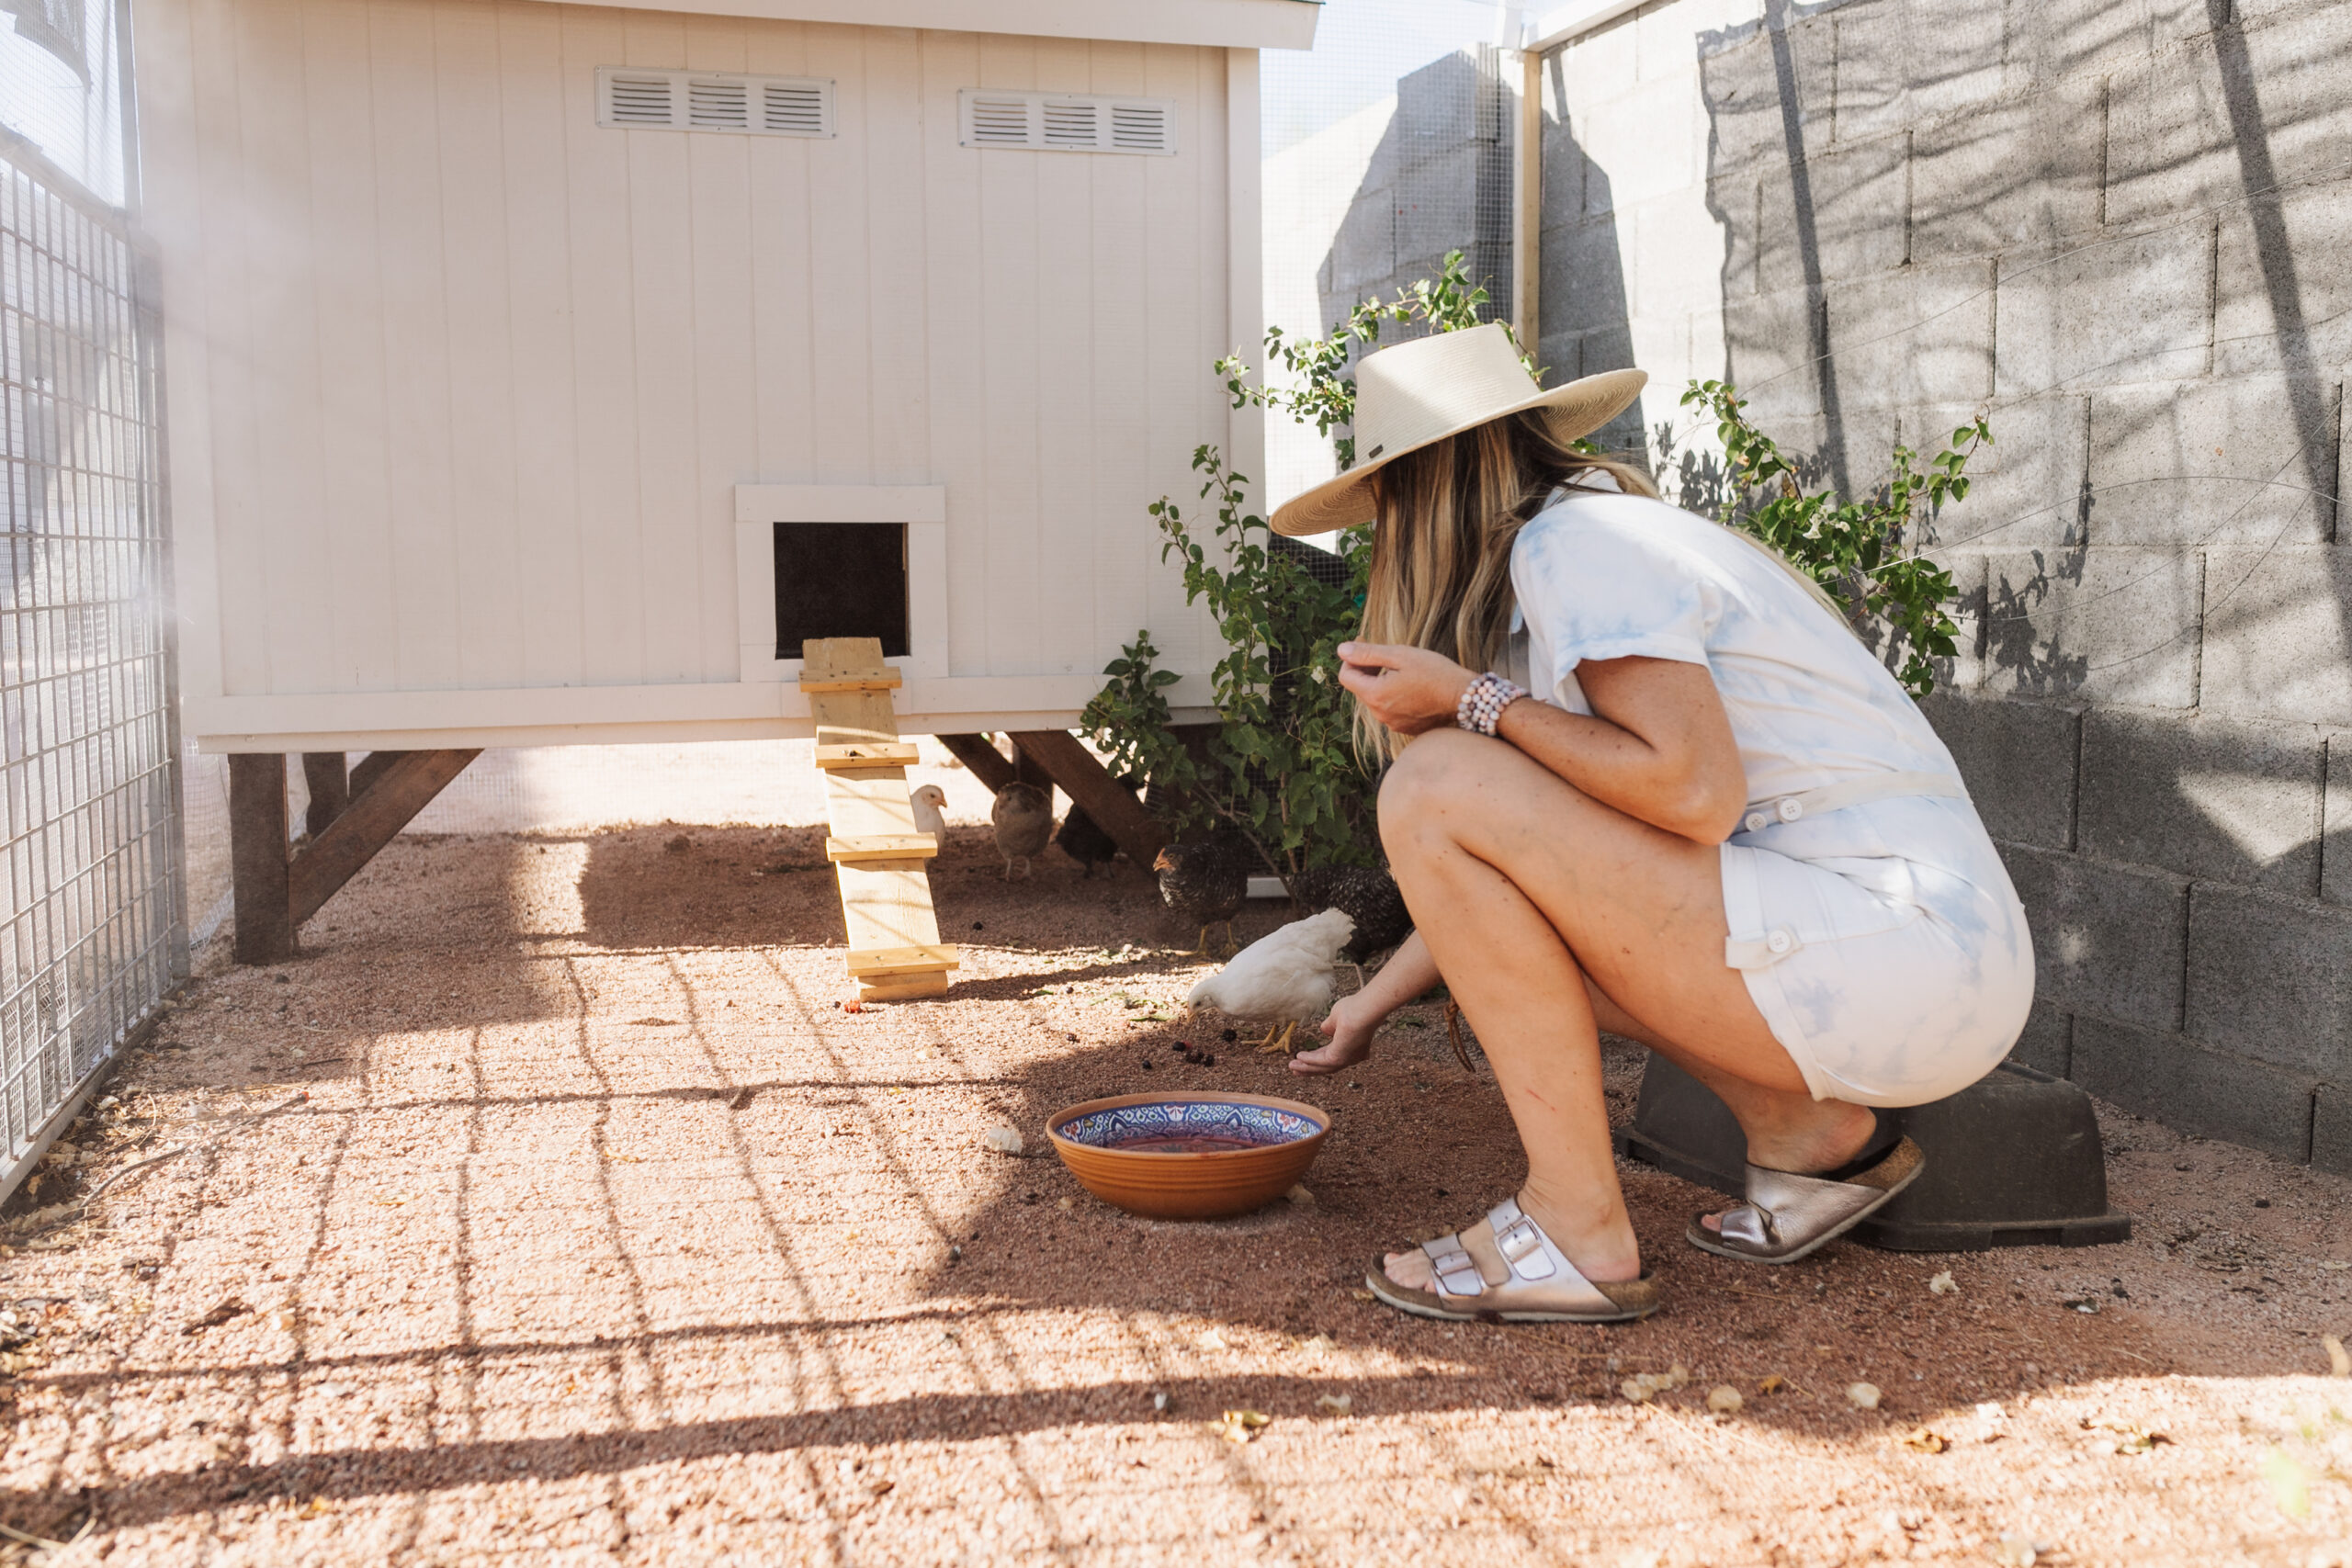
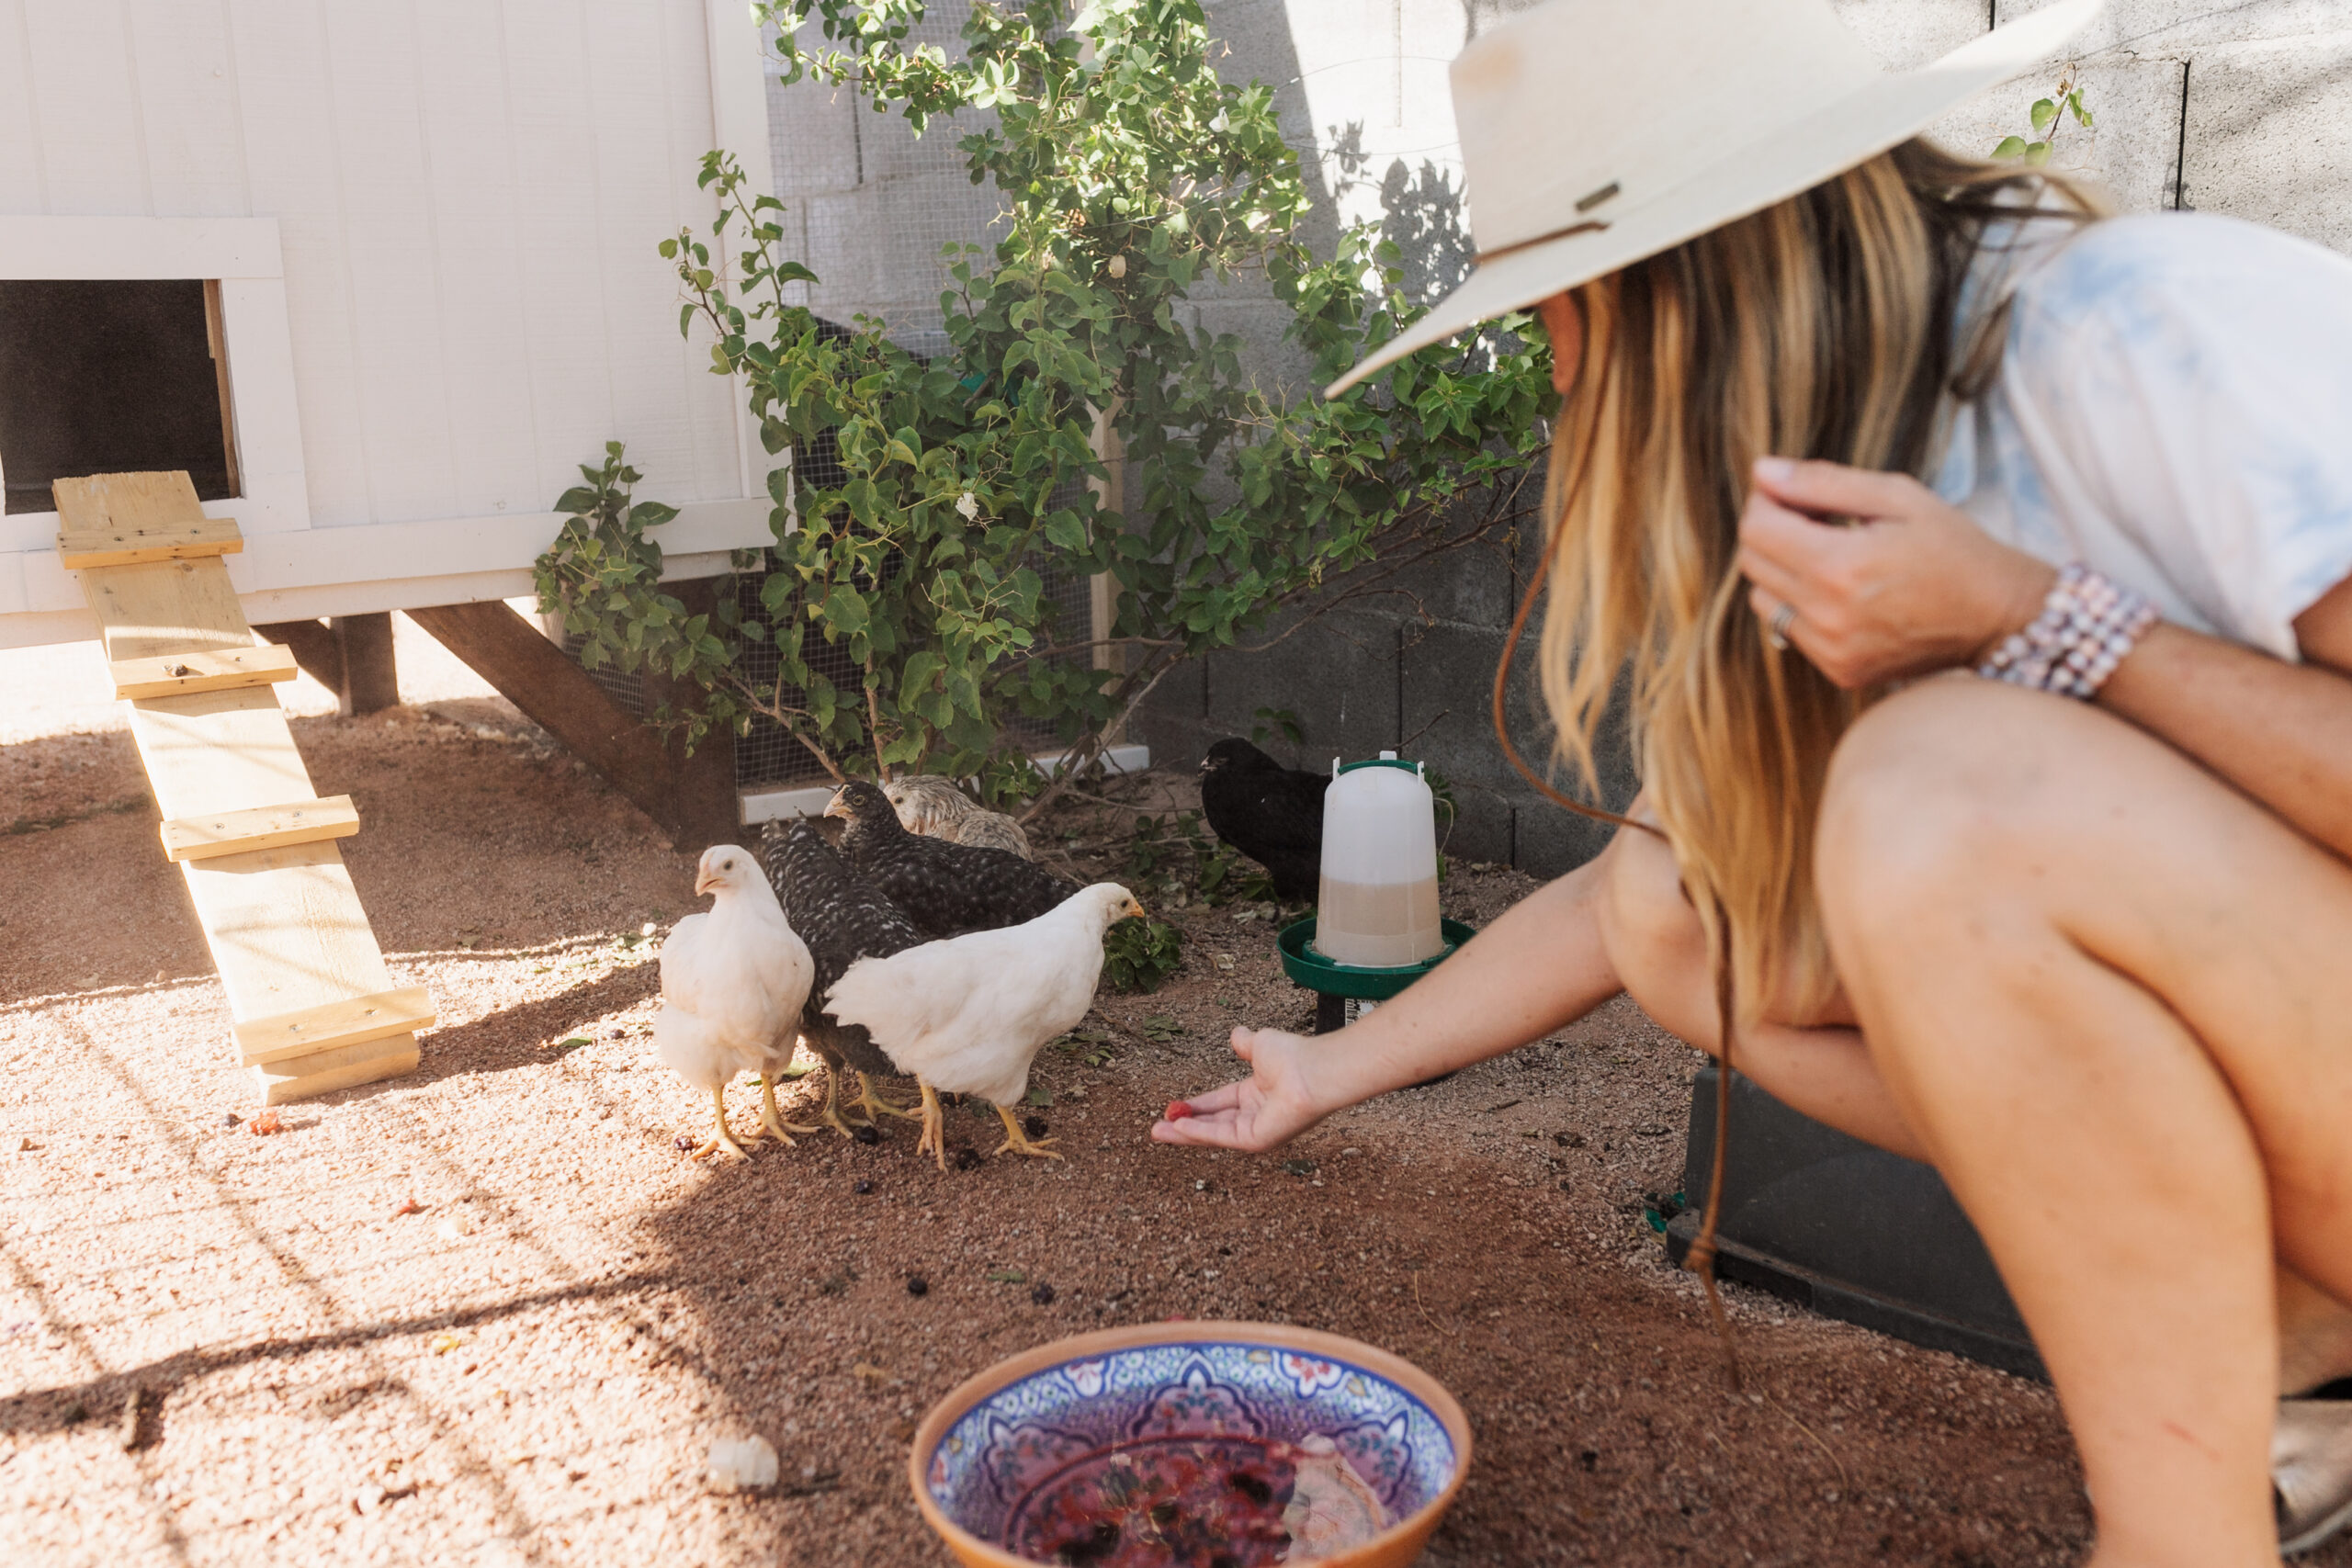
So far, they seem pretty happy in here. While we’ve been gone, we’ve had a wonderful neighbor checking in on them daily. They have already survived at least one monsoon storm and extreme heat alerts, so we must’ve done something right!
Any questions for me on this coop and run that I didn’t cover here? Leave them for me below!





July 15, 2021 @ 6:06 PM
Laney would be sooooo proud!!!
July 16, 2021 @ 11:35 AM
Aww thank you, Shannon! She was in my heart the whole time <3