how I edit photos
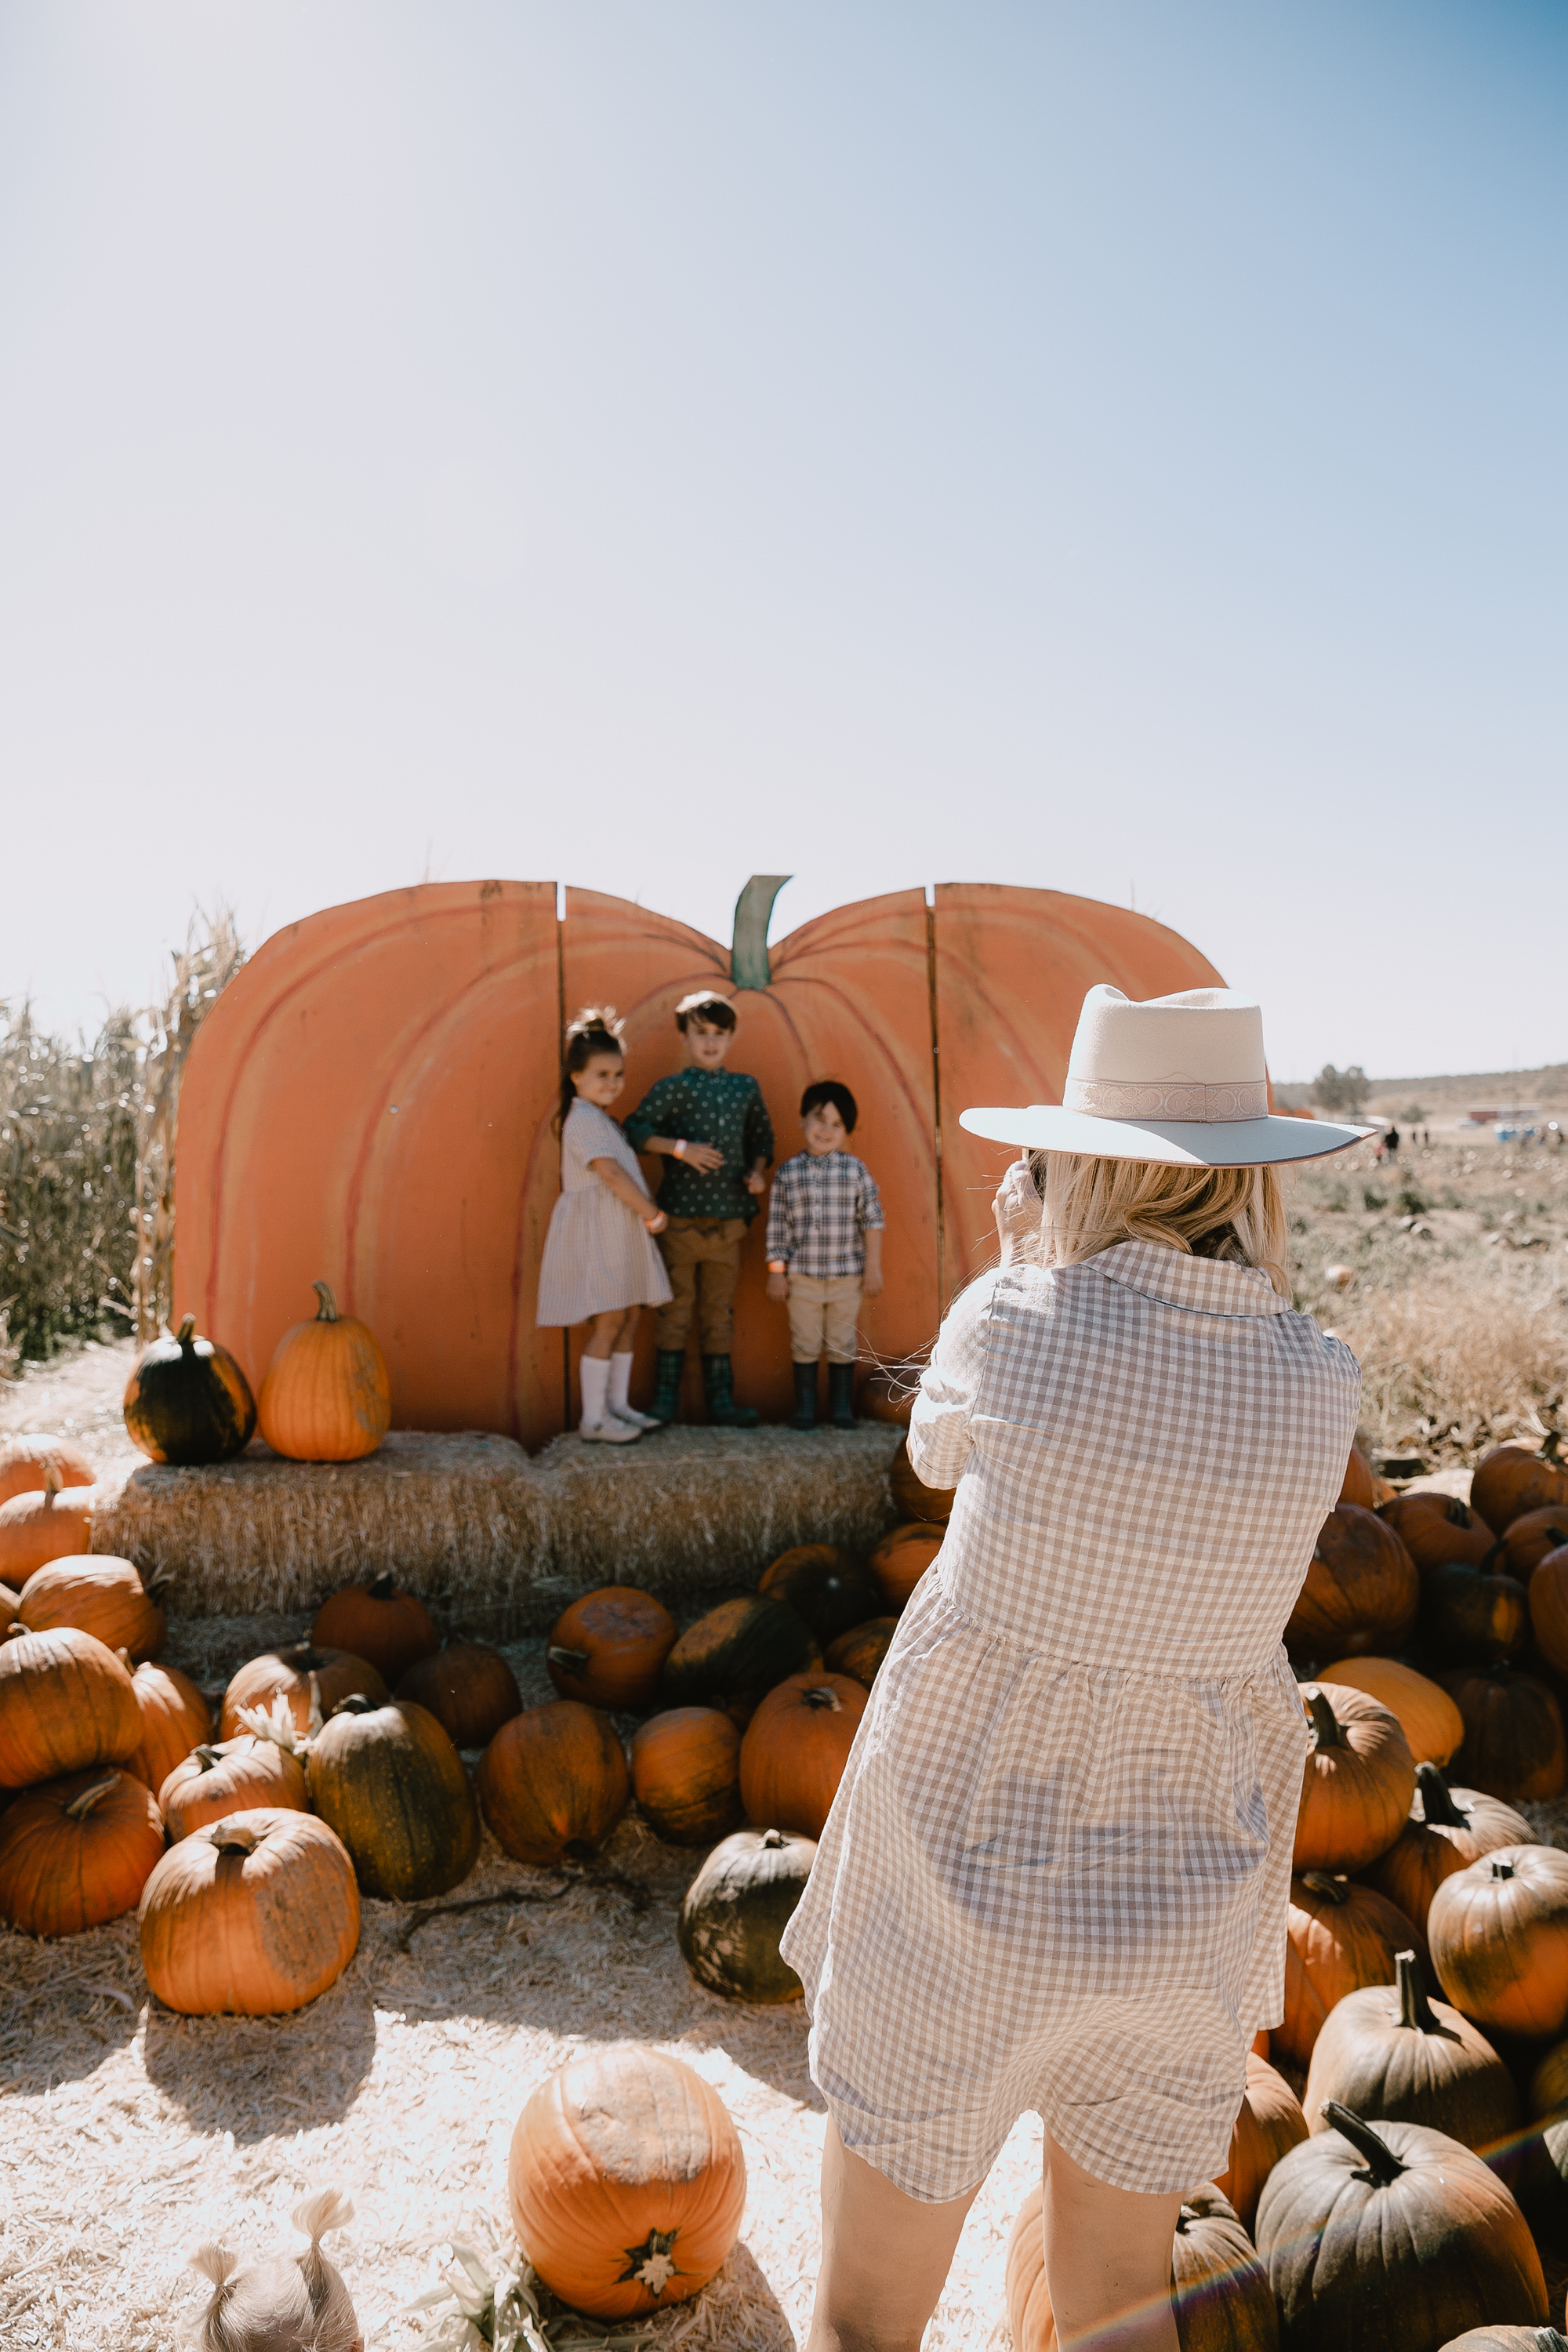
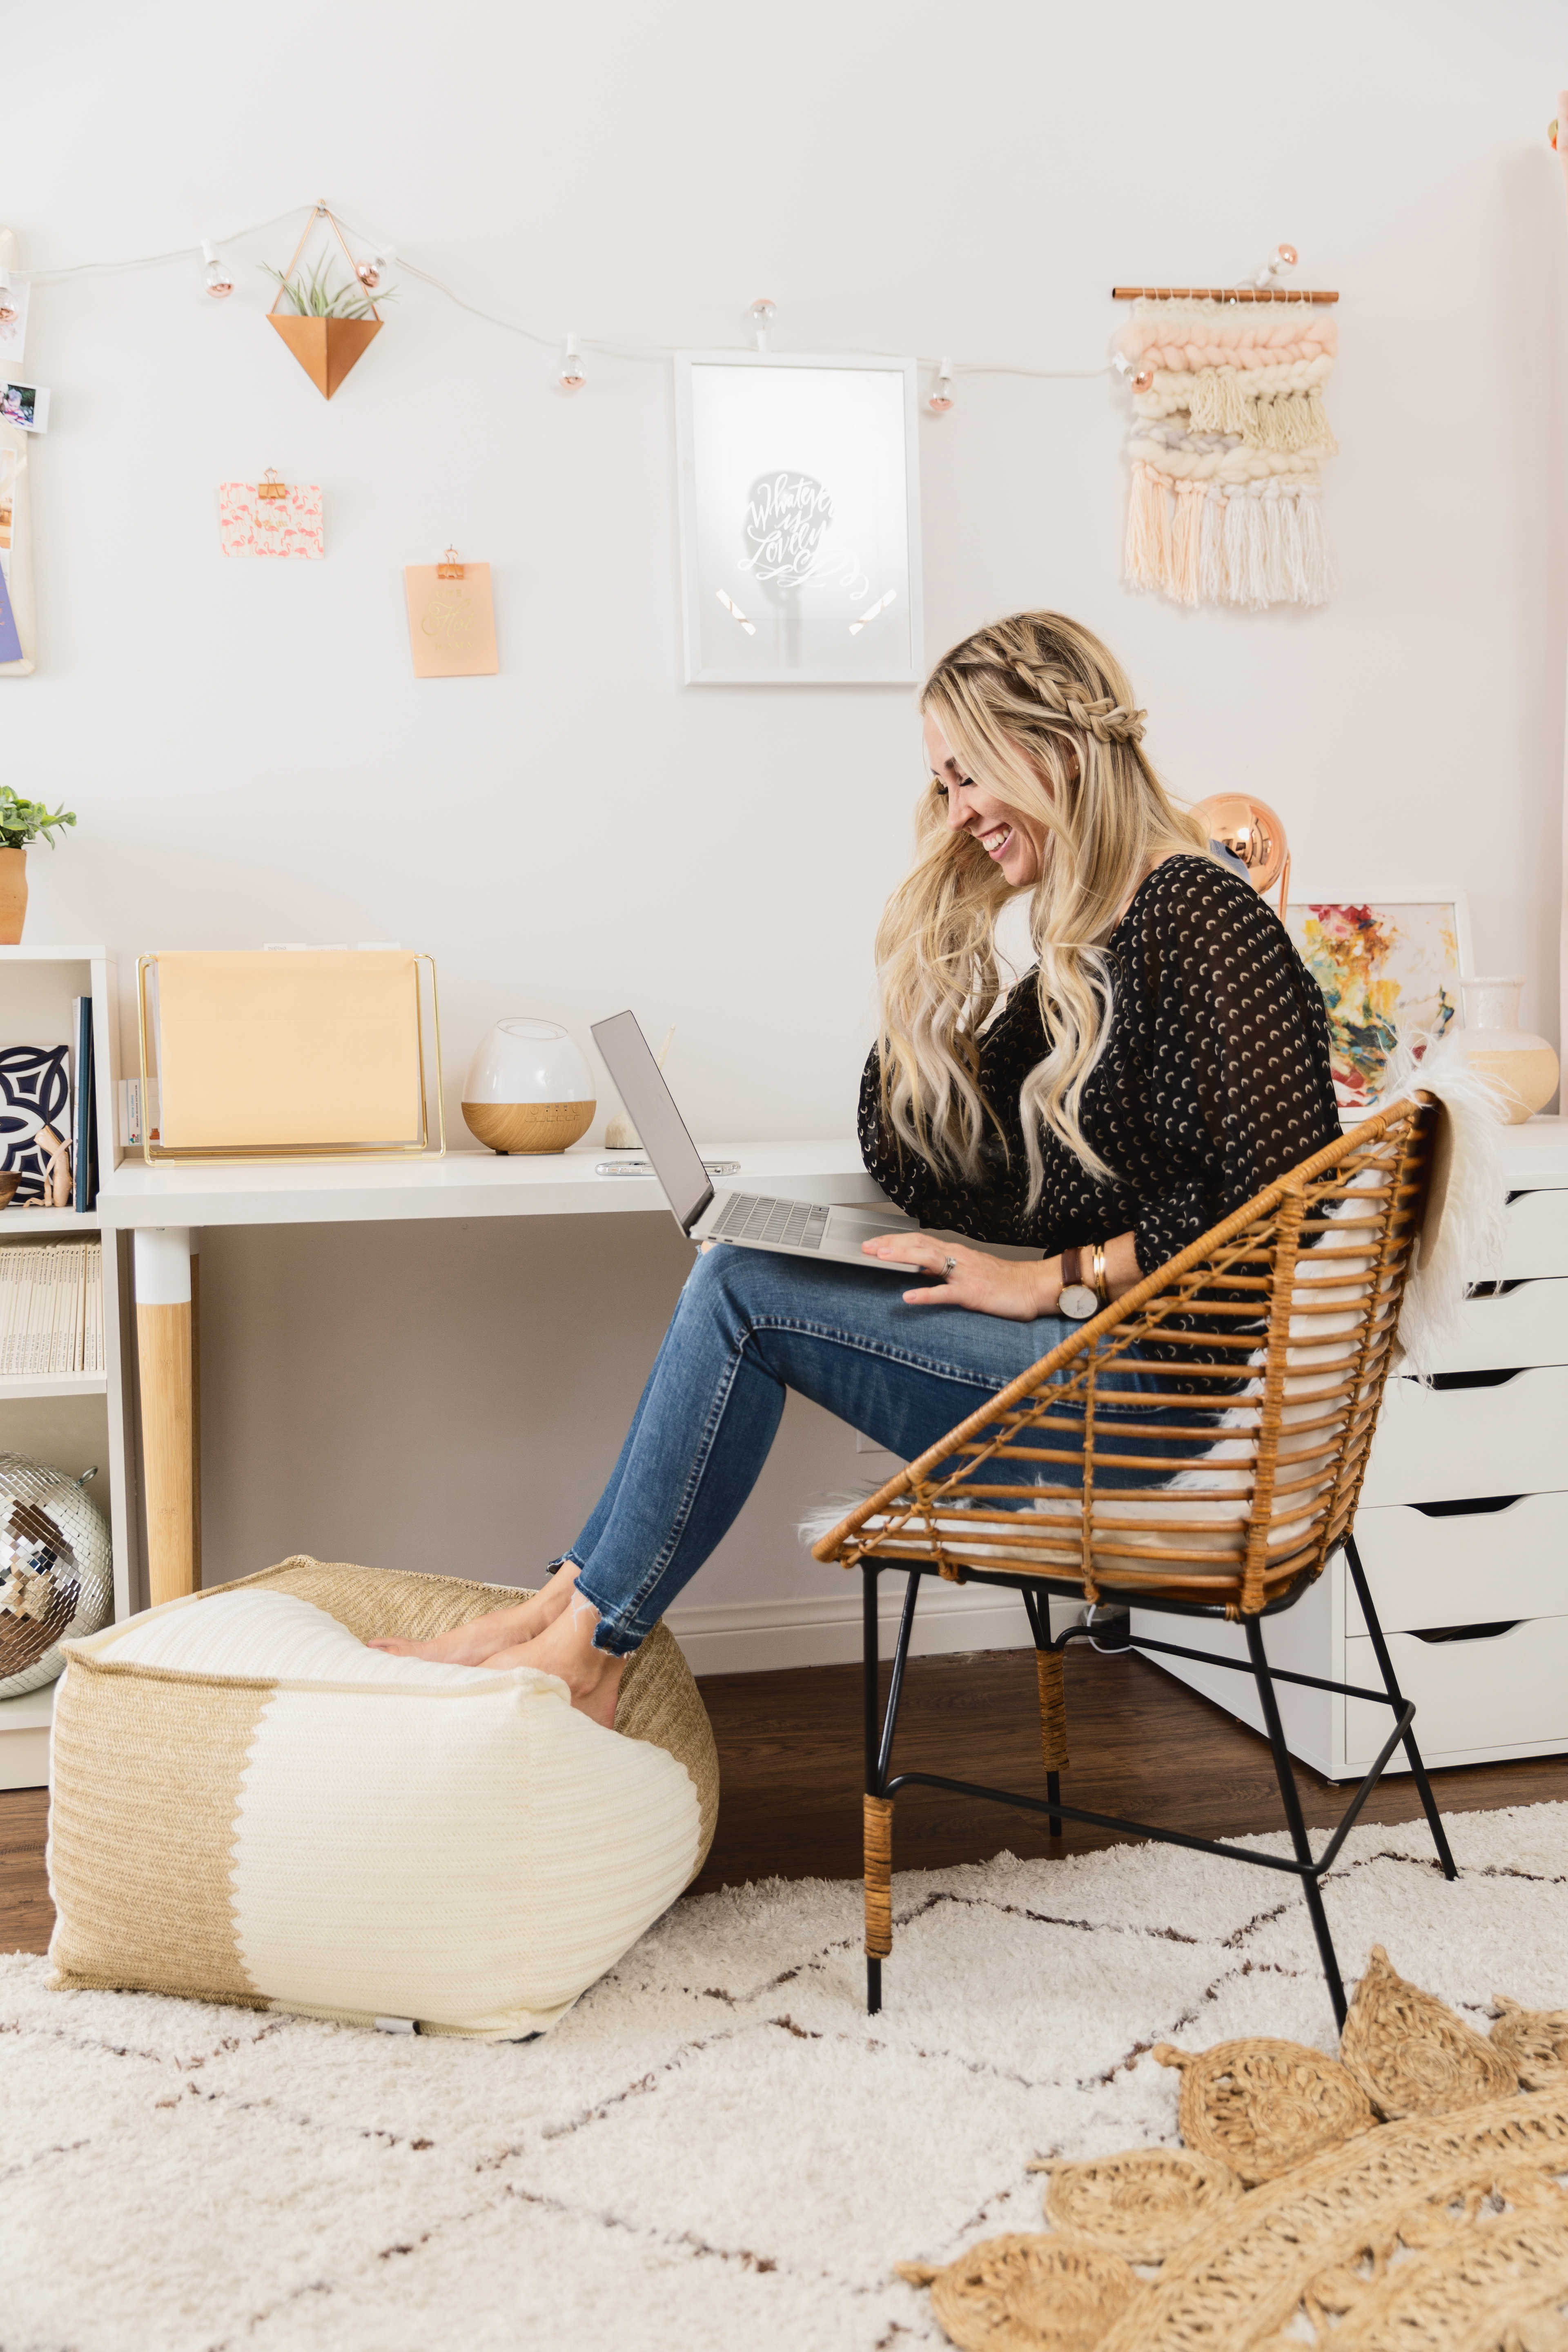 photo by: Griffith Imaging | edited with: The LDL Presets: Saguaro Bloom
A while back (two years ago, to be exact!), I wrote a blog post on How to Take Better Pictures for Instagram. Since then, I have learned and grown in my own abilities a ton, and I’ve also completely changed how I edit photos for my Instagram and Blog – so I am long overdue for an update! I often get questions on both Instagram and when I meet people in person about how I create my content. And with the release of my own Presets for Lightroom coming up, I wanted to share a little bit more about the why I chose to create these presets, and how I personally use them!
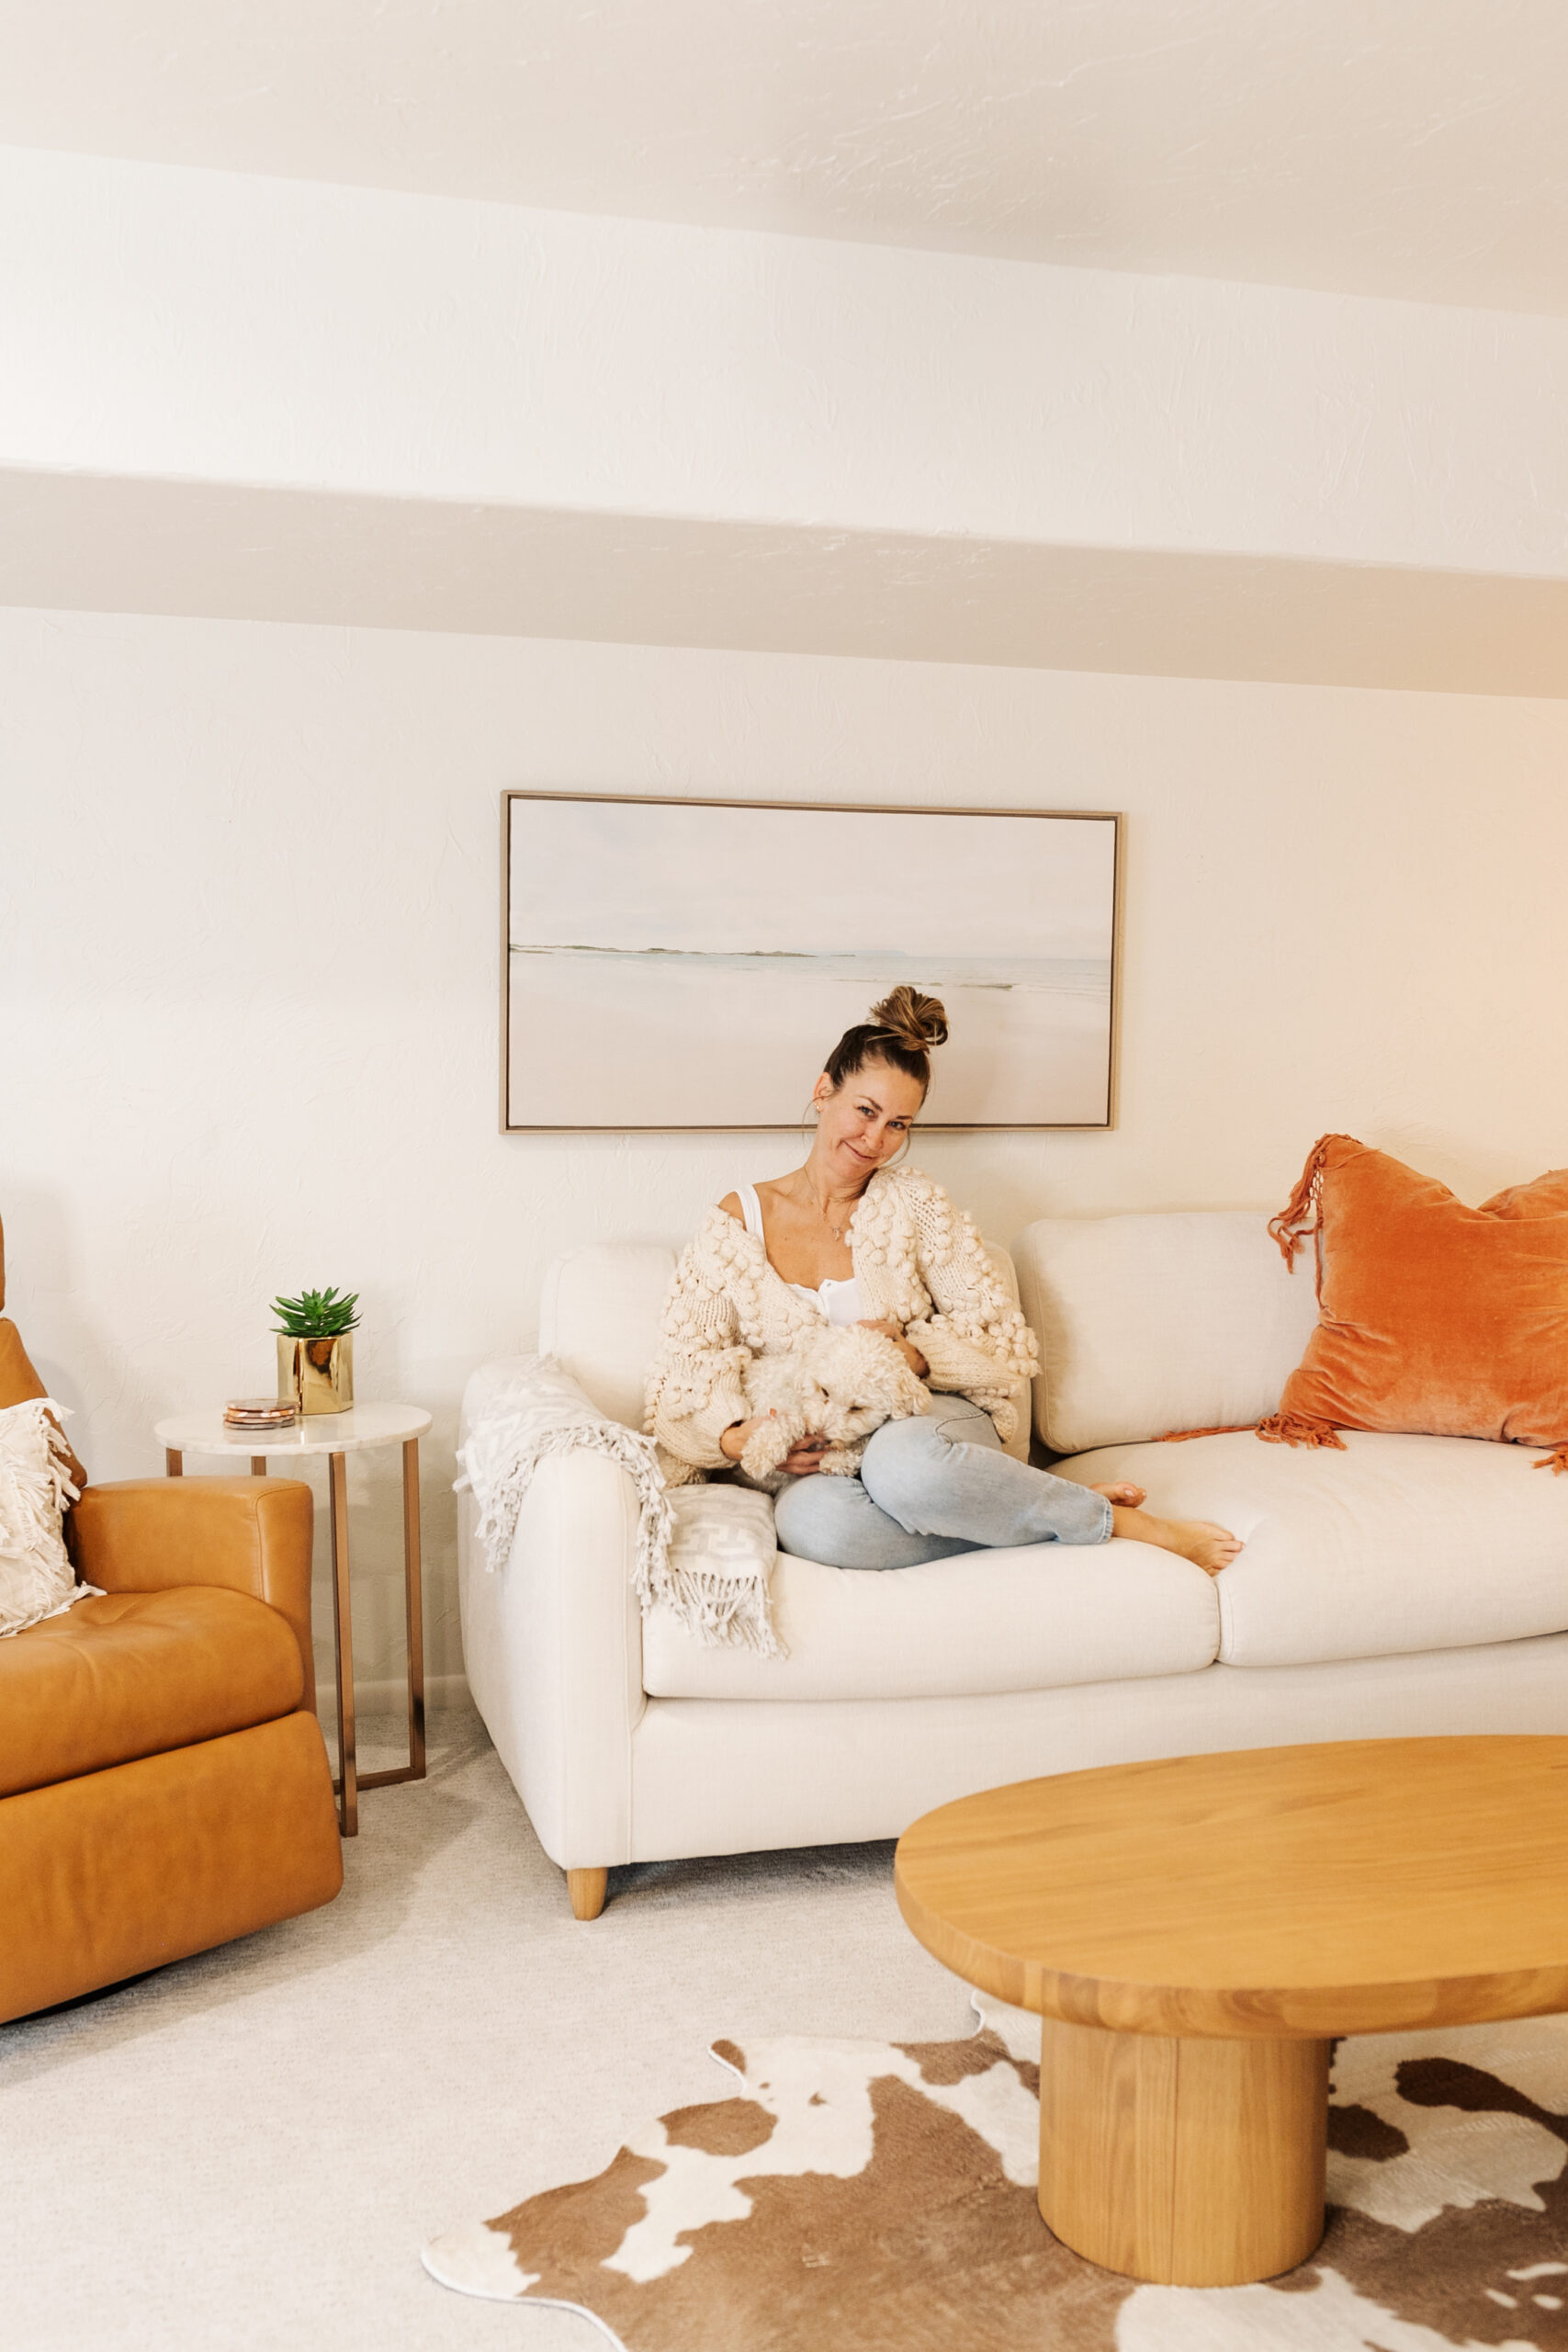
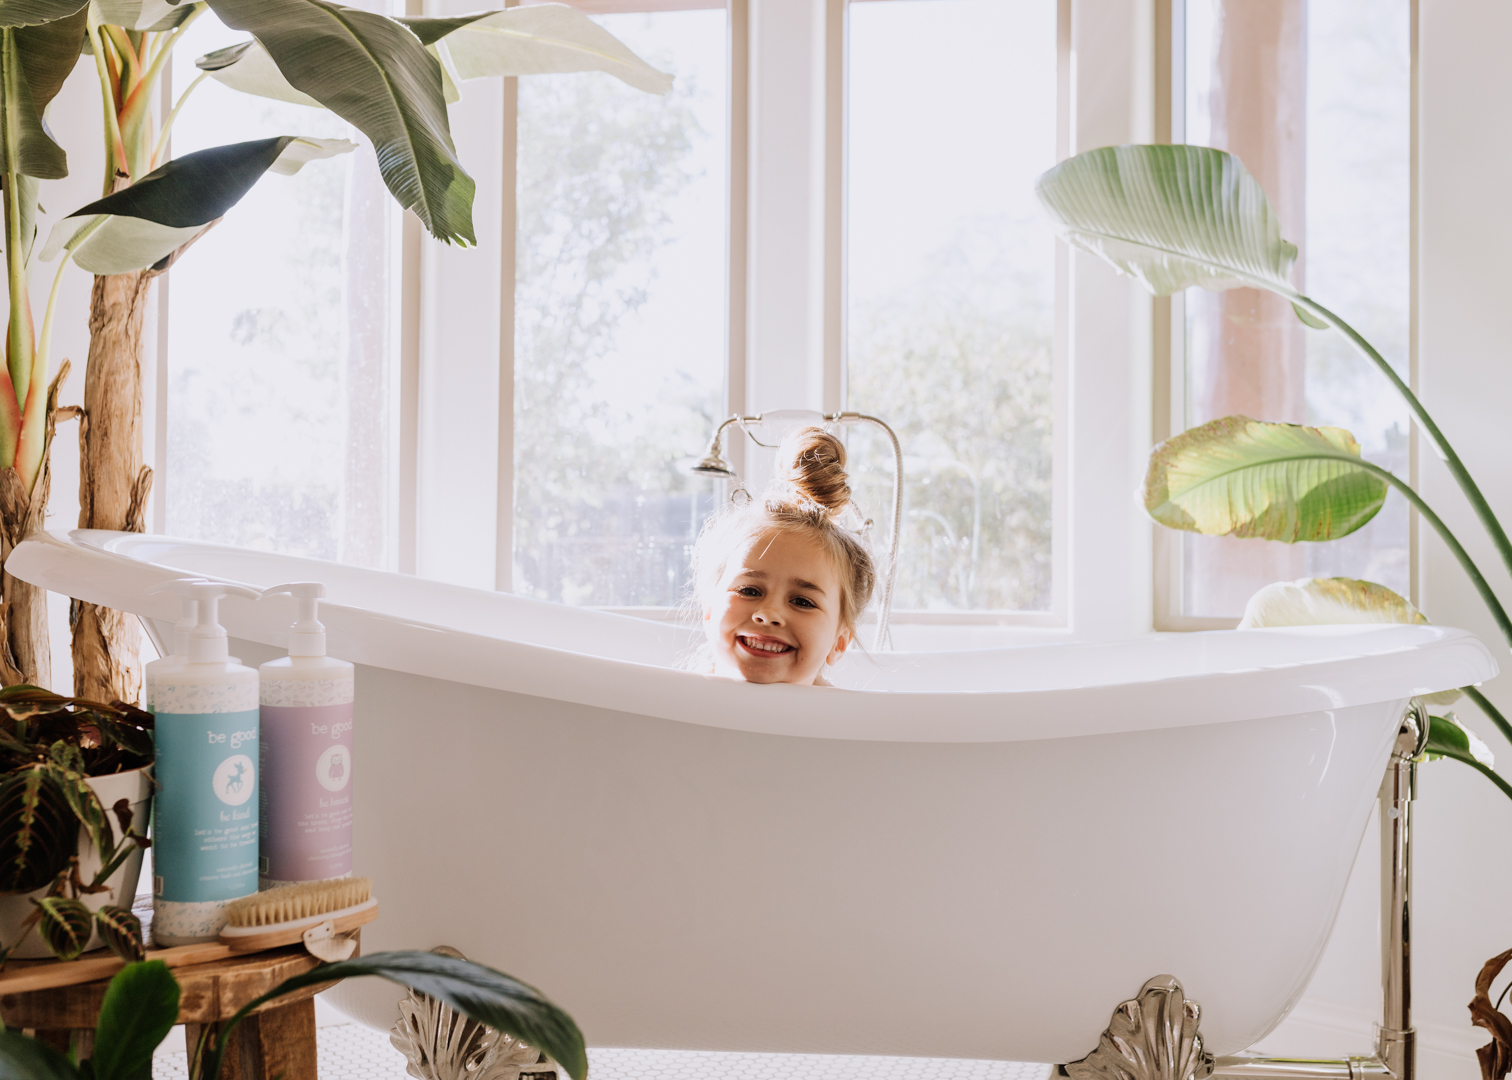 photo by: The Love Designed Life | edited with: The LDL Presets: Saguaro Bloom
Before we get to the editing portion, I want to share a couple other FAQ’s I get all the time, to give you a little background on how I take + create my photos and content to begin with:
Q: How are you taking all of your photos (especially of yourself)?
A: There are three main ways I take photos for my Instagram and blog:
- If I’m NOT in the photo. I take a lot of snaps of my kids with my DSLR, (more on my camera in the next Qi) but I’m also always snapping photos on my iPhone, Including the good ol’ selfie. I used to really hate posting iPhone photos, because personally, I can really see the quality difference, and it bugs me. But the quality on the newer phones has improved (and continues to do so). So now, if I love a pic, I share it! Sounds pretty basic probably, but as a perfectionist/ type A/ enneagram 1, that doesn’t come naturally for me. I still edit pretty much every photo before I post it, but more on that coming below too!
- Tripod + Remote Live Shooting: If my husband is around, I will have him snap a shot for me. But he’s no professional, and he’s impatient (lol), so that means he’s also not a reliable choice. More often, I will set up a shot with my handy dandy tripod and my DSLR camera. I upgraded my camera last year for a few reasons, but one of the main ones was that I wanted remote live shooting, which is a feature available on some newer DSLR cameras like mine. This means I can connect my DSLR to my iPhone through an app, and see the photo and adjust all the camera settings right from my phone, without having to go back and forth to refocus it and such! It was a total GAME CHANGER for me.
- Professional Photographer. I have been lucky to make some friends over the years in this creative local market. Sometimes we will get together for trade (in other words, I will tag/promote them in exchange for the photos). This is a great way if you’re just starting out and you can trade with a photographer who’s also just starting out! However now, I often have sponsored work and other time-sensitive projects, so I will gather as much product as I can for one photoshoot and I do pay my photographers for their time and efforts. It’s a lot of work to prep for a shoot with multiple subjects (outfits, location, props), but worth it to get a lot shot all at once!
photo by: Jenna Wilkinson Photography | edited with: The LDL Presets: Fairyduster
Q: What camera do you use?
A: So as mentioned above, I do use my iPhone camera sometimes. Of course this is what I use all the time for Instagram Stories! I have had a few recent trips where I only used my iPhone camera (in order to save space and for convenience) and tbh, I regretted it afterwards. The quality and precision of a DSLR just can’t be matched! Especially when you want to edit the photos with a preset afterwards.
From my last post on photos, I have upgraded my DSLR camera body. Last summer, my old camera actually finally got dropped one too many times. So I upgraded to the Canon EOS Mark II 6D. There are other later Mark models, with more features and advances, all the way up to the Mark IV or maybe even V. However, as I am not a professional photographer, that felt like too much camera for me. The Mark II 6D model is about half the price of the Mark IV, with almost all the most important features, so it seemed like a no-brainer to me! However, I would say that this is a step up from a “starter camera,” and a significant investment in equipment.
As I said above, one of the main features I wanted was that it was WiFi enabled, meaning I could use remote live shooting, as well as being able to download photos straight from my camera to my phone for editing!
I only got the body of the camera because I already had a couple of lenses I like to use. My favorite is the Sigma 35mm 1.4 Art lens. I’ve also used this Canon 50mm 1.4 lens in the past, but it’s really better for tighter shots. It is relatively inexpensive though, so it’s a great starter lens. I’ve heard great things about the Sigma 85mm 1.4 Art lens, so that will probably be my next camera purchase!
I also wanted to link the tripod I use, which I mostly just picked because it had high reviews on Amazon. 😉
Click any of these images below to shop my fave camera parts!
Q: How do you edit your photos?
A: The the biggest way I have changed in the past year + with my content creation is how I edit my photos.
At the same time I got this new camera last summer, I also invested in a private mentoring session with my friend Jen of Griffith Imaging to learn how to use the editing program Adobe Lightroom CC.
I chat more here about how I learned to use my DSLR in manual mode, and how I used to edit (mostly in Photoshop) .
However, I really wanted to be able to apply my favorite presets and do batch editing, so I knew I wanted to learn Lightroom! I am also just more of a hands-on learner, so I knew doing an online course (they are out there) was not for me. The combo of the new camera + learning Lightroom really was a game changer for me. I feel like it has upped my game, enabling me more sponsored opportunities, because the quality of content I can produce is that much better.
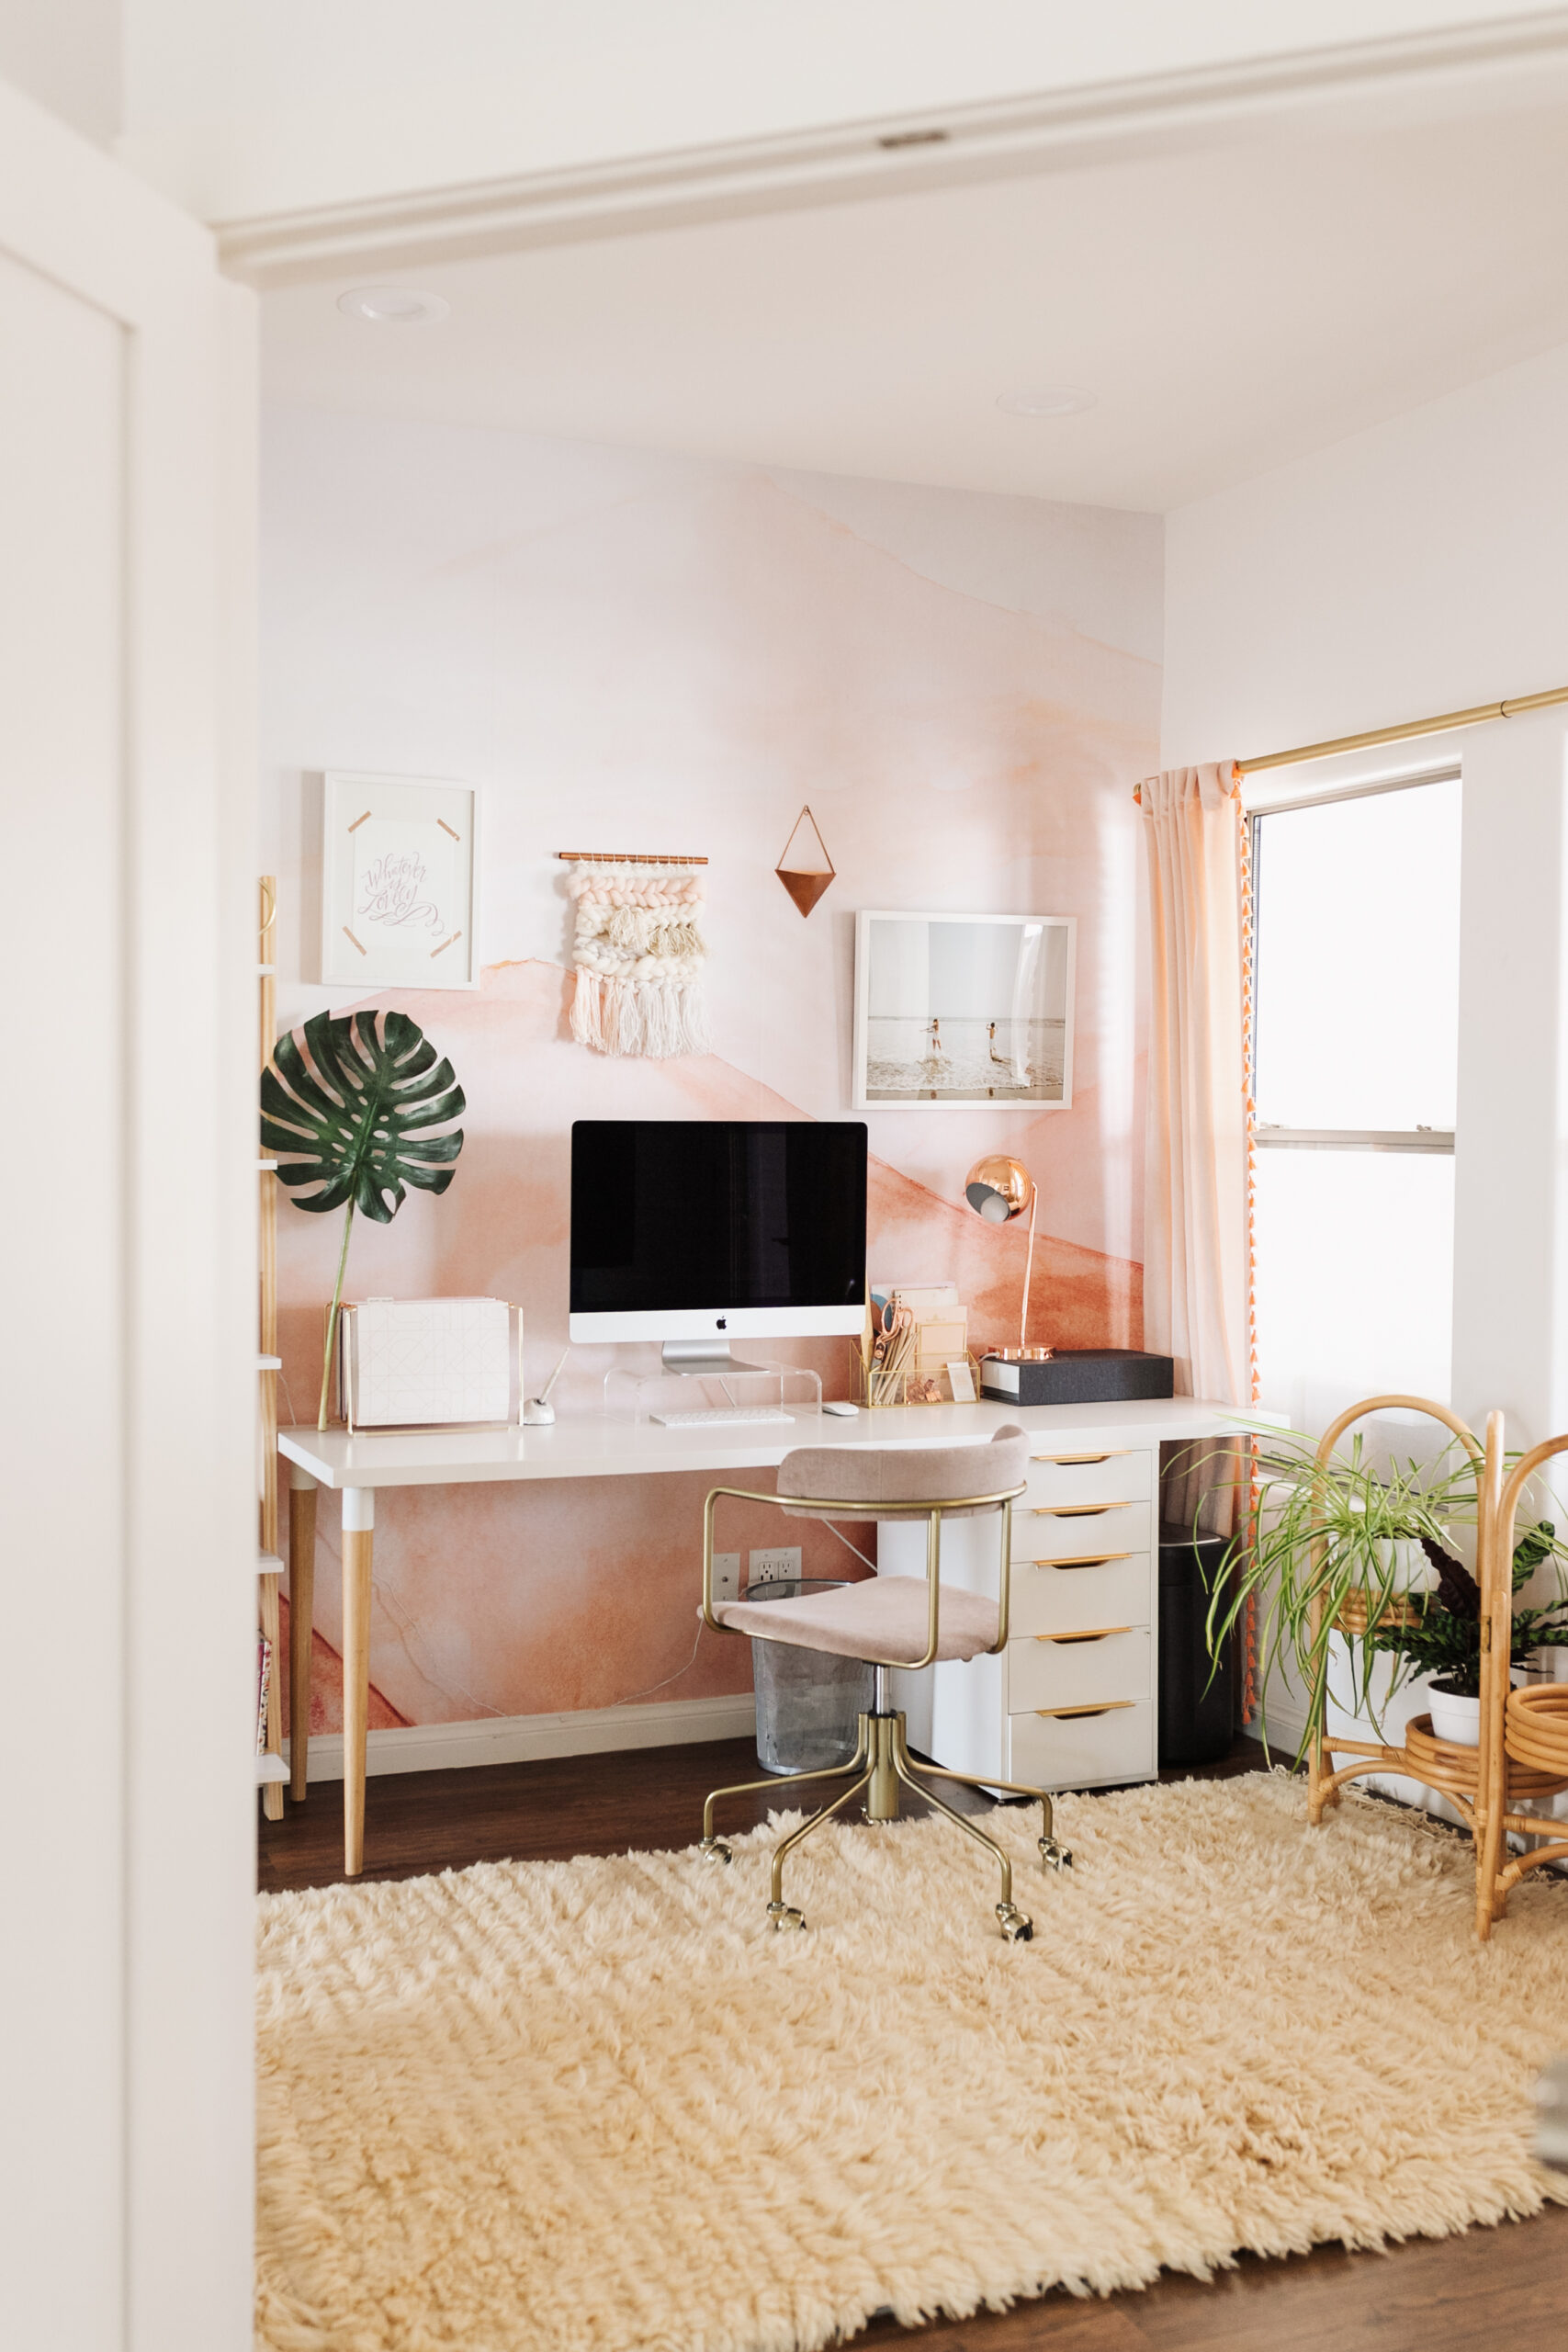
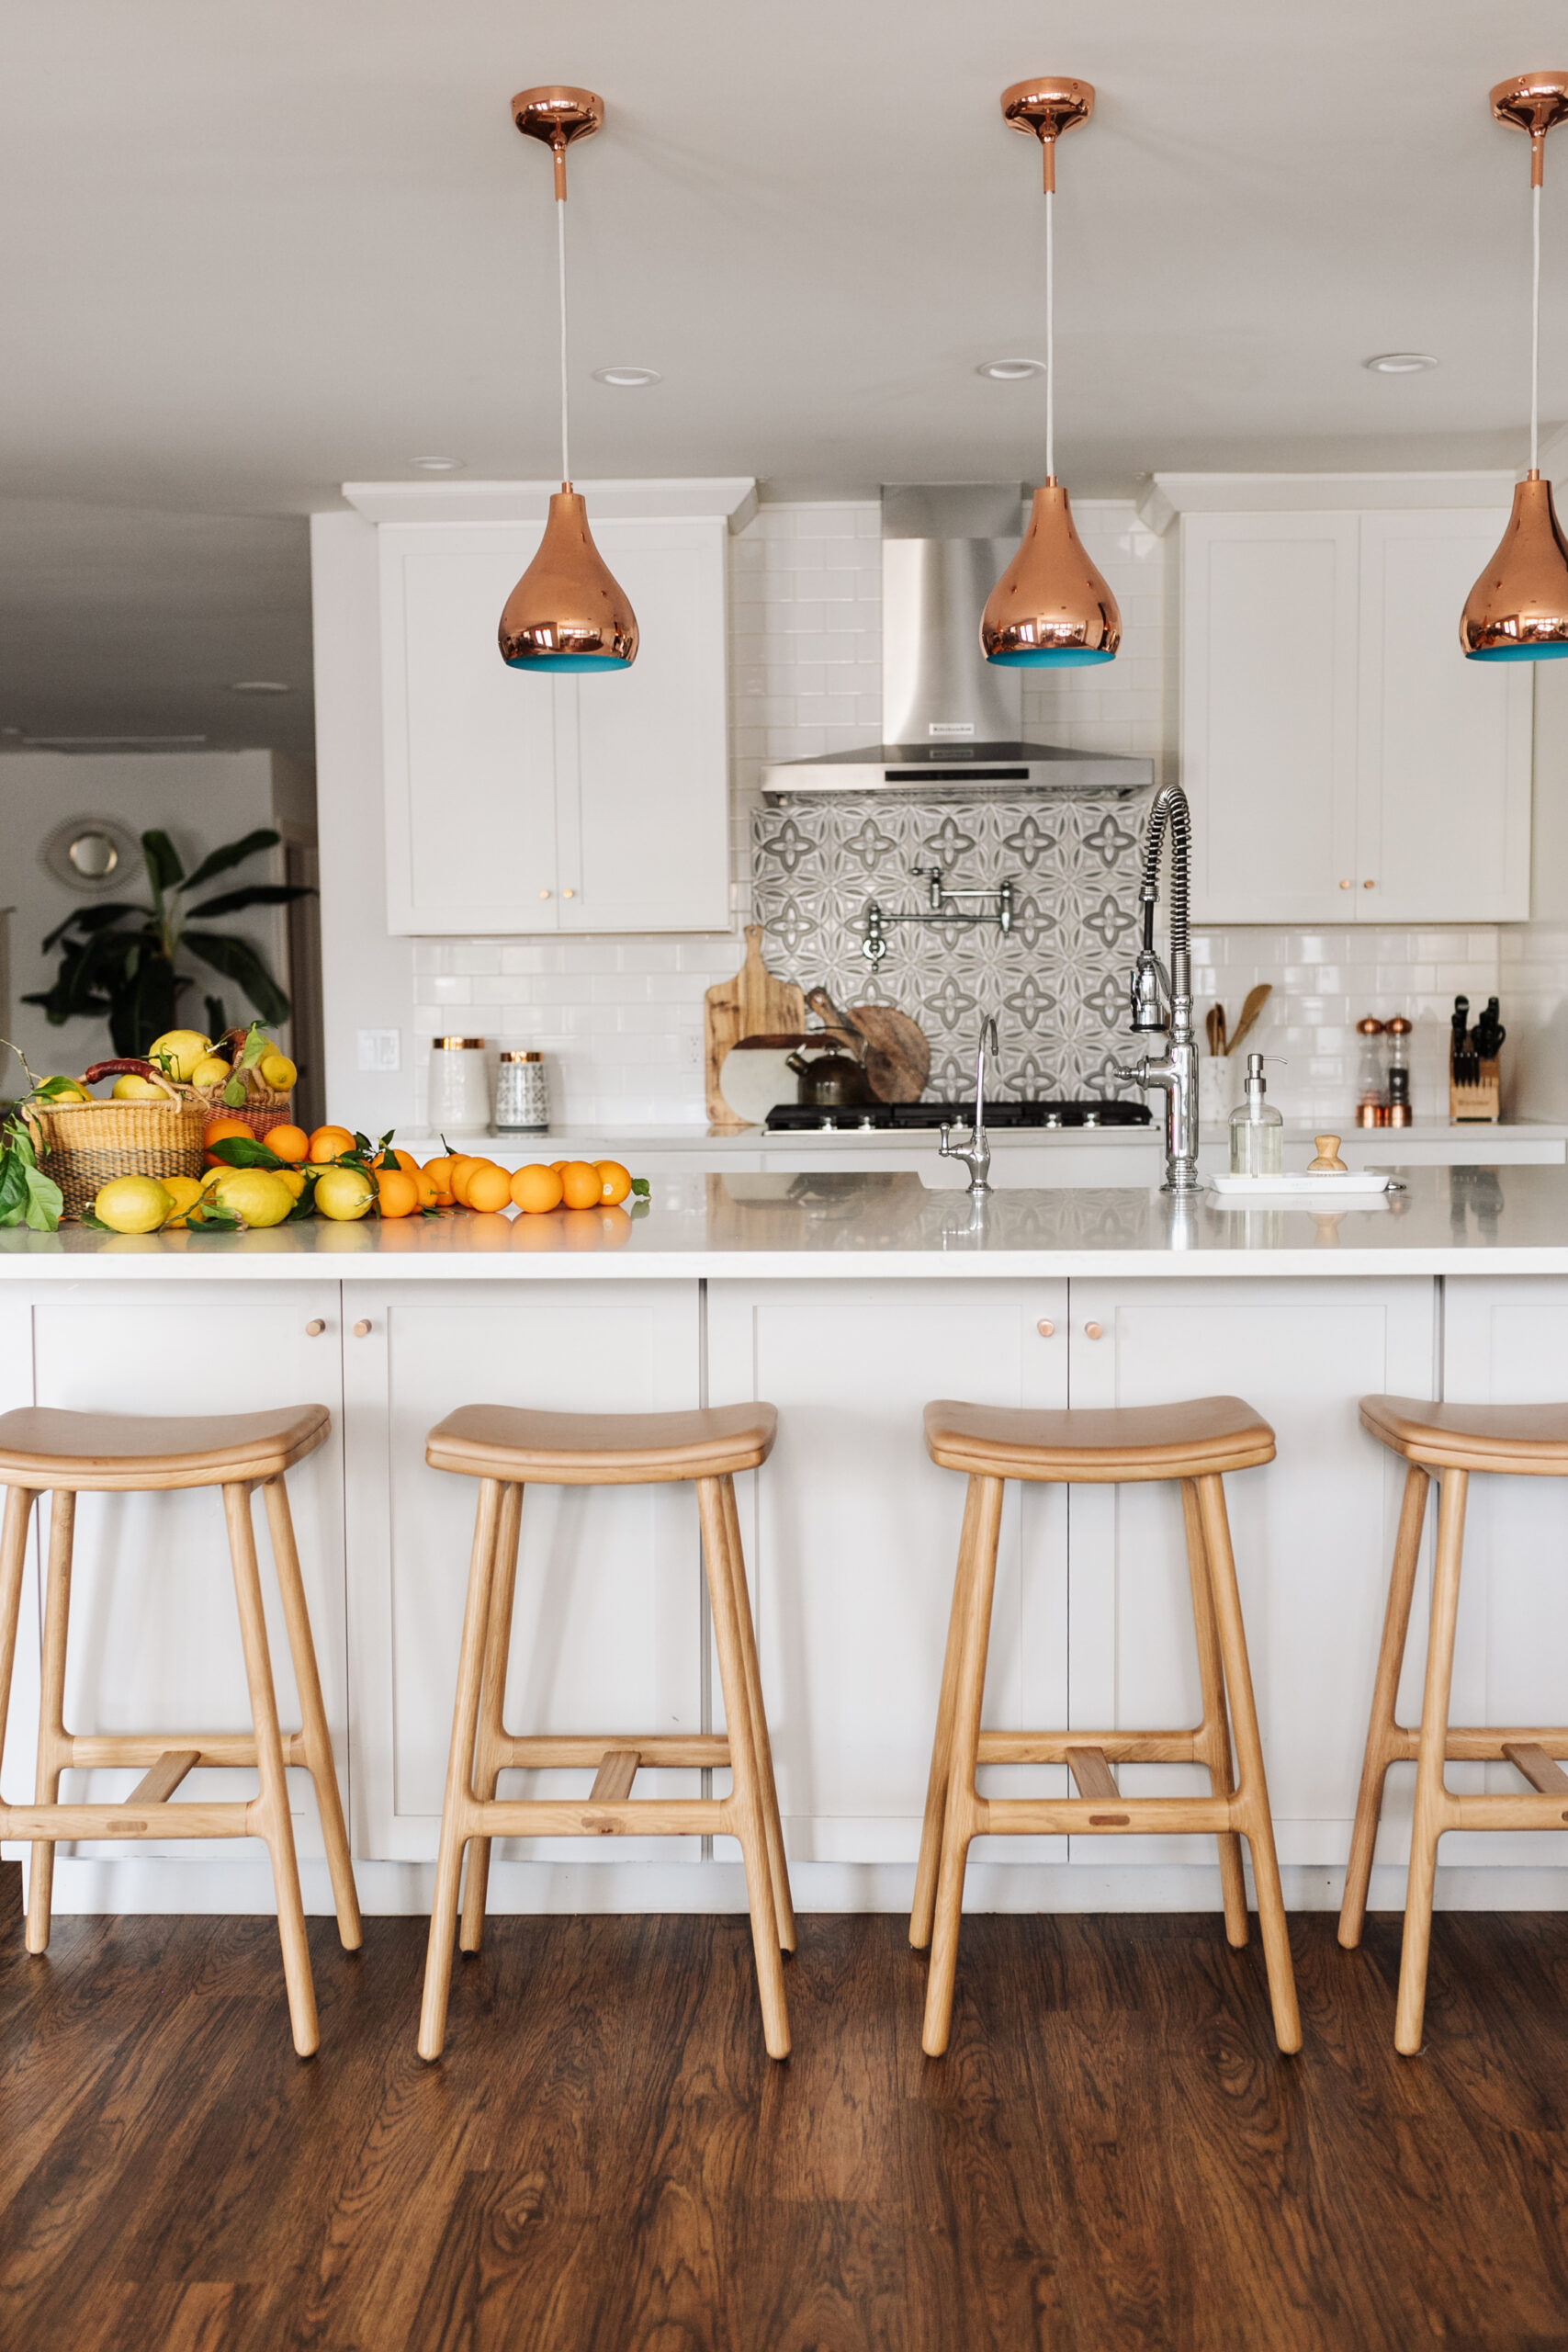
After using Jen’s original Griffith Imaging Presets for almost a year, she reached out to me to see if I wanted to collaborate on a new set of Presets, exclusively for me and the way I like to edit. With Jen’s photography expertise and technical know-how, I jumped at the chance! Along with her team, we’ve been working together tirelessly to come up with these four perfect presets. Two of them are variations on classic GI Presets that I know, love, and use regularly. And then there are two brand new ones, that are fast becoming my new faves! I’m so excited to give you a little preview of them here:
Saguaro Bloom Preset for Lightroom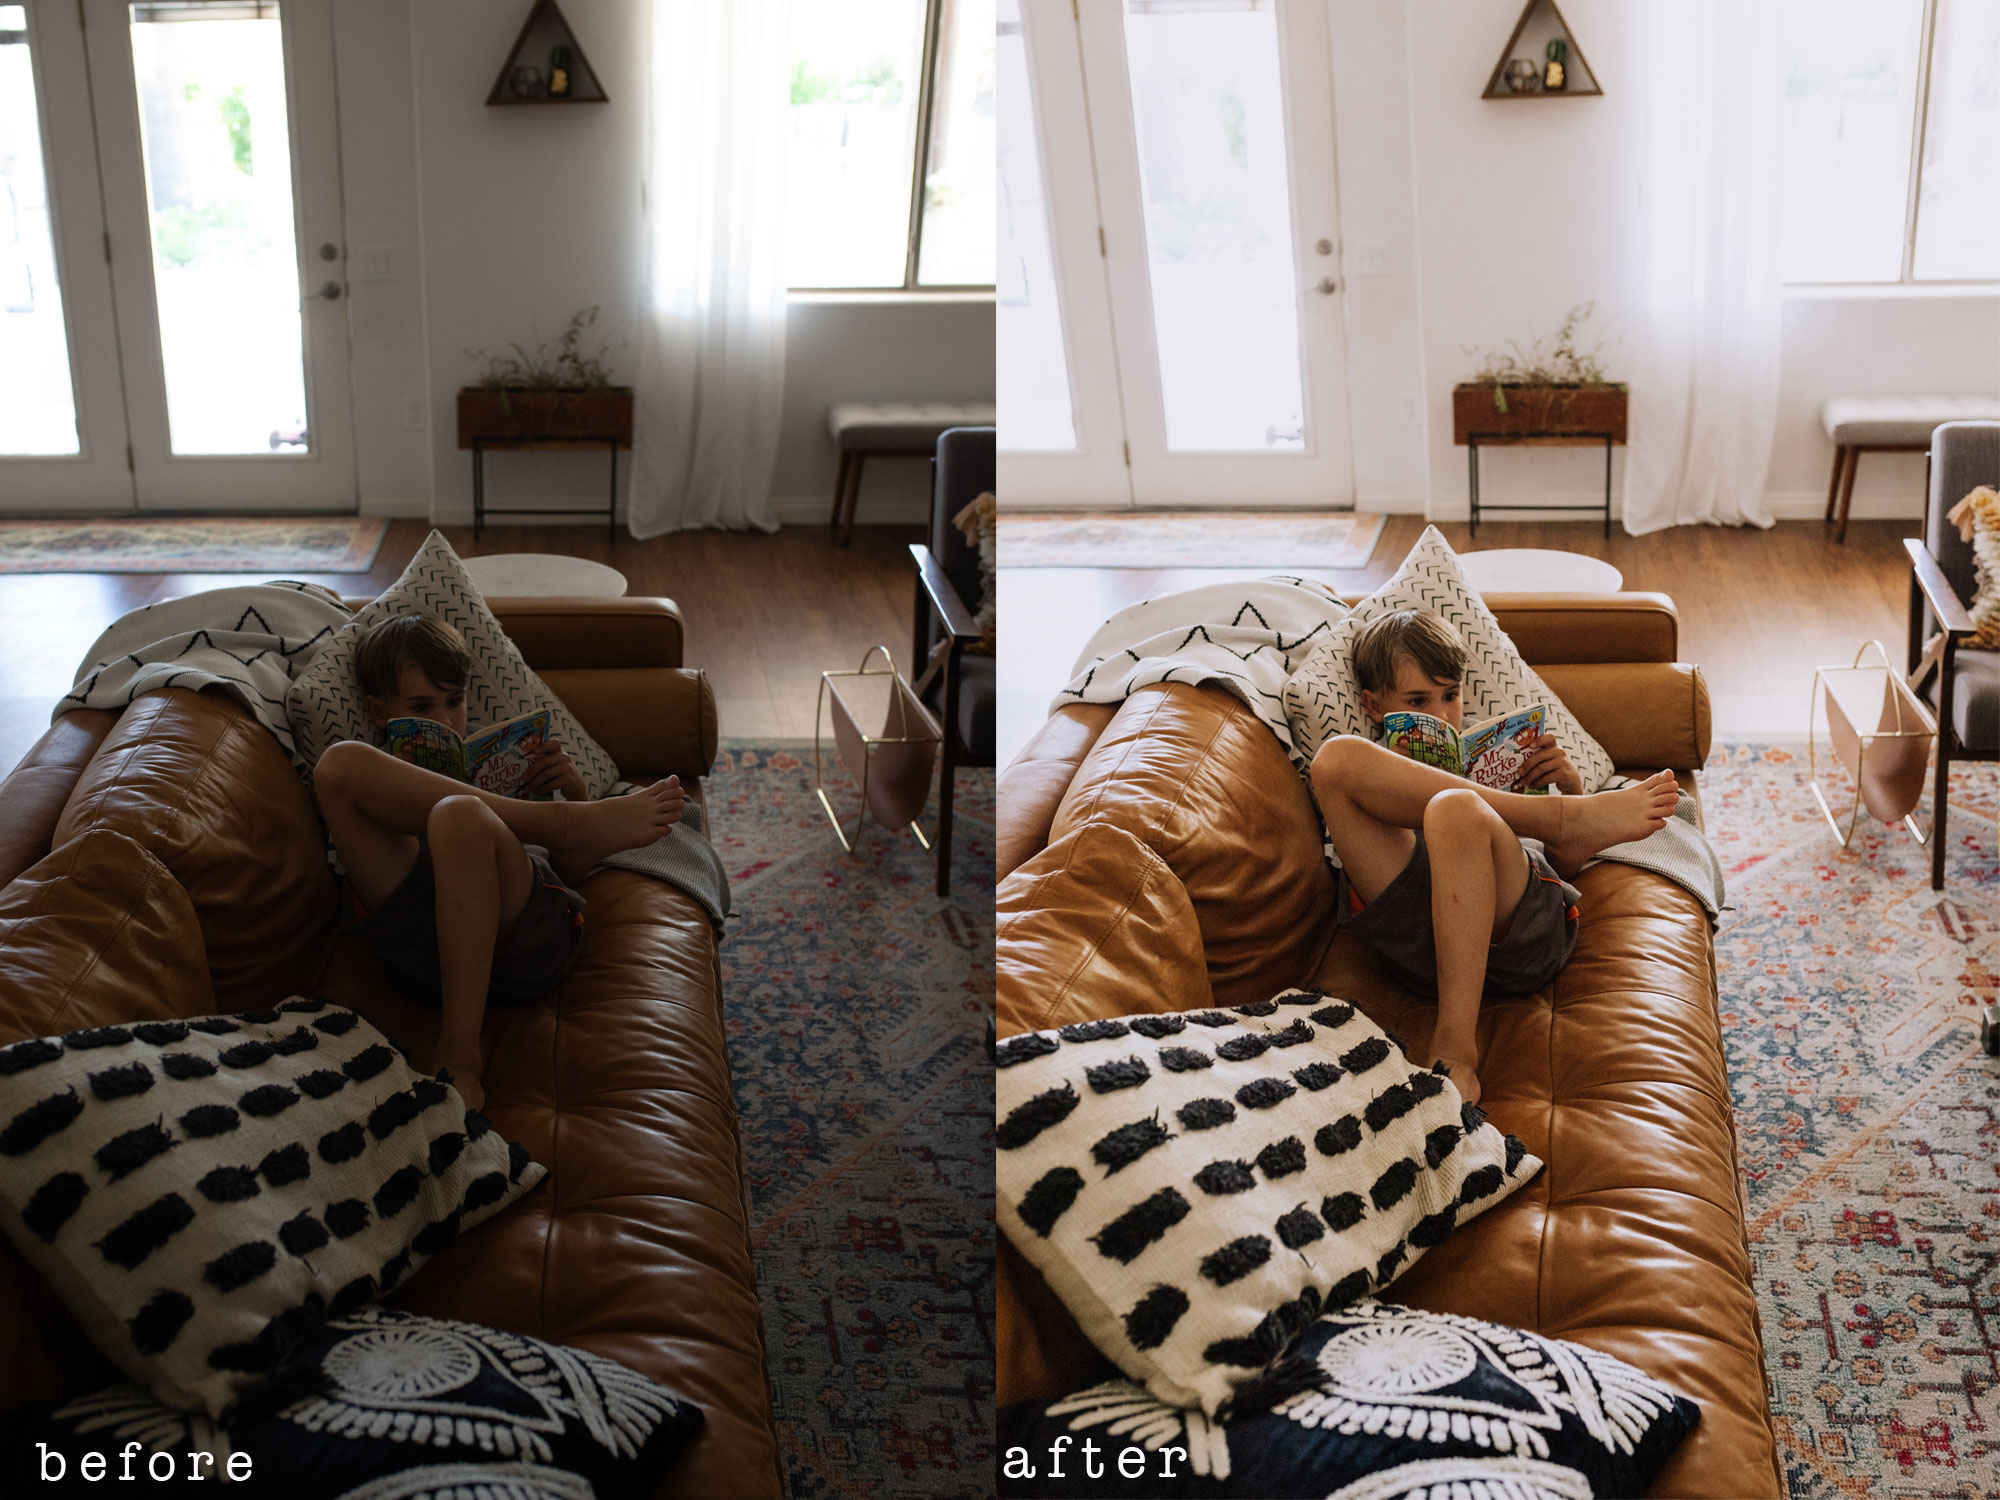
Golden Sunstone Preset for Lightroom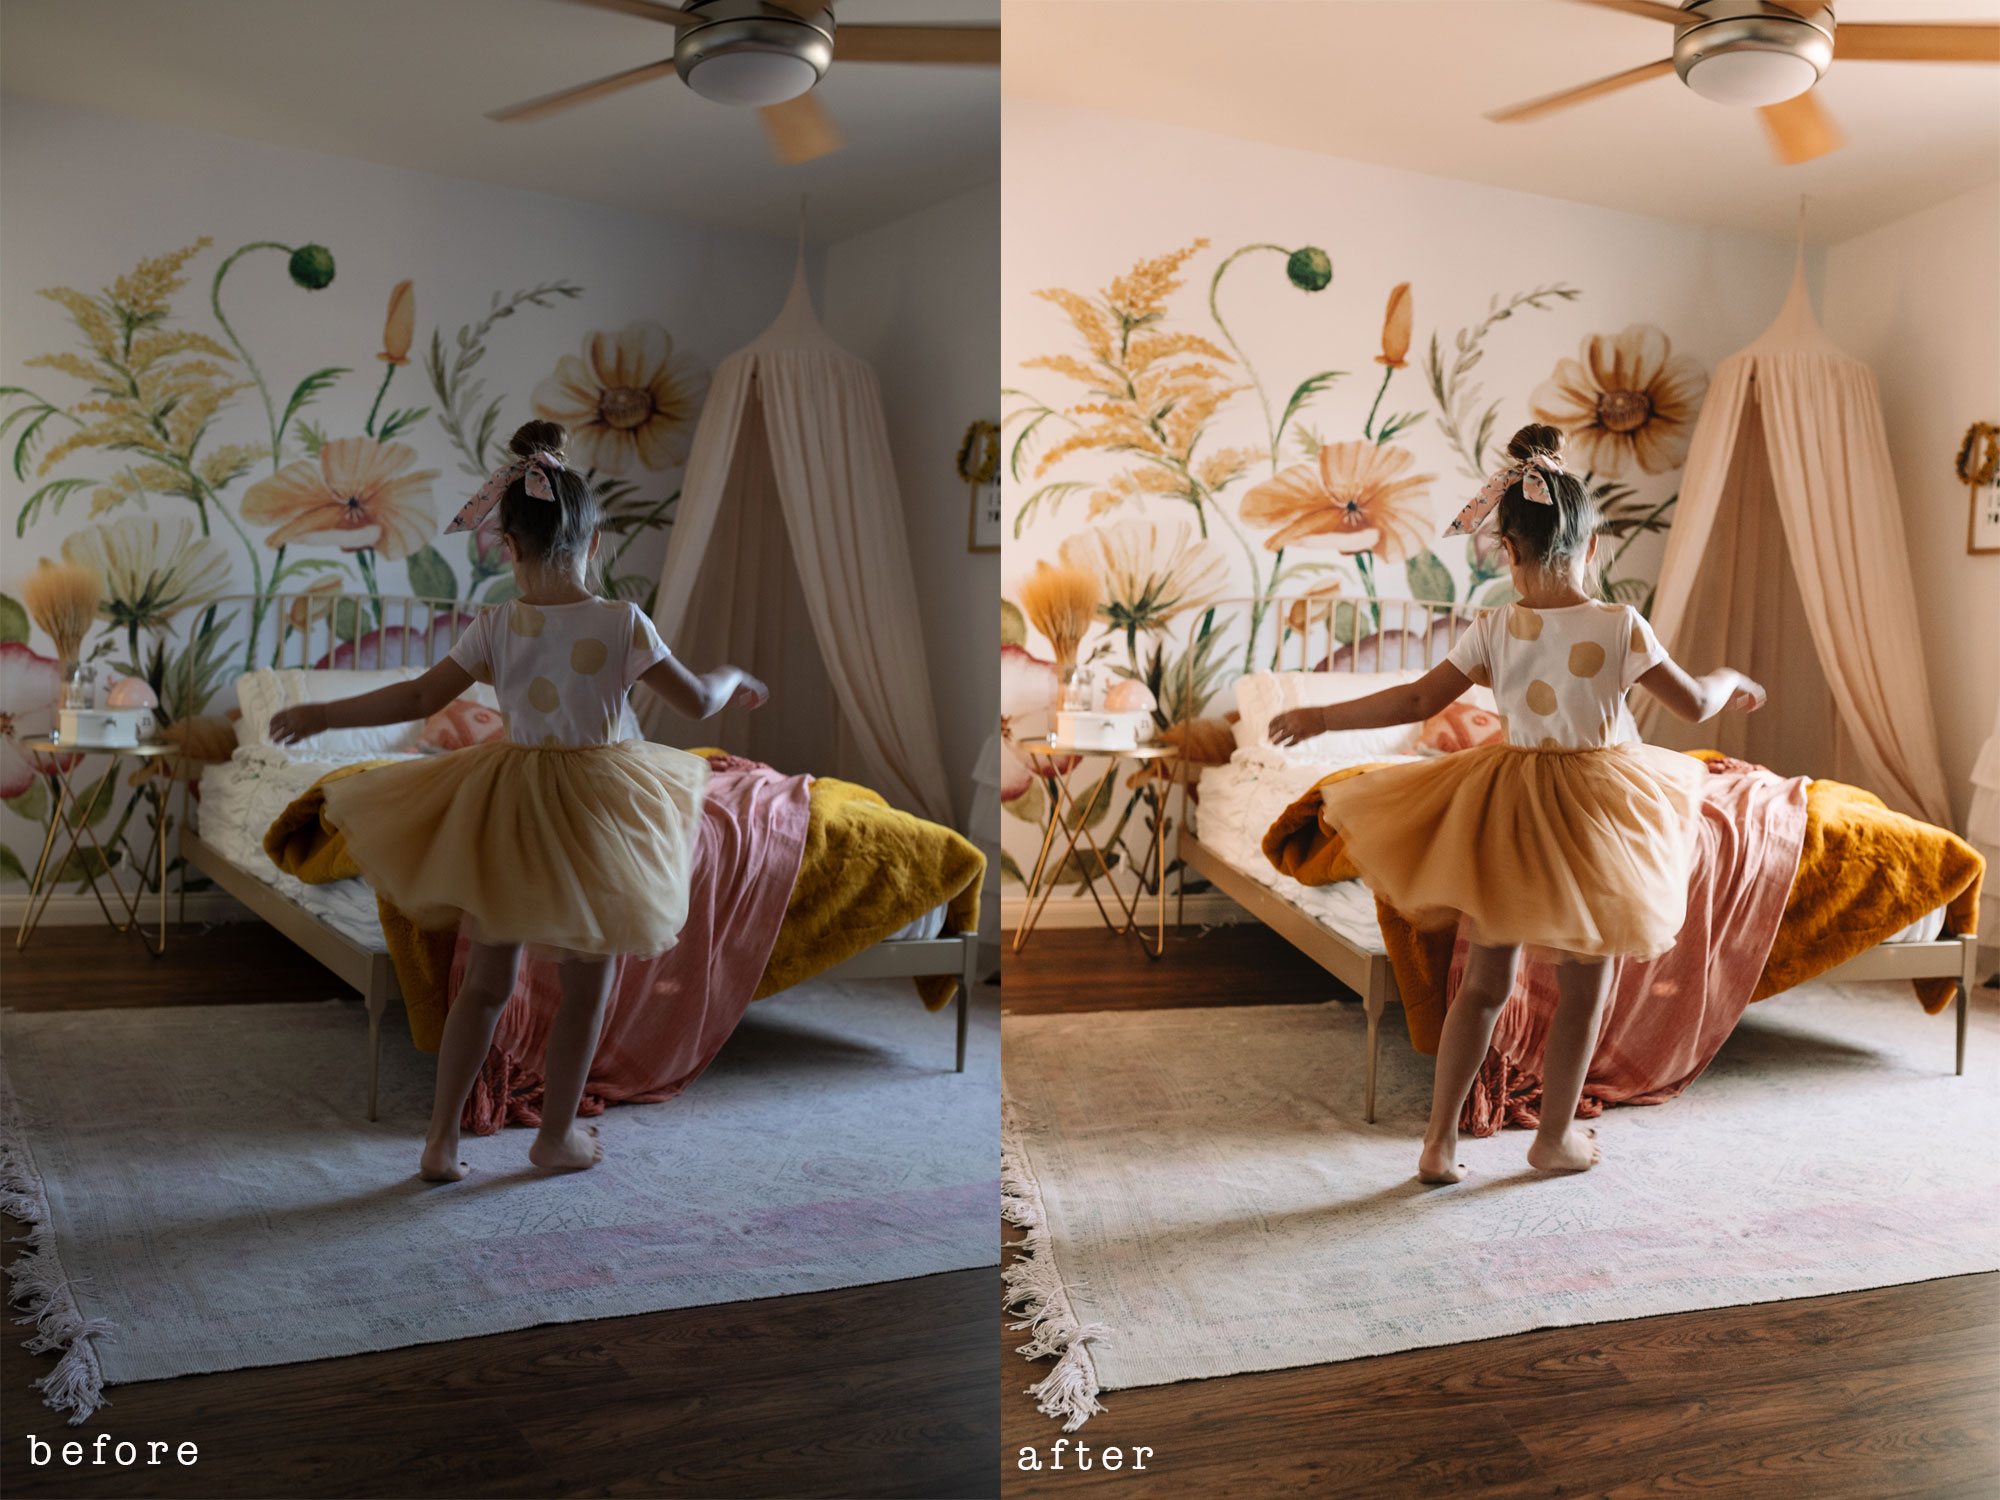
Fairyduster Preset for Lightroom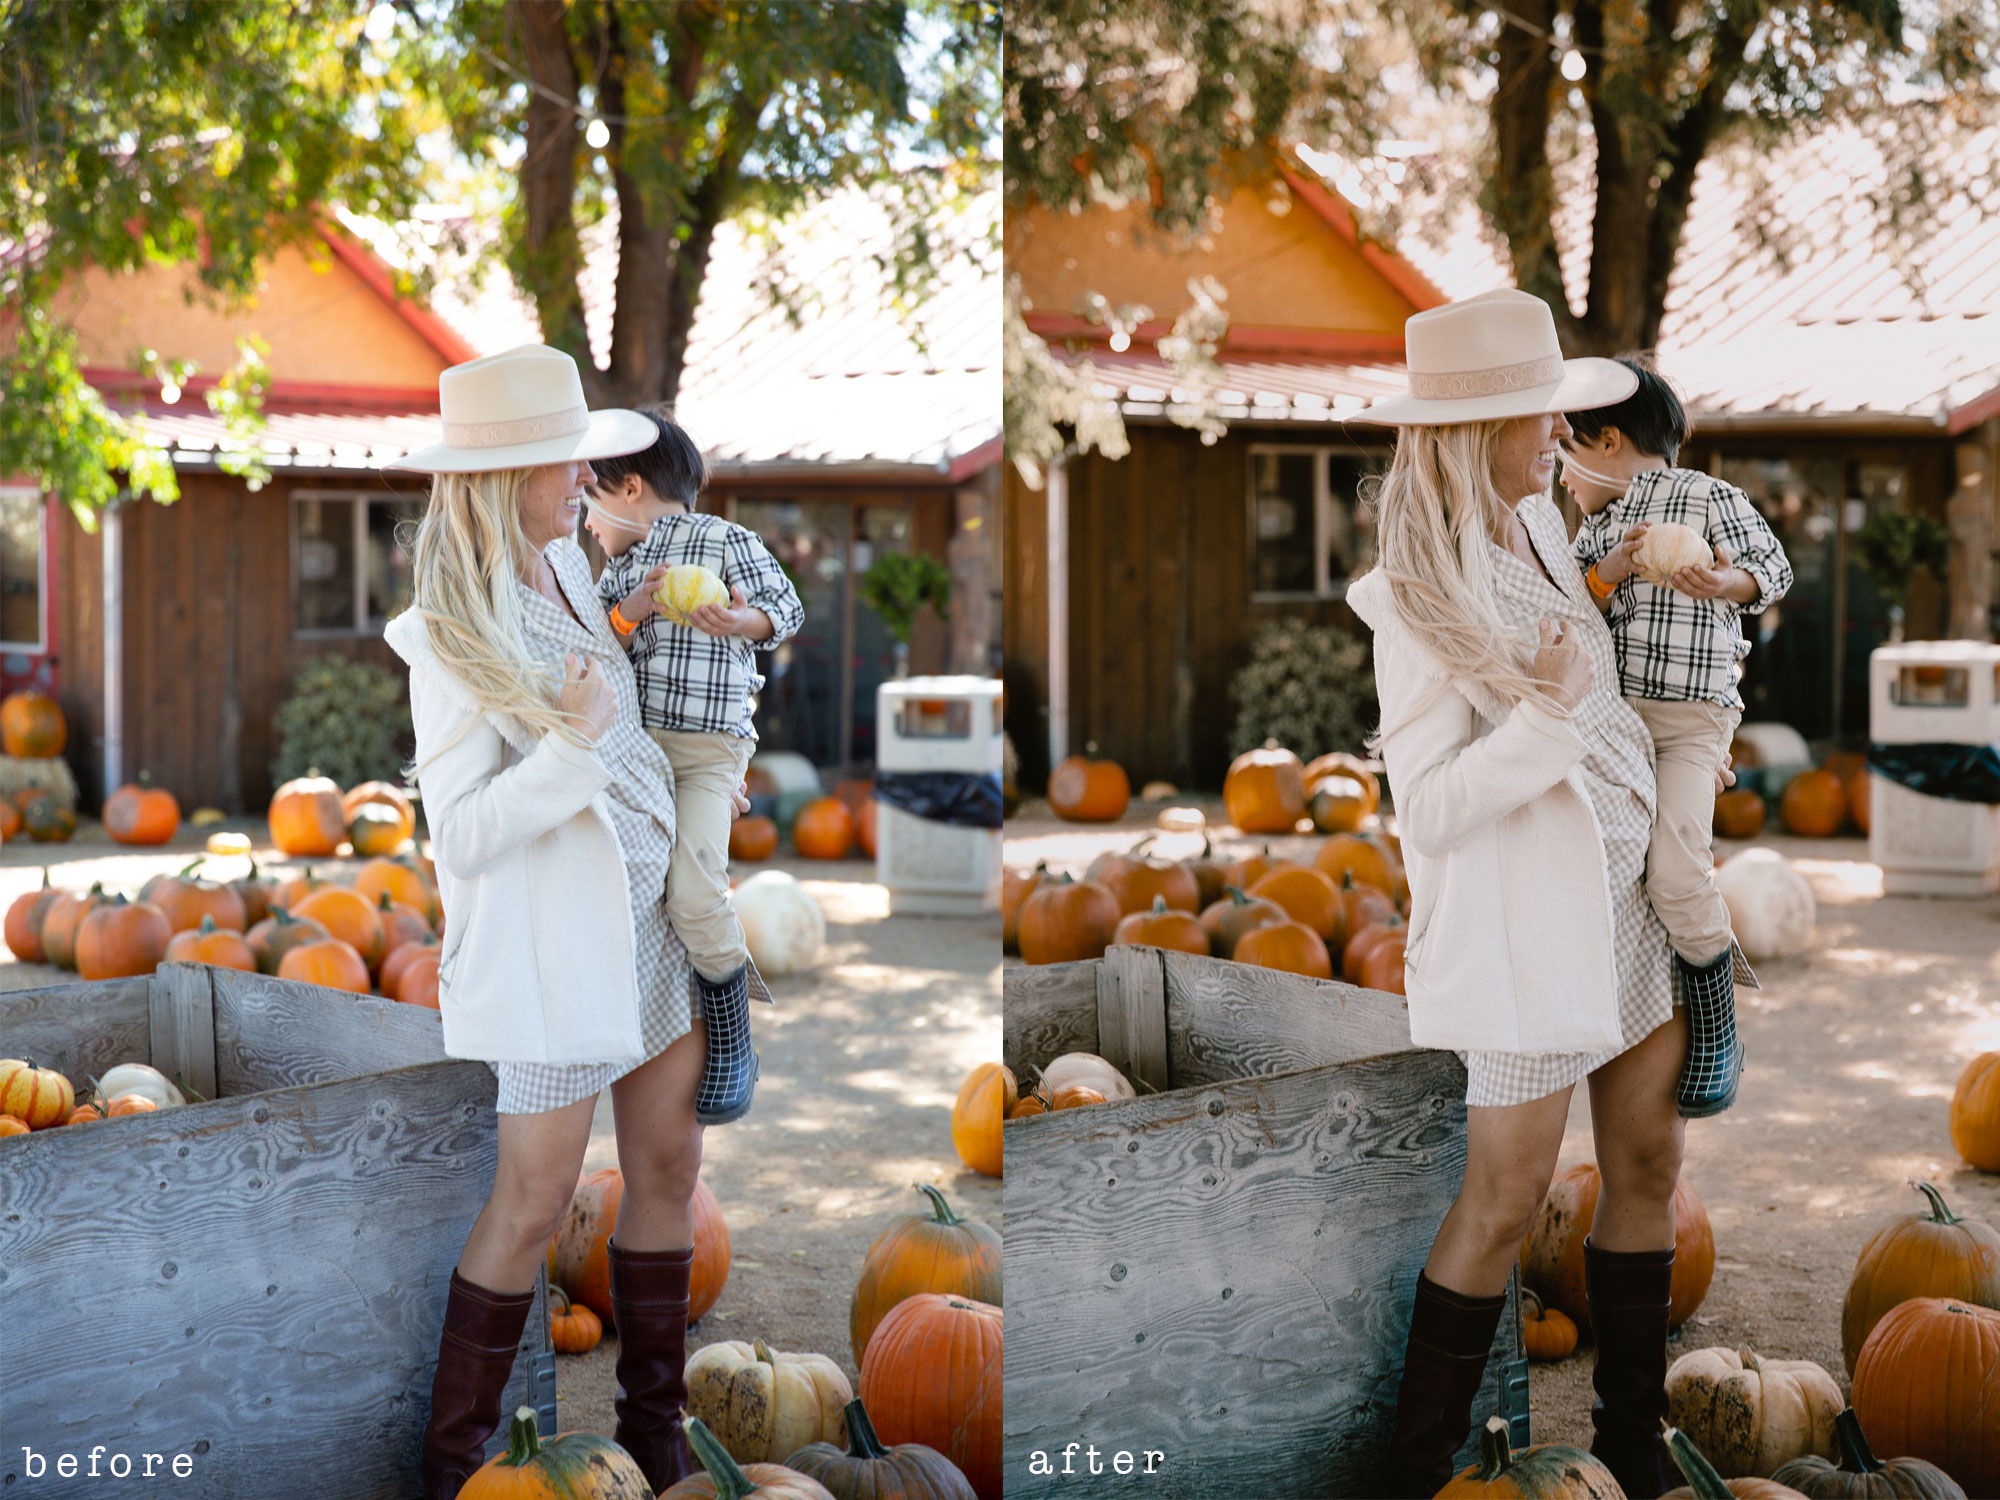
Moonstone Preset for Lightroom

Lightroom is so fun because it can be very simple or you can do a lot of editing with it! These Presets are not meant to be “one touch” editing, but rather a great start, and they are how I edit photos always now. There are some simple adjustments you can do to make sure every photo turns out perfectly – I will share more tips on these when the presets officially launch! The end result is designed to be minimal, but impactful. Just a little tweaking to take your photos from boring, to beautiful!
The best news (and one of the big reasons I decided to go forward with Griffith Imaging and my own presets) is that now, Adobe offers Lightroom Mobile. Which means you can edit your photos right from your phone, with my presets!
In other words, you don’t have to have all the fancy equipment I have to get the same result with pics right from your phone!
We are working on a launching these presets VERY SOON!! I haven’t announced an official date yet, because there is so much that goes on behind the scenes to get them ready. But please keep in touch by following me on Instagram, because I will be announcing the release within the next week or so!
Can’t WAIT to see these on your photos friends! And if you do end up purchasing them, please be sure to tag me @thelovedesignedlife and with #theldlpresets so I can seeeee!

